

Understanding Terminologies
- Procedure Images
Procedure images are visual records captured before, during, or after a medical or aesthetic procedure to document treatment progress, ensure accuracy, and enhance patient records.
Upload Procedure Images Through Procedure View Screen
-
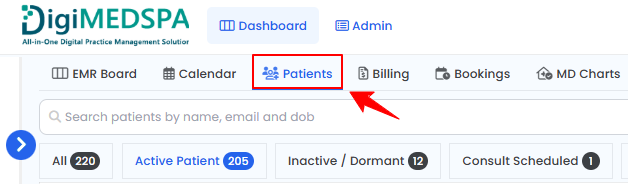
The user can create a procedure through the Patient List Screen. From the EMR Board Tabs, select “Patients.”
-
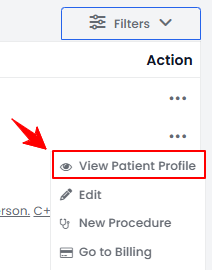
From the patient list, click on three dots under the action column and select "View Patient Profile" for the specific patient, or simply click anywhere on the patient’s data.
-
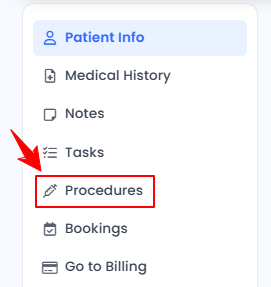
On the Patient Information Screen, users can access a comprehensive summary of all patient details. To view the procedure images, simply click "Procedures" from the side panel.
-
Here, you will find all procedures for the patient. Click “View Procedure” next to the desired procedure to access its details.NoteThe Procedure View Screen can also be accessed through the Bookings List Screen and the EMR Board. For detailed navigation, refer to our “Create a New Procedure” article.
-
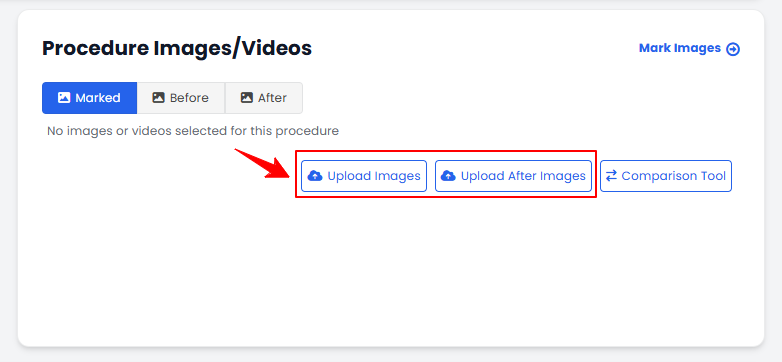
On the Procedure View Screen, navigate to the Procedure Images/Videos section and click “Upload Images” or “Upload After Images” to proceed.
-
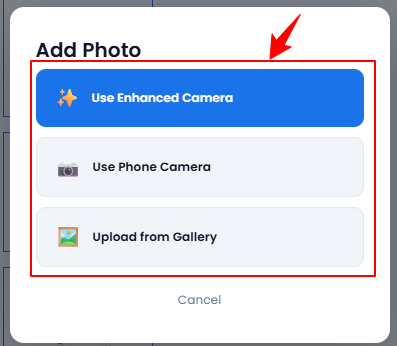
Click the “+” icon to add photos. A pop-up will appear, allowing you to choose how you want to upload the images. Select “Use Enhanced Camera,” “Use Phone Camera,” or “Upload from Gallery.”
-
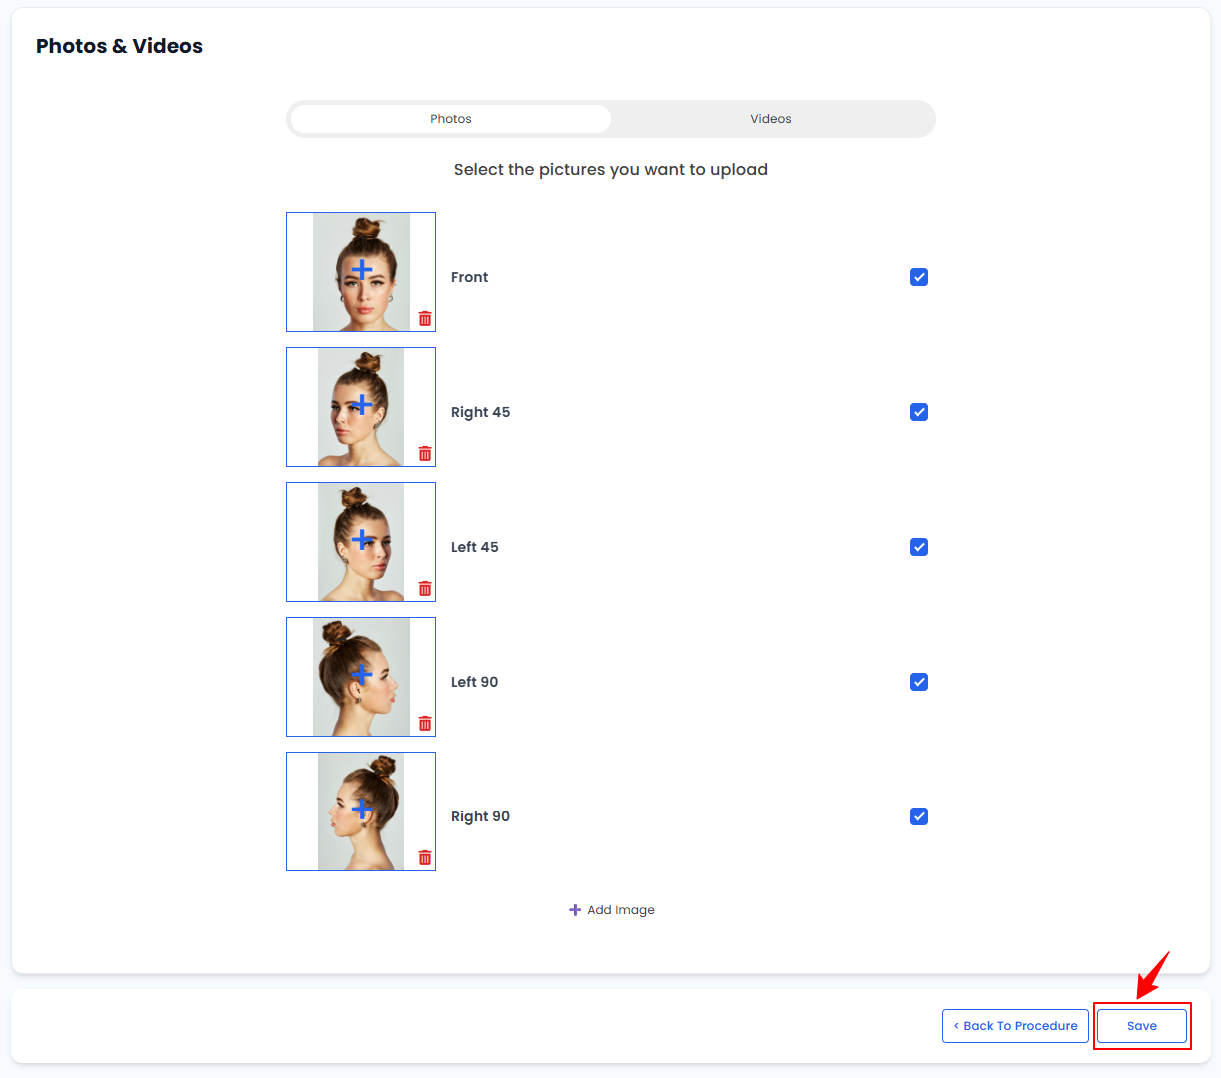
Upload images from different angles, select the desired images, and click “Save” to proceed to the Marking Screen.
-
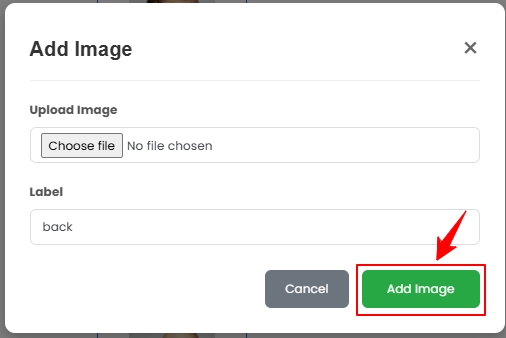
To upload additional images, click the “+ Add Image” button at the bottom of the screen. A pop-up window will open where you can upload your image and enter a label. Once finished, click “Add Image” to save it.
 The procedure images have been uploaded successfully!
You’re all set
That’s every step of “How to Upload Procedure Images?”. Up next: Compare Before and After Images Using Comparison Tool.