

 DigiMEDSPA EMR
 DigiMEDSPA CONNECT ™
How to Navigate to the Marking Screen?
This user guide provides step-by-step instructions for navigating to the marking screen in the DigiMEDSPA Portal through the EMR Board and the patient profile.
Understanding Terminologies
Marking Screen
The marking screen is a dedicated interface used during procedures to document detailed information about the patient’s treatment. It captures essential data such as the type of procedure performed, treatment areas, products or substances used (e.g., injectables or fillers), dosages, and techniques applied. It may also include visual documentation like photos or injection markings to record treatment areas and injection points. This screen is significant for ensuring accurate clinical records, supporting treatment continuity, monitoring outcomes, and maintaining patient safety.
Access this link: https://digimedspa.com/ap2/product_categories
Navigate to the Marking Screen Through EMR Board
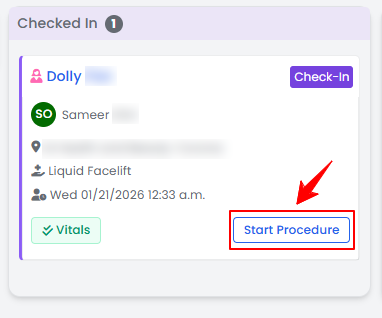
- The user can navigate to the Marking Screen through the Procedure View Screen which is accessible while creating a procedure through the EMR Board. From the EMR Board select a booking that is in the ‘’Checked In’’ step then press the ‘’Start Procedure’’ button to move that booking to the ‘’In Procedure’’ phase.

- Choose the Body Area from the dropdown menu and click “Start Procedure.”Note: For services without a selected procedure type, you will be prompted to choose the procedure type at this step.
- You will be directed to the Procedure View Screen in the patient profile, where all procedure sections are displayed.
- To mark images, first upload them in the Procedure Images/Videos section. Click “Upload Images” or “Upload After Images” to proceed.
 Note: To view and compare before-and-after images of a procedure, click the “Comparison Tool” button. For step-by-step guidance on how to use this feature, refer to the article “Compare Before and After Images Using the Comparison Tool.”
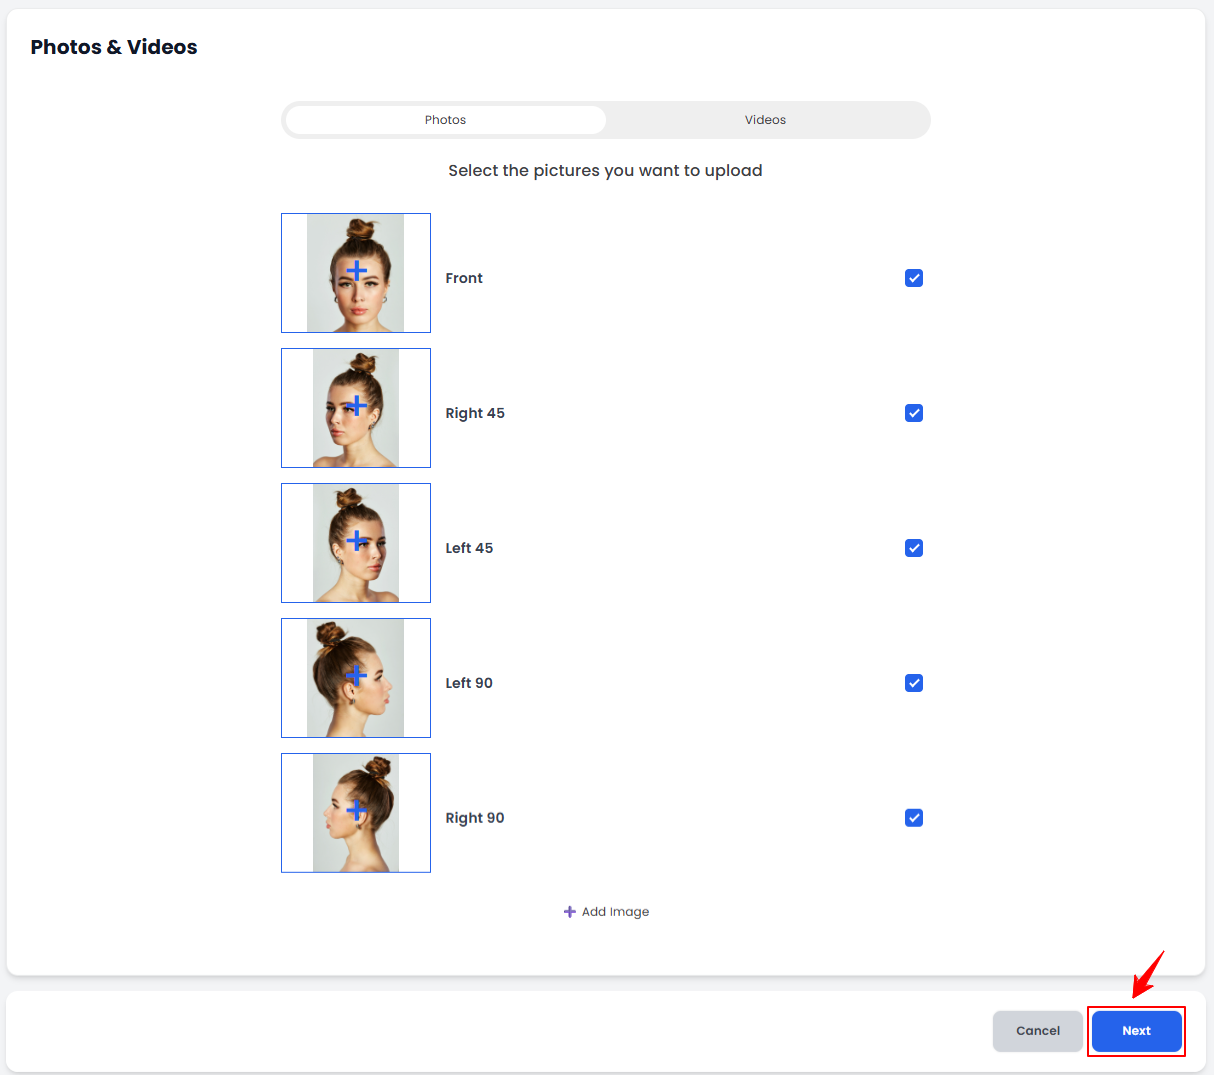
 - Upload images from different angles, select the desired images, and click “Next.”
- The “Marking Screen” will open, allowing the user to precisely chart drugs (products) and injection markings on the selected image for use during the procedure. Users can also utilize the drawing tools on the Marking Screen to annotate or highlight treatment areas.
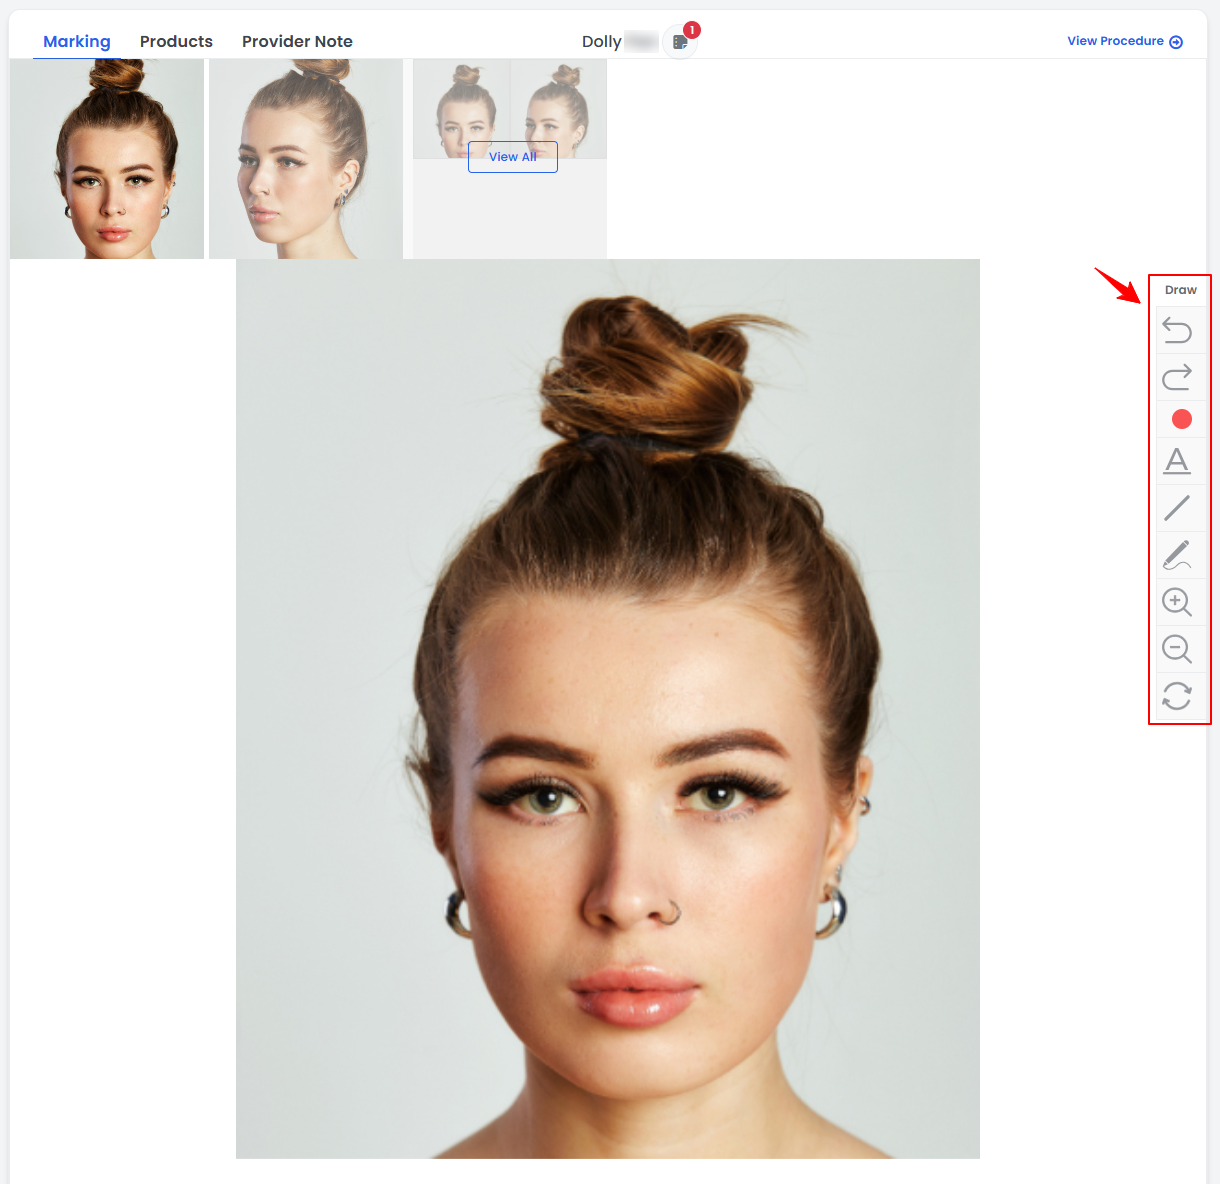 Note: For detailed instructions on using the draw tool in the Marking Screen, refer to the article “Use the Draw Tool for Charting.”
Navigate to the Marking Screen Through Patient Profile
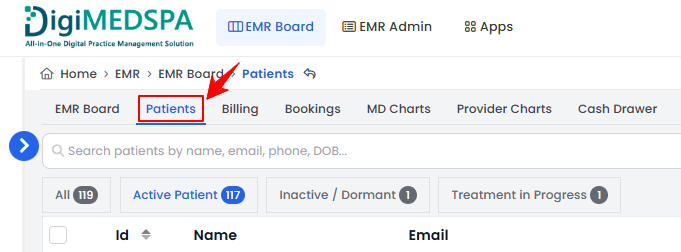
- The user can navigate to the Marking Screen by accessing the Procedure View Screen through the patient profile. From the EMR Board Tabs, select “Patients.”
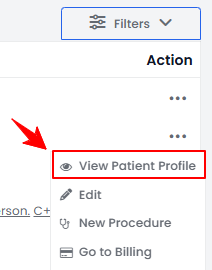
- From the patient list, click on three dots under the action column and select "View Patient Profile" for the specific patient, or simply click anywhere on the patient’s data.
- On the Patient Information Screen, users can access a comprehensive summary of all patient details. To view the procedures, simply click on the ‘’Procedures’’ tab.

- Here, you will find all procedures for the patient. Click “View Procedure” next to the desired procedure to access its details.
- On the Procedure View Screen, click “Mark Images” to access the Marking Screen.
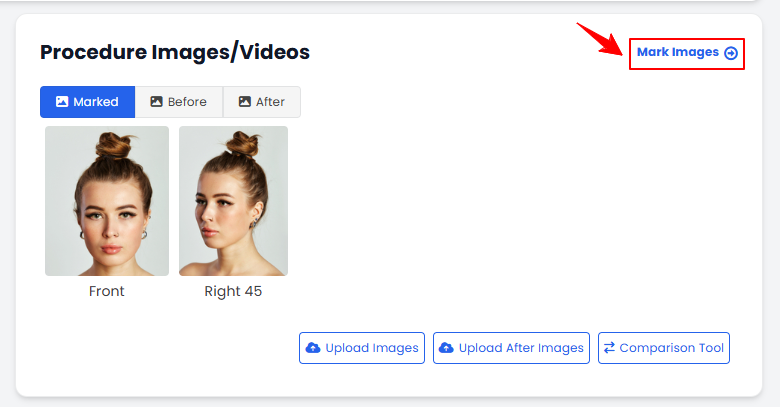 Note: If the images have not been uploaded, upload them first using the steps provided earlier in this article.