

 DigiMEDSPA EMR
 DigiMEDSPA CONNECT ™
View Before and After Images
This user guide provides step-by-step instructions for viewing before and after images, allowing you to effectively assess treatment outcomes and track patient progress.
Understanding Terminologies
Before Images
Before images are the photos taken prior to a procedure to document the patient’s initial condition.
After Images
After images are the photos taken after a procedure to showcase results and track improvements.
View Before and After Images Through the Patient Profile
- The user can view before and after images through the patient profile by accessing the Patients List Screen via two entry points.
- From the EMR Board Tabs, select “Patients.’’

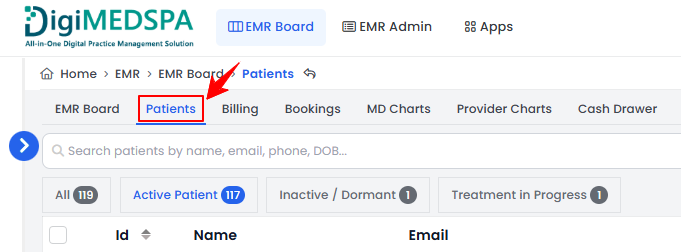
- From the Left Navigation, click on the “EMR Board” dropdown and select “Patients.” Alternatively, you can type “Patients” into the search bar in the Left Navigation.
- From the EMR Board Tabs, select “Patients.’’
- From the patient list, click on three dots under the action column and select "View Patient Profile" for the specific patient.

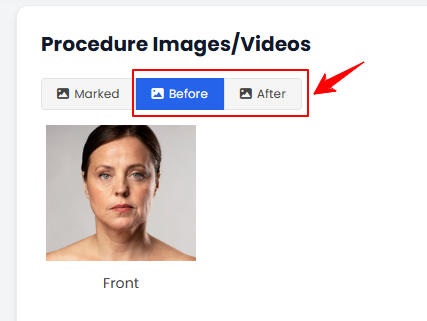
- On the Patient Information Screen, users can access a comprehensive summary of all patient details. To view the procedure images, simply click on the ‘’Procedures’’ tab.

- Here, you will find all procedures for the patient. Click "Before" to see pre-procedure images or "After" to see the procedure results.
- Click on the image to view it in full size.Note: For more information on uploading before and after images, refer to our “How to Upload Procedure Images” user guide.
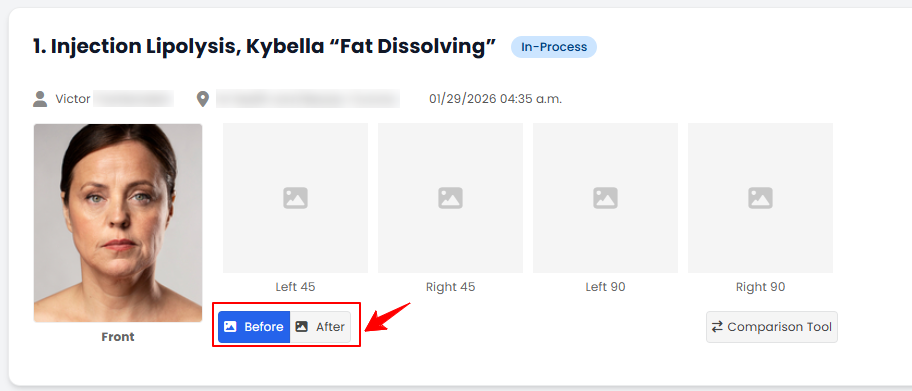
- Alternatively, before and after images can be viewed from the Procedure View Screen. Click “View Procedure” next to the desired procedure to access its details.Note: The Procedure View Screen can also be accessed through the Bookings List Screen and the EMR Board. For detailed navigation, refer to our “Create a New Procedure” article.
- On the Procedure View Screen, navigate to the Procedure Images/Videos section and click "Before" to see pre-procedure images or "After" to see the procedure results.
You have successfully viewed the before and after images!
4