

 DigiMEDSPA EMR
 DigiMEDSPA CONNECT ™
Sign a Procedure and Send it to Provider Charts and MD Charts
This guide provides step-by-step instructions on signing a procedure, sending it to the medical director, and how to review and sign your provider's procedures as the MD.
Understanding Terminologies
Procedure
A procedure is a professionally administered health or cosmetic treatment performed under medical supervision to improve wellness, skin health, or physical appearance.
Provider Charts
The provider charts are the patient treatment records completed and signed by the treating provider. It includes procedures performed, products used, and clinical notes, and is shared with the Medical Director for review and oversight.
MD Charts
The MD charts are the patient treatment records reviewed and signed by the Medical Director to ensure clinical oversight, compliance, and adherence to medical standards.
Access this link: https://digimedspa.com/ap2/procedures
Step 1: Link a Medical Director to Your Profile
- To sign a procedure and send it to the provider, the user can go to the Provider List Screen and verify if the specific provider requires the medical director’s signature. There are two entry points to access the Provider List Screen for this process.Note: An MD can act as a provider, but not all providers are MDs. Non-MD providers require an MD's signature for procedures, while MDs simply need their own signature only.
- From the EMR Admin, click on “Providers” under “EMR Admin.”

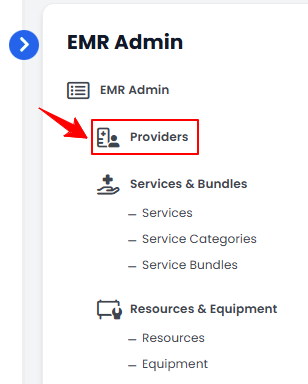
- From the Left Navigation, click on the “EMR Admin” dropdown and select “Providers.” Alternatively, you can type “Providers” into the search bar in the Left Navigation.
- From the EMR Admin, click on “Providers” under “EMR Admin.”
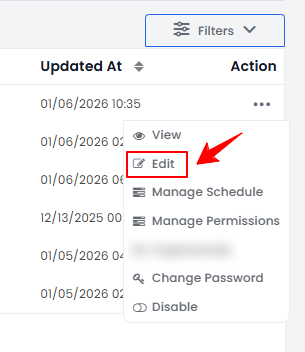
- From the provider list, click on three dots under the action column and select "Edit" for the specific provider.
- In step 1, fill the required fields for the provider’s profile. Scroll down to ‘’Does this provider require MD permission for procedure?’’ and click ‘’Yes’’ and press the ‘’Next’’ button to continue.
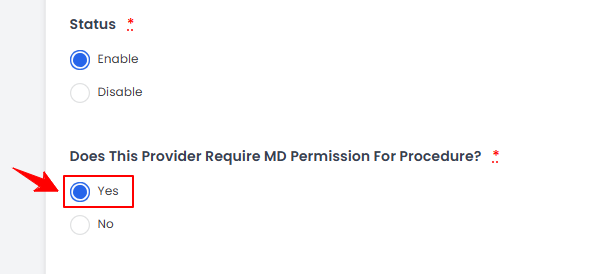
This provider is successfully linked to a MD! Now this provider will require MD’s signature for the procedure.
Step 2: Sign a Procedure and Send it to MD Charts
- The provider must log in with their email and password to sign and send a procedure to the MD charts.Note: After logging in, the provider will only have access to their own charts and will not be able to view other providers' charts.
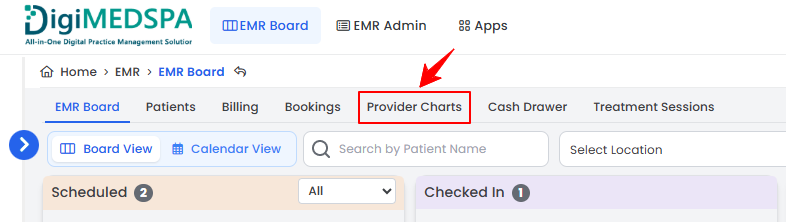
- From the EMR Board Tabs, click on ‘’Provider Charts.’’
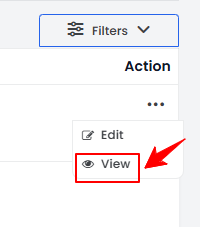
- On the Chart Audit Screen, find the procedure the provider wants to sign. Click anywhere on the procedure details, or click the three dots under the action column and select “View.”
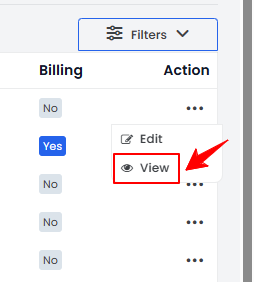 Note: A “Chart Audit” is the review of patient records to ensure accurate documentation, compliance with medical regulations, and adherence to treatment protocols.
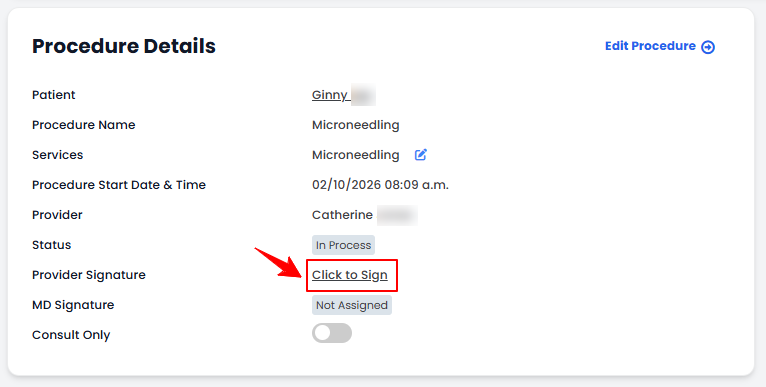
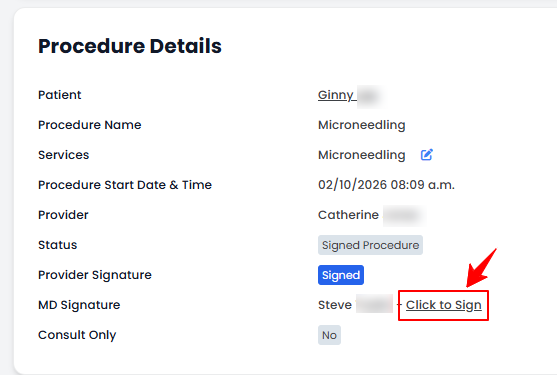
 - On the Procedure View Screen, click on the ‘’Click to Sign’’ button in the Procedure Details section.
- Enter any relevant details in the Provider Note field. If the visit was a consultation only, select “Mark as Consult Only.” Complete the provider’s signature in the Signature field.
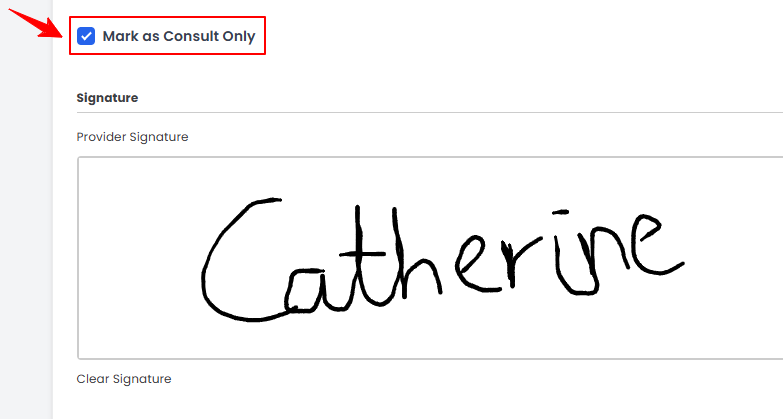 Note: “Mark as Consult Only” means that the patient visit was purely a consultation and no procedures or treatments were performed during that appointment.
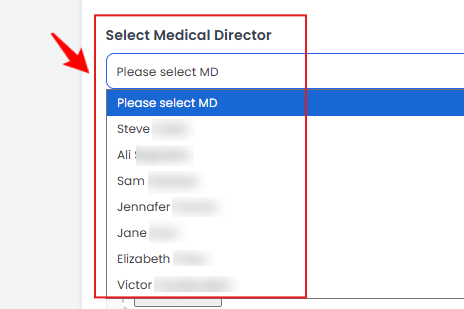
 - Select the Medical Director from the dropdown menu to assign the procedure. To add any attachments, click “Choose Files,” select the files, and then click “Save” to send the procedure to the MD.
Reassign MD
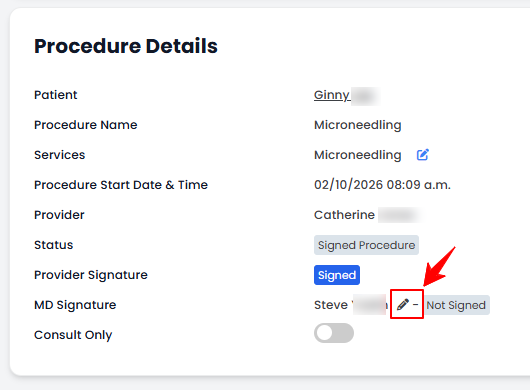
- To reassign the Medical Director, click the edit icon next to the currently assigned MD’s name in the Procedure Details section.
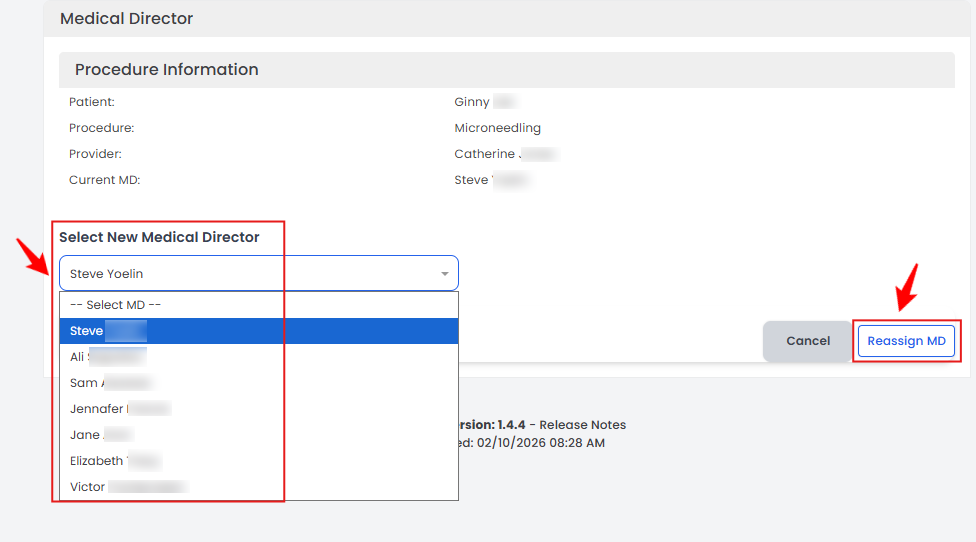
- Select the new Medical Director from the dropdown menu, then click “Reassign MD” to save the changes.
Check Status of Procedures in Provider Charts
- To check the status of a procedure, go to the Provider Charts Screen and review the status indicators in the top scopes bar for the current updates.
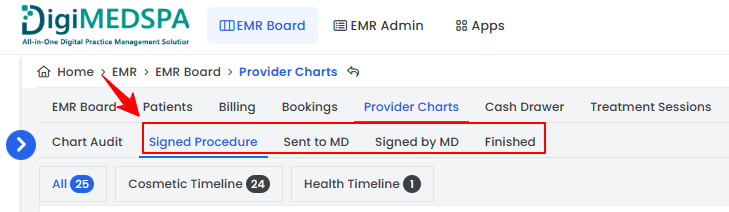
- Click on the “Signed Procedure” scope to view the list of all procedures that have been signed by the provider.
- Click on the “Sent to MD” scope to view the list of all procedures that have been sent to the MD.
- Click on the “Signed by MD” scope to view the list of all procedures that have been signed by the MD.
- Click on the “Finished” scope to view the list of all procedures that have been finished.
Step 3: Signing Provider’s Procedures as the Medical Director
- The MD must log in using their email and password to review and sign the provider’s procedures submitted for approval.
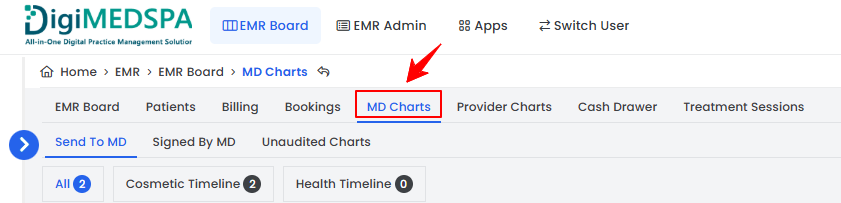
- From the EMR Board Tabs, click on ‘’MD Charts.’’
- On the Send To MD List Screen, find the procedure the MD wants to sign. Click anywhere on the procedure details, or click the three dots under the action column and select “View.”
- On the Procedure View Screen, click on the ‘’Click to Sign’’ button in the Procedure Details section next to the MD’s name.
- Enter any relevant details in the Provider Note field, complete the MD’s signature in the Signature field.
- To add any attachments, click “Choose Files,” select the files, and then click “Save” to finish the procedure.
Check Status of Procedures in MD Charts
- To check the status of a procedure, go to the MD Charts Screen and review the status indicators in the top scopes bar for the current updates.
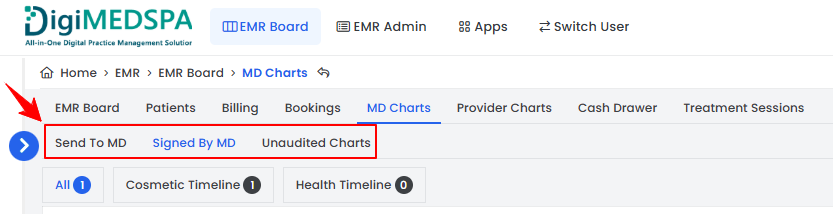
- Click on the “Sent to MD” scope to view the list of all procedures that have been sent to the MD to sign.Note: This tab opens by default whenever you access the MD Charts Screen.
- Click on the “Signed by MD” scope to view the list of all procedures that have been signed by MD.
- Click on the “Unaudited Charts” scope to view the list of all procedures that have not been signed by either the provider or MD.