Sign a Chart and Send it to Provider's Room and MD's Room
This guide provides step-by-step instructions on signing a chart, sending it to the medical director, and how to review and sign your provider's charts as the MD.
Understanding Terminologies
Chart
A detailed record of a patient’s treatment history, including procedures performed, products used, practitioner notes, and any relevant medical information. In a Med SPA, the chart helps track progress, ensure personalized care, and maintain compliance with medical guidelines.
Sign a Chart
The process of electronically finalizing a patient’s treatment record, ensuring all services performed, notes, and any necessary follow-up details are accurately documented before being shared with other team members.
Provider's Room
It is a virtual section within the Med SPA’s EMR system where the esthetic provider or practitioner can access and review completed patient charts, allowing them to monitor the treatment process and plan future services.
MD's Room
It is a dedicated area in the EMR portal for the medical director (MD) to review signed patient charts. This step is important for Med SPAs operating under medical supervision, as the MD needs to approve treatments and ensure compliance with health regulations.
Step 1: Link a Medical Director to Your Profile
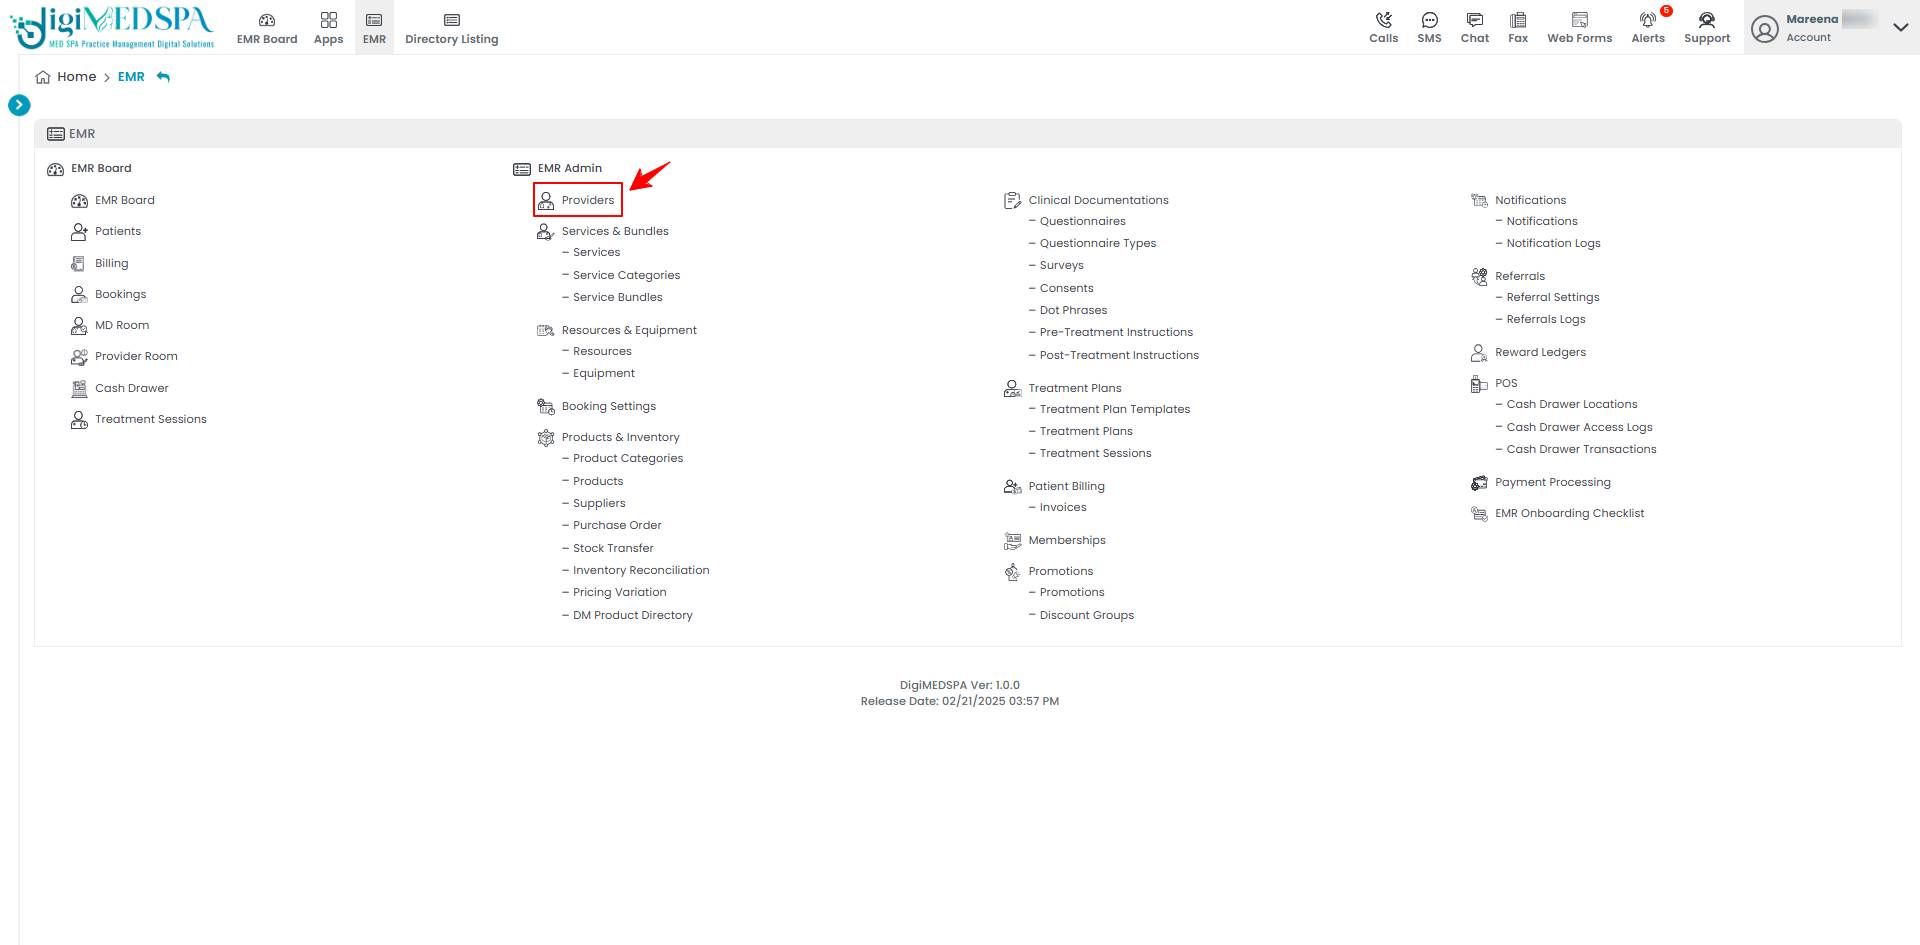
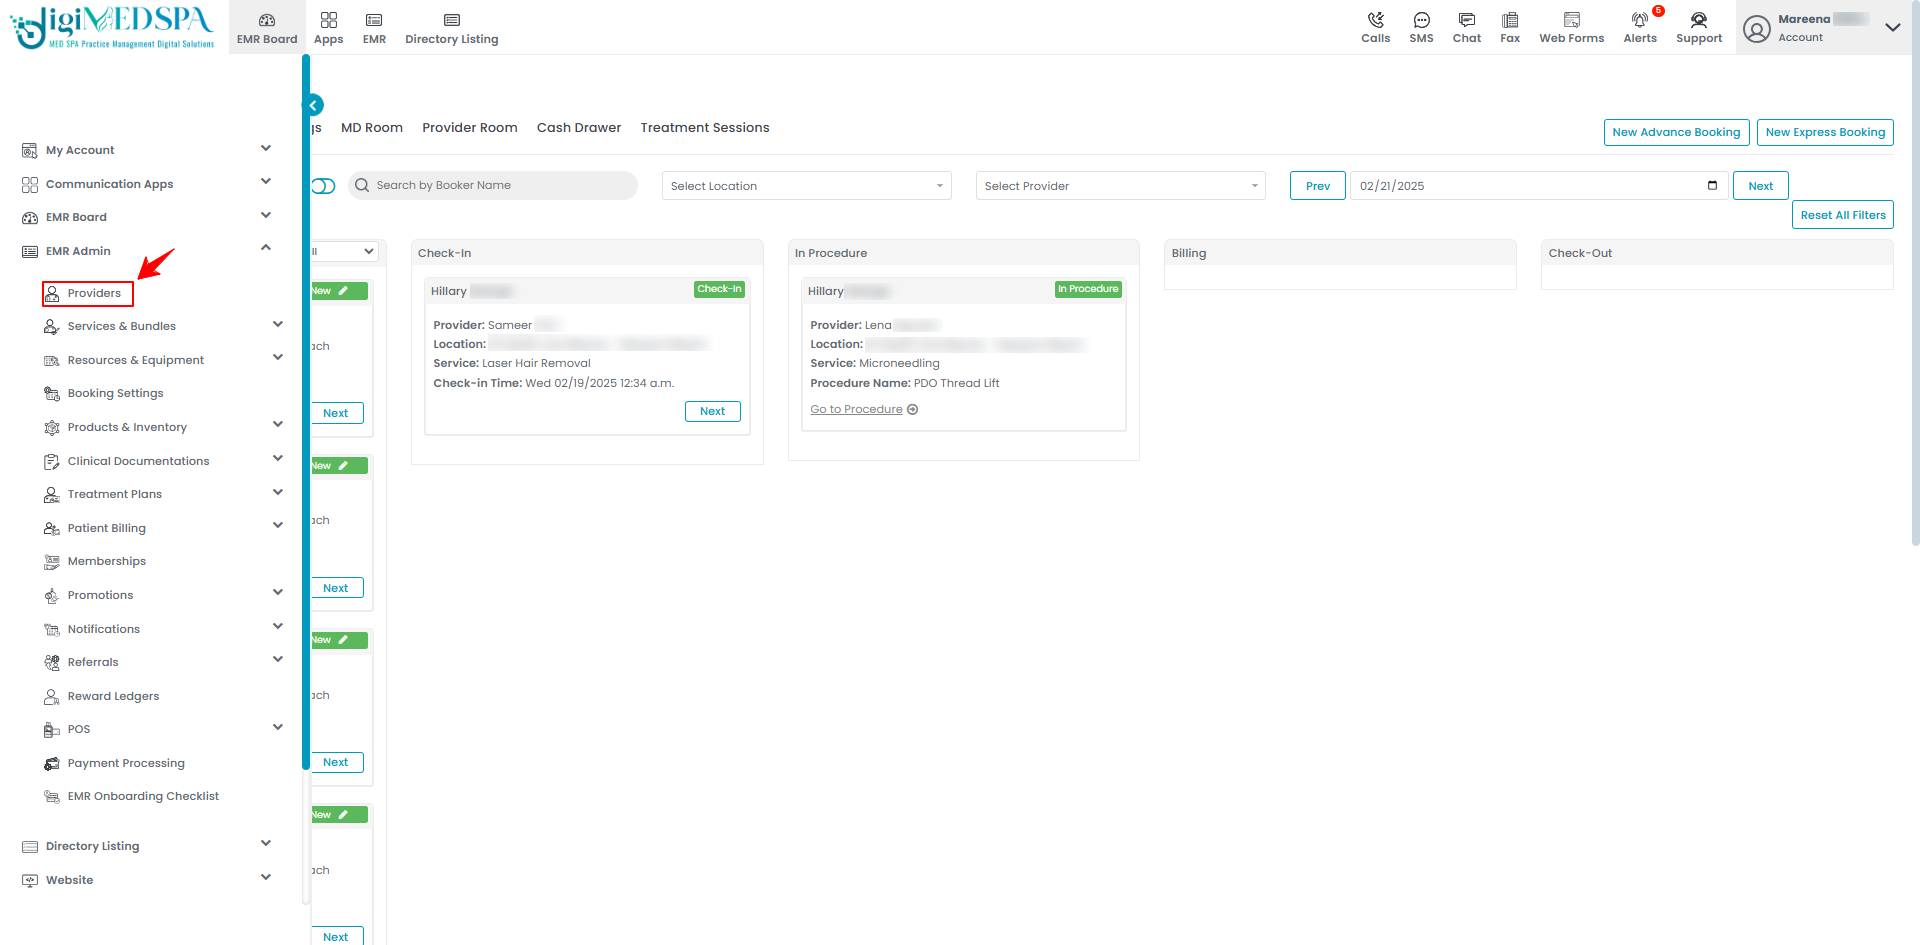
- To sign a chart and send it to the provider's room, the user can go to the "Providers" section and verify if the specific provider requires the medical director’s signature. There are two entry points to access the Providers section for this process.Note: An MD can act as a provider, but not all providers are MDs. Non-MD providers require an MD's signature for procedures, while MDs simply need their own signature only.
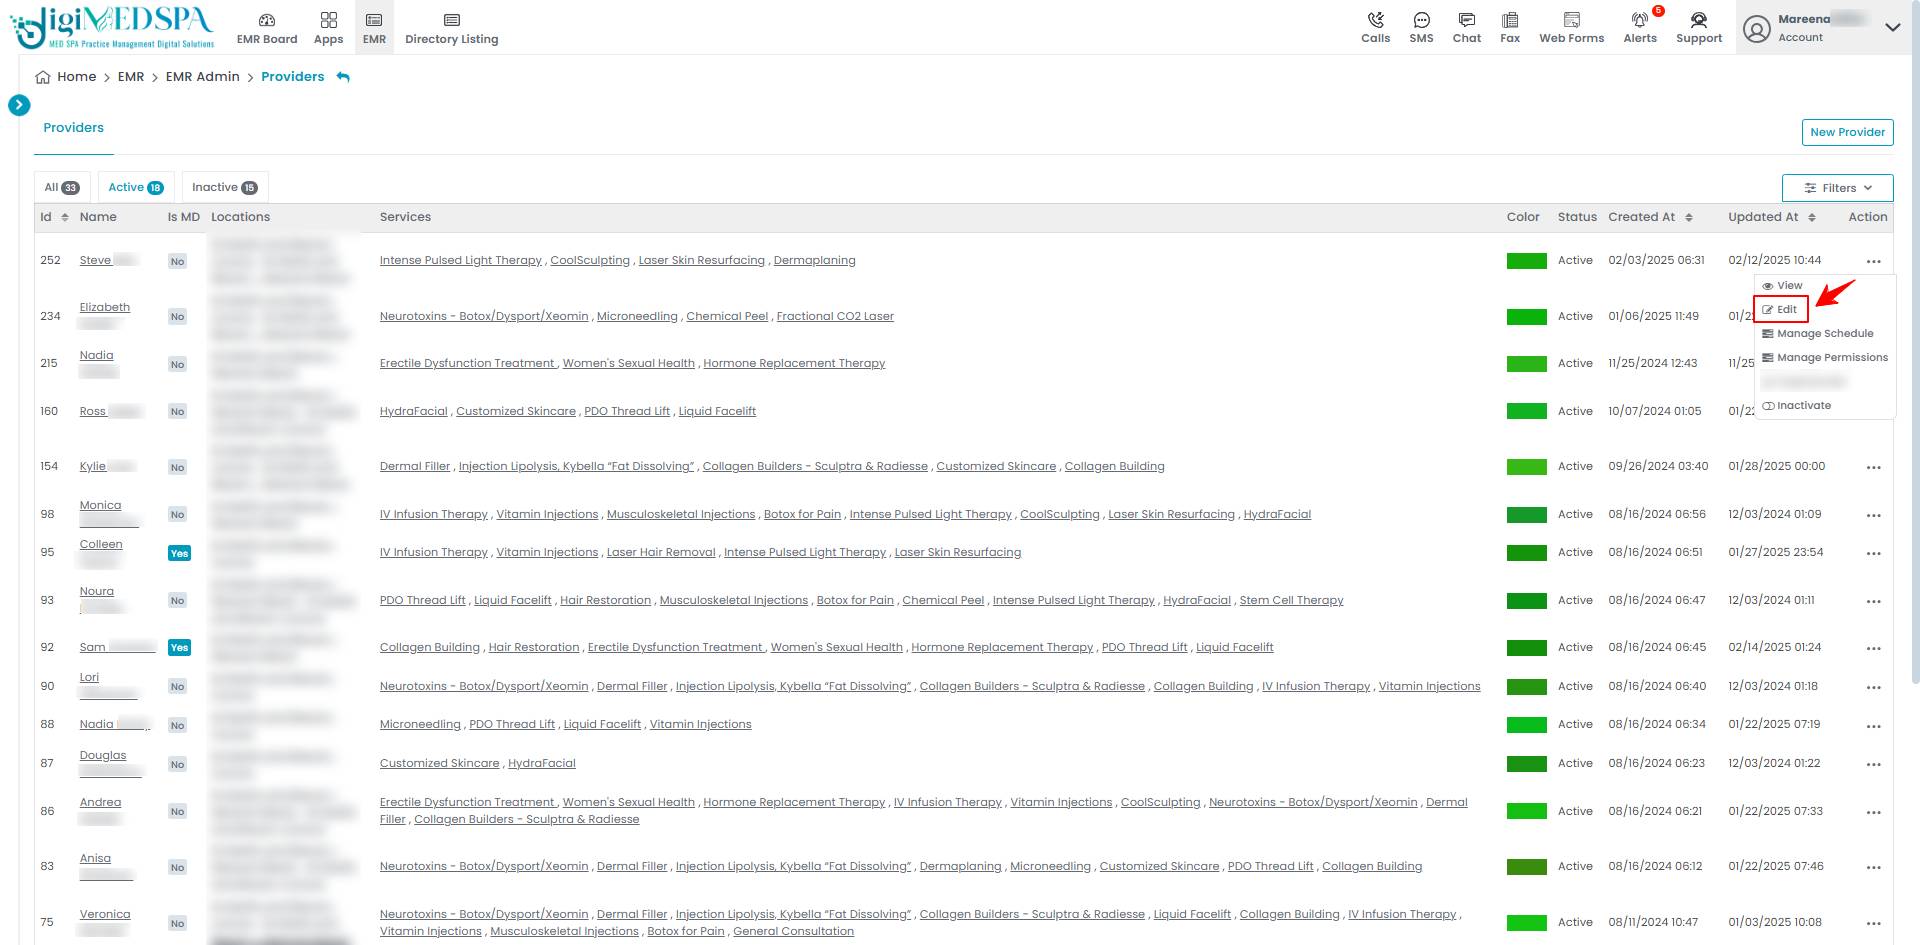
- From the provider list, click on three dots under the action column and select "Edit" for the specific provider.

- In step 1, fill the required fields for the provider’s profile. Scroll down to ‘’Does this provider require MD permission for procedure?’’ and click ‘’Yes’’ and press the ‘’Next’’ button to continue.

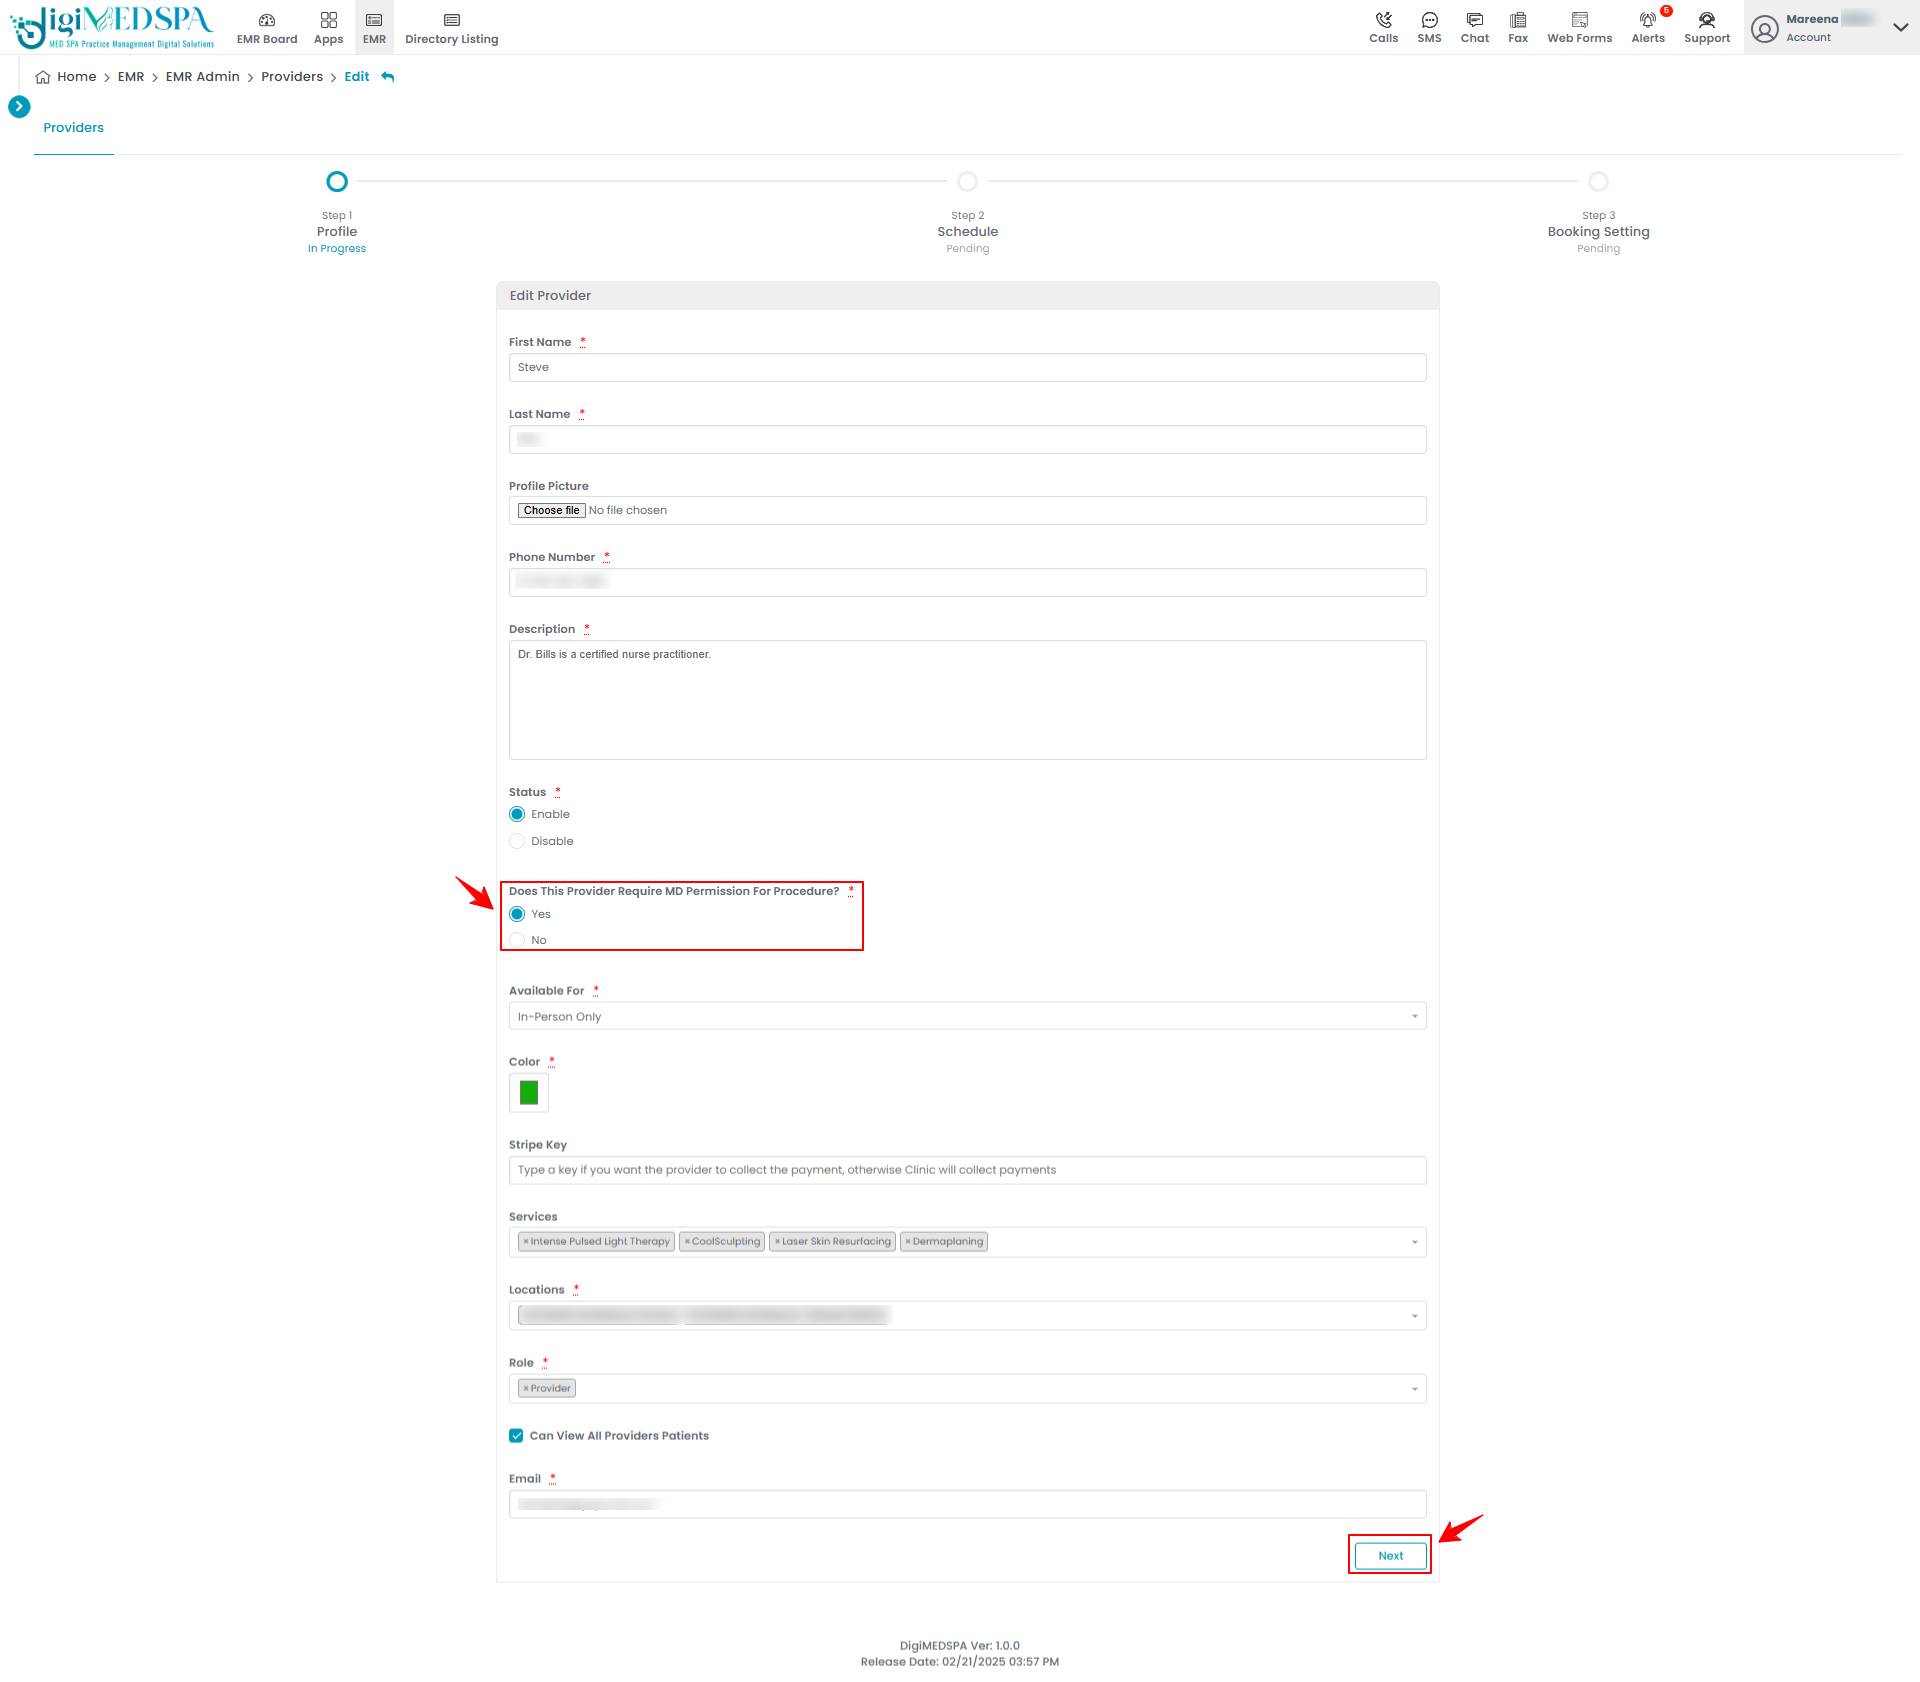 This provider is successfully linked to a MD. Now this provider will require MD’s signature for the procedure. Note: When creating a procedure in our portal, you can select the MD's name directly. For detailed instructions, refer to the ‘’Create a Cosmetic Procedure’’ or ‘’Create a Health Procedure’’ user guide.
Step 2: Sign a Chart and Send it to MD's Room
- The provider must log in with their email and password to sign and send a chart to the MD’s room.

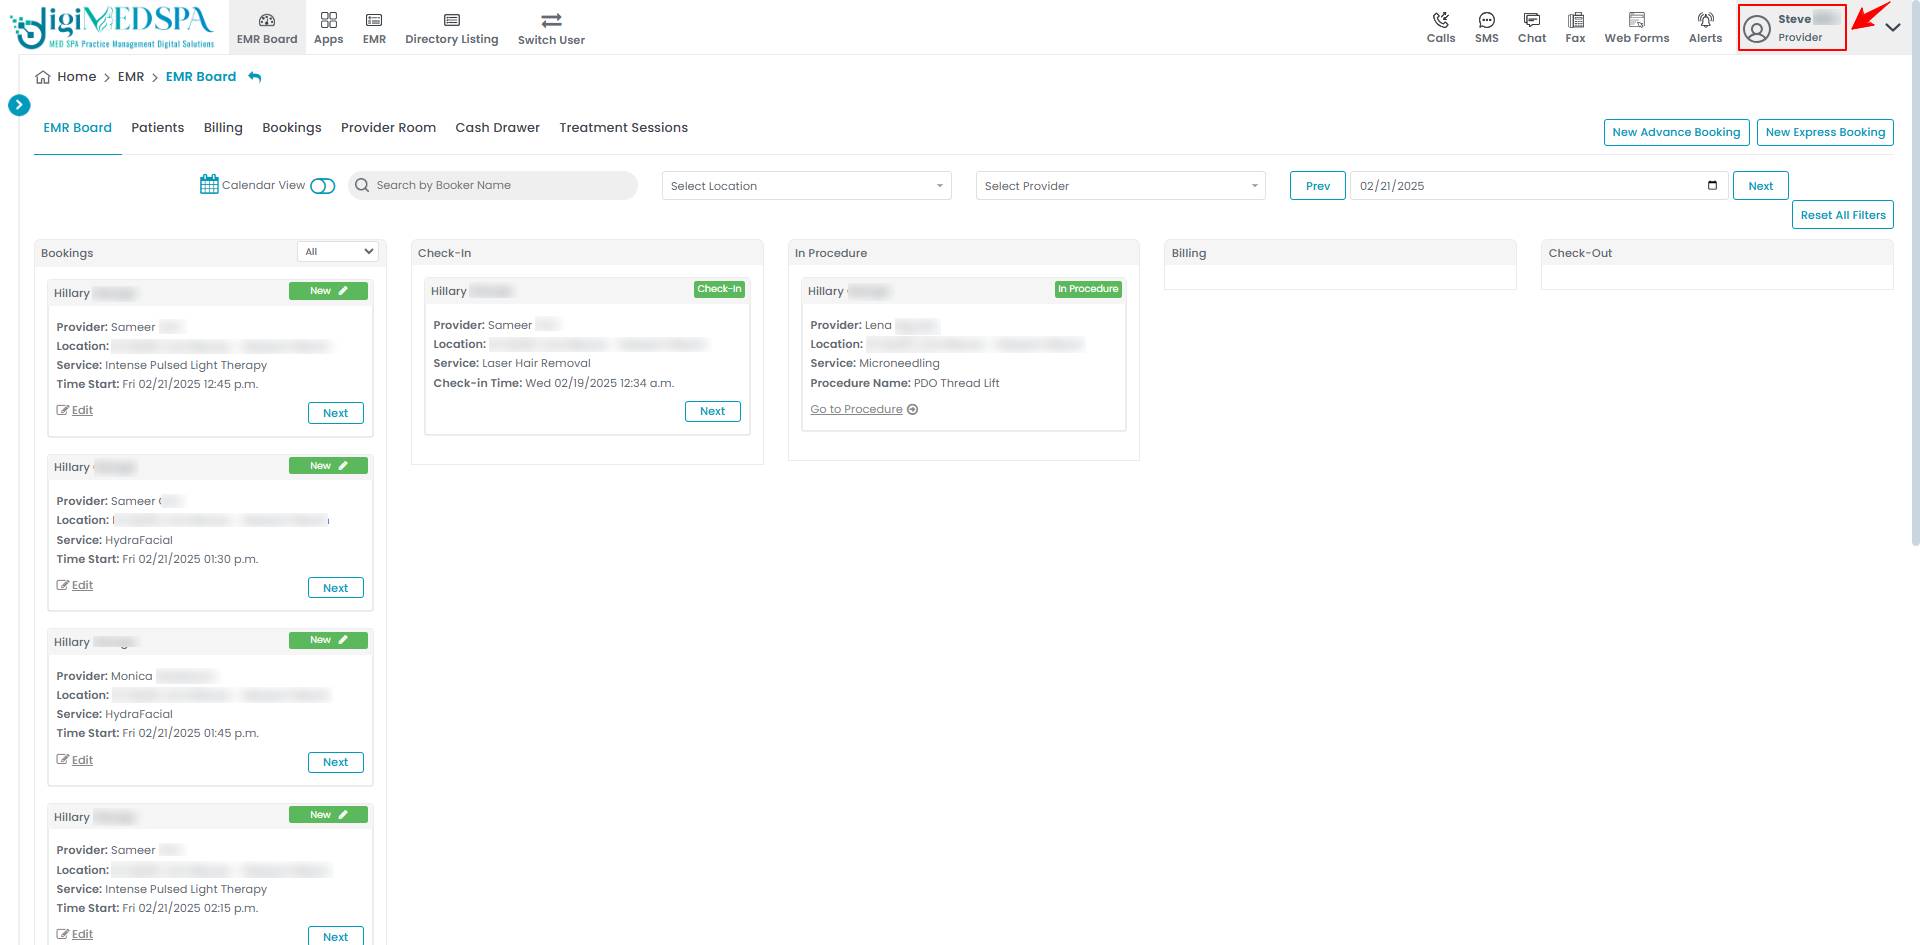 Note: After logging in, the provider will only have access to their own room and will not be able to view other providers' rooms.
 - From the EMR Board tabs, click on ‘’Provider Room.’’

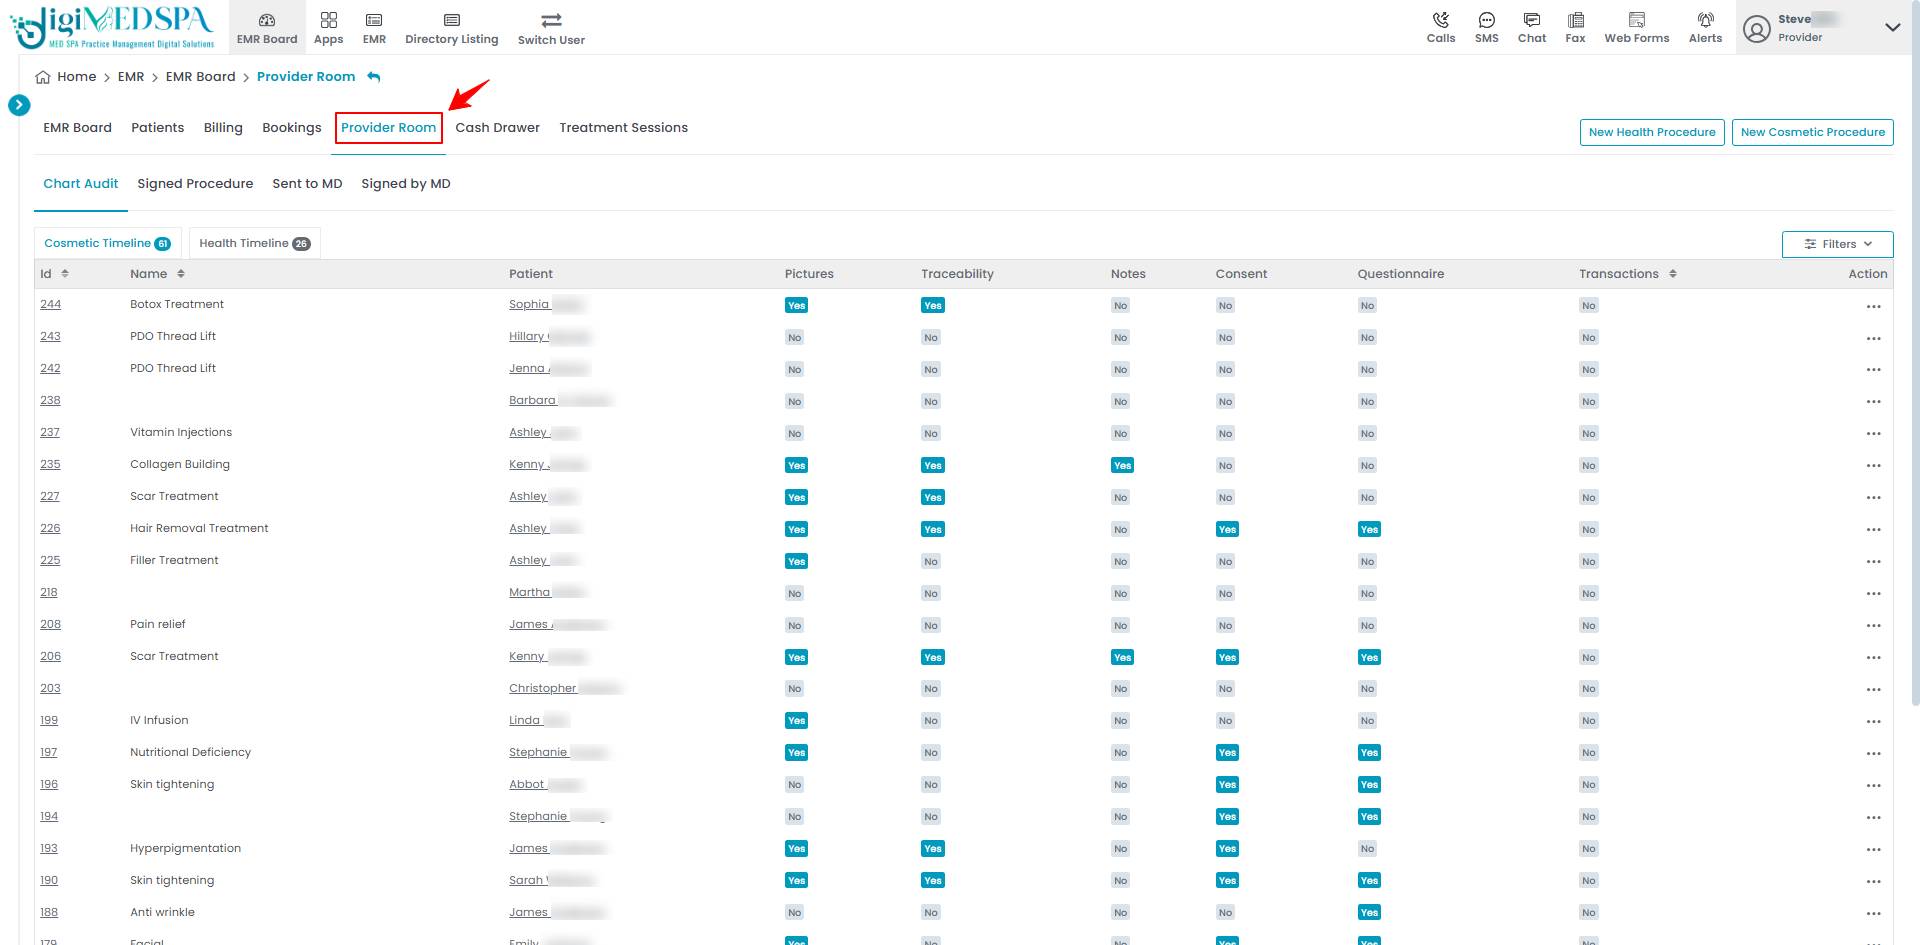
- Clicking on Provider’s Room will directly lead the provider to the ‘’Chart Audit’’ page. Choose and click on the cosmetic procedure which the provider would like to sign.

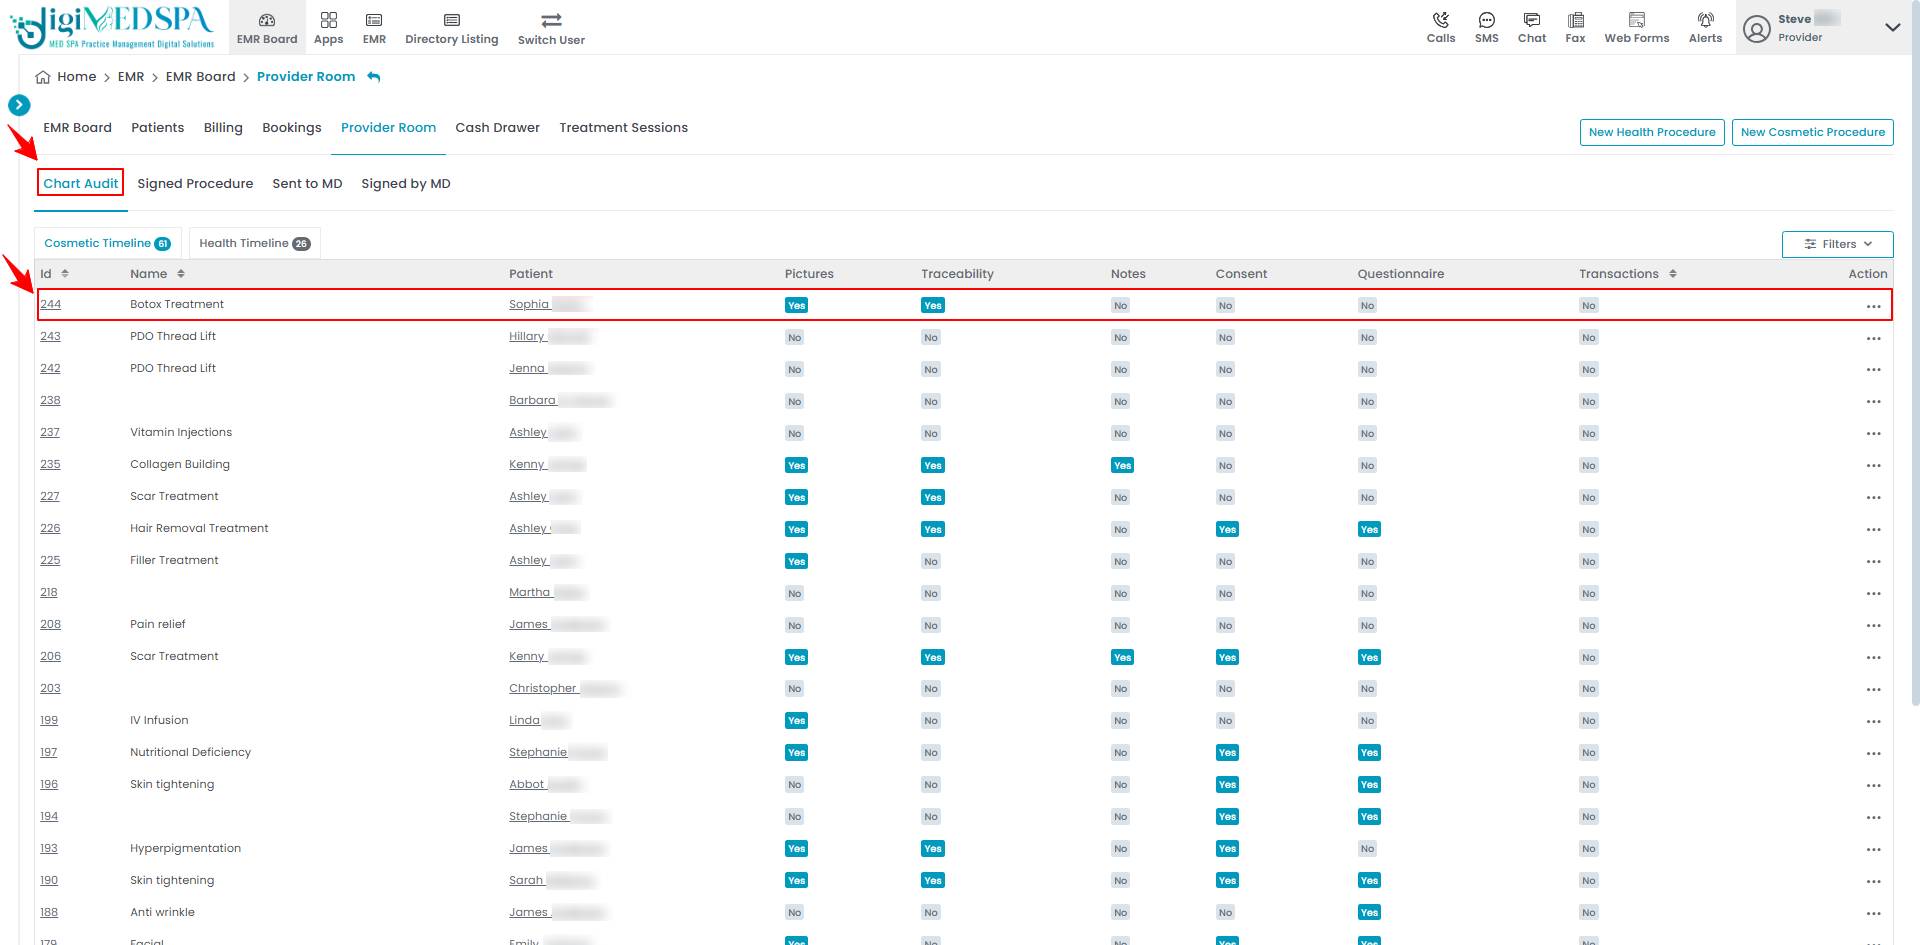 Note: A ‘Chart Audit’ is the review of patient records to ensure accurate documentation, compliance with medical regulations, and adherence to treatment protocols. It helps maintain quality care and regulatory standards.
 - Click on the ‘’Sign’’ button in the top right corner.

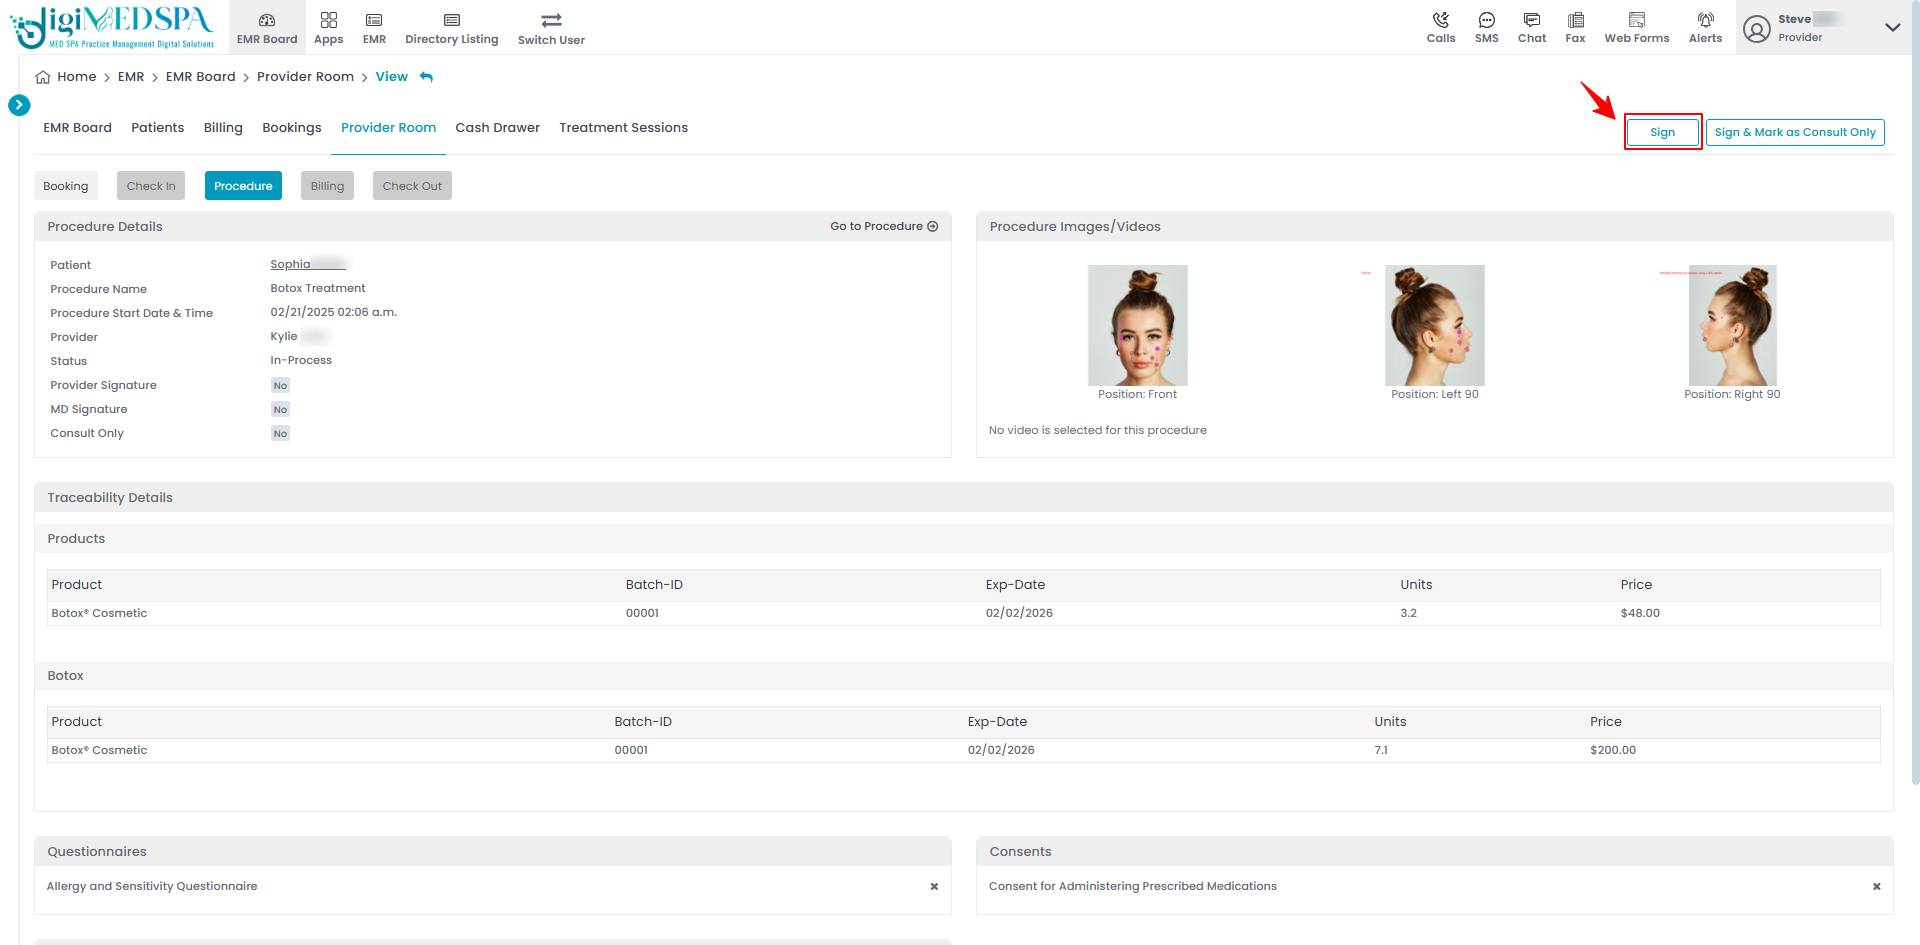 Note: The signature button will only be visible to the relevant provider.
 - Select the MD from the dropdown whose signature must be required for the procedure. The procedure will then be added to MD’s pending procedures list in the MD Room.

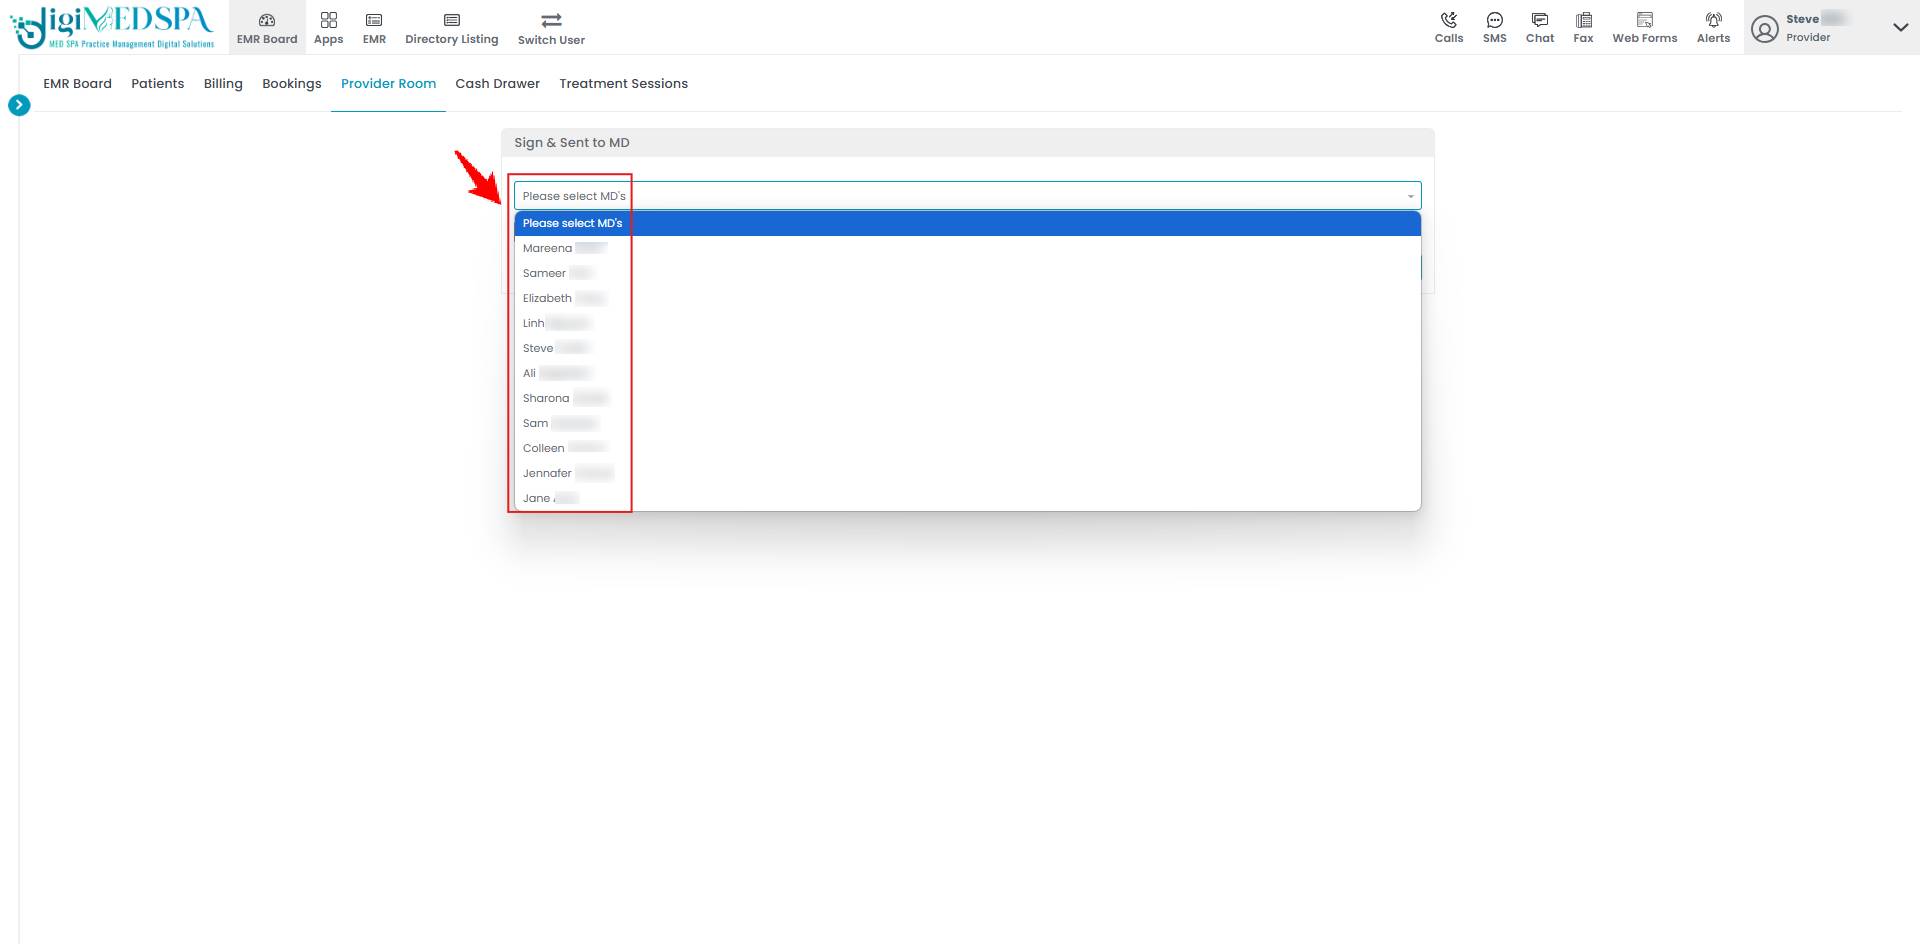
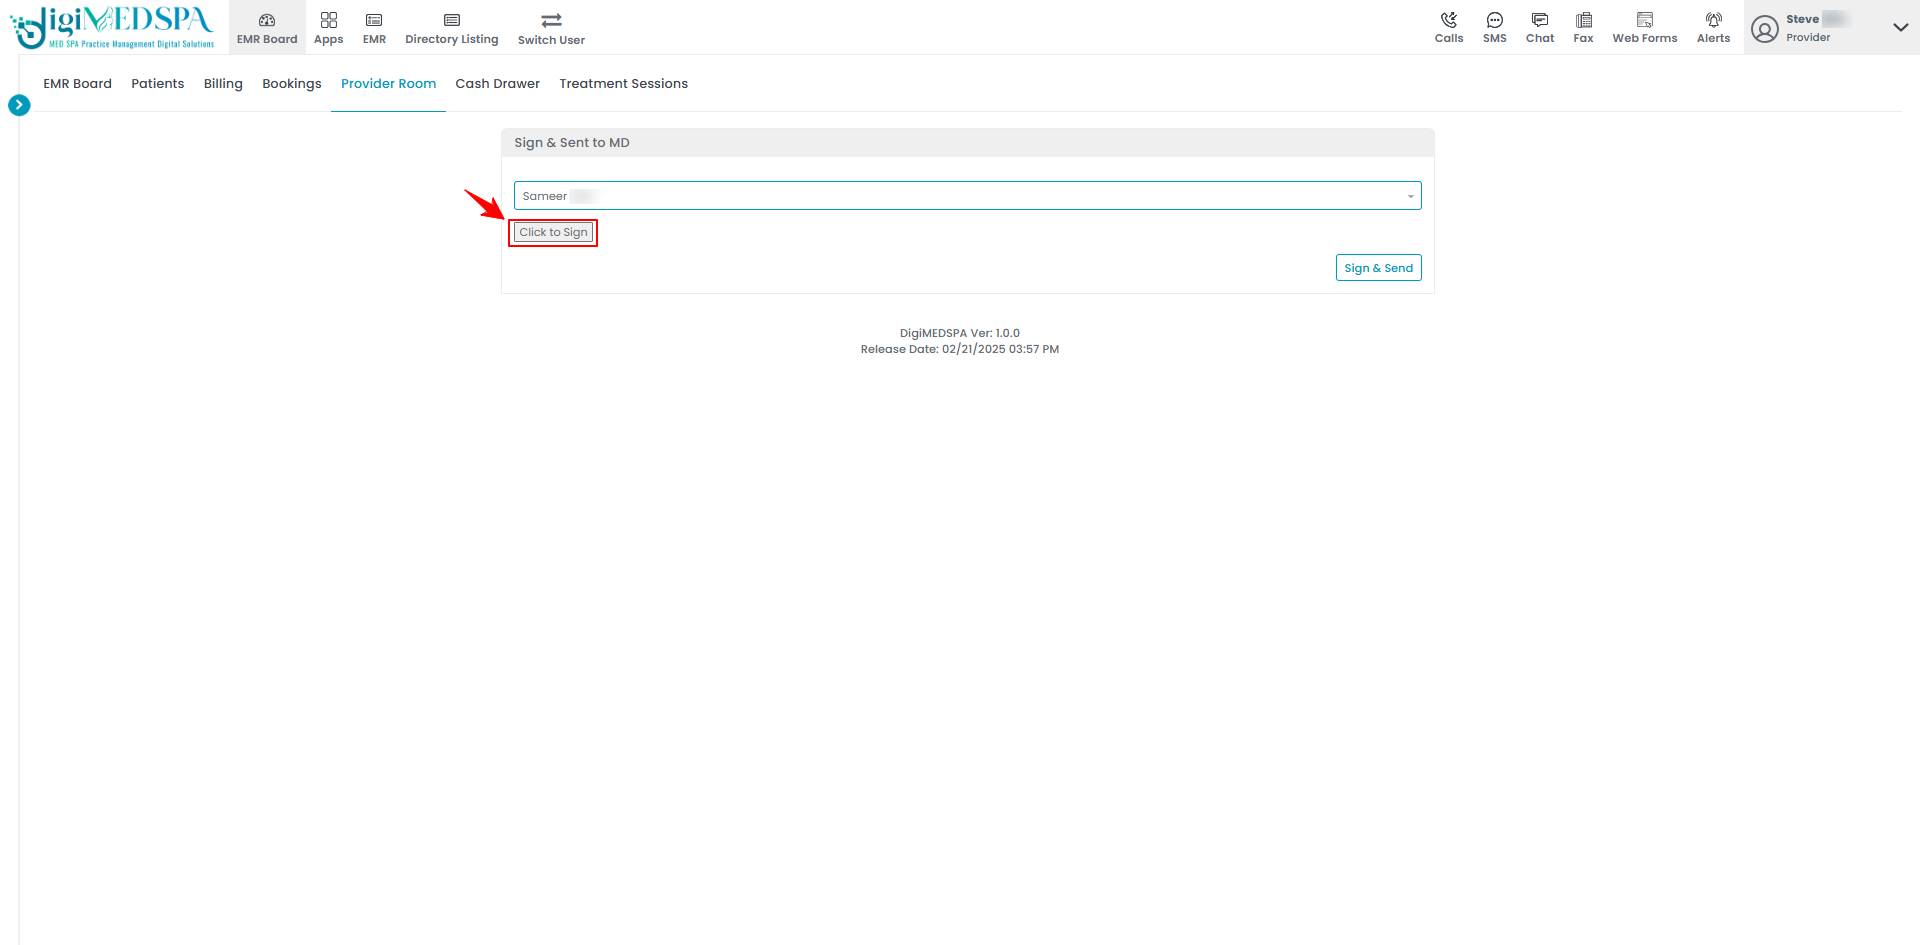
- After selecting the MD, press the ‘’Click to Sign’’ button to sign the procedure as provider.

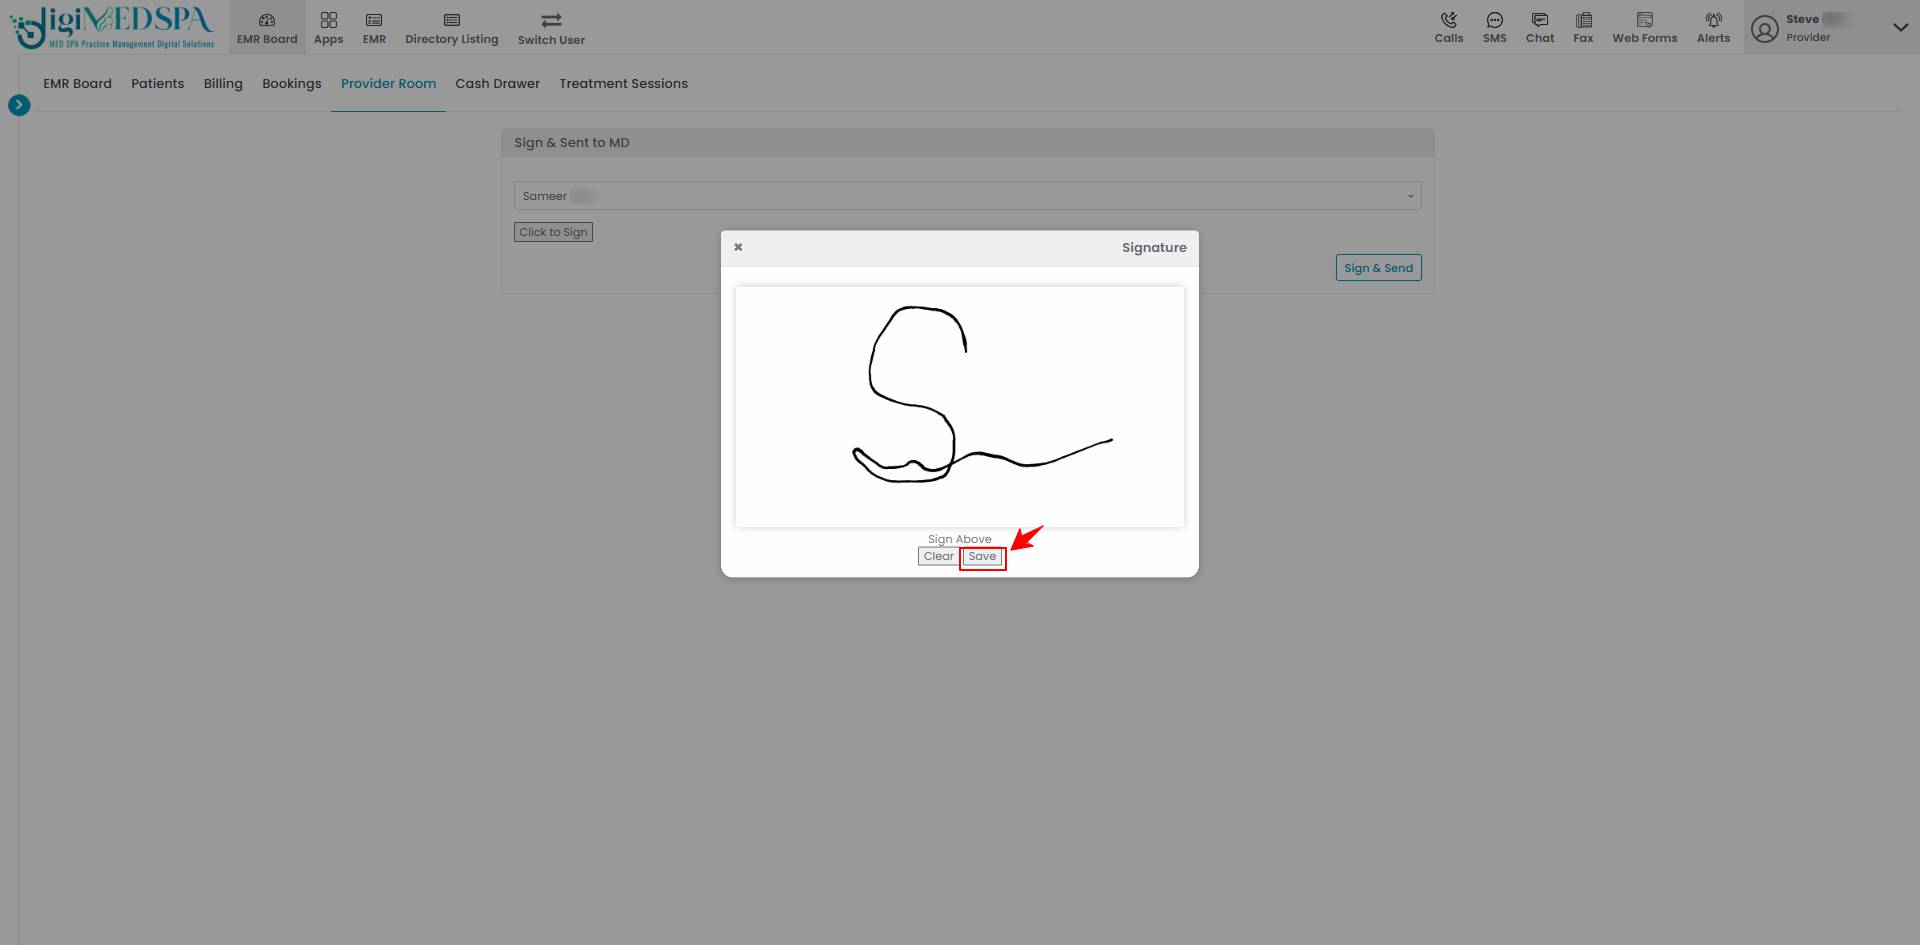
- A blank screen will appear for the provider to provide their electronic signature. Once the signature is completed, click "Save".

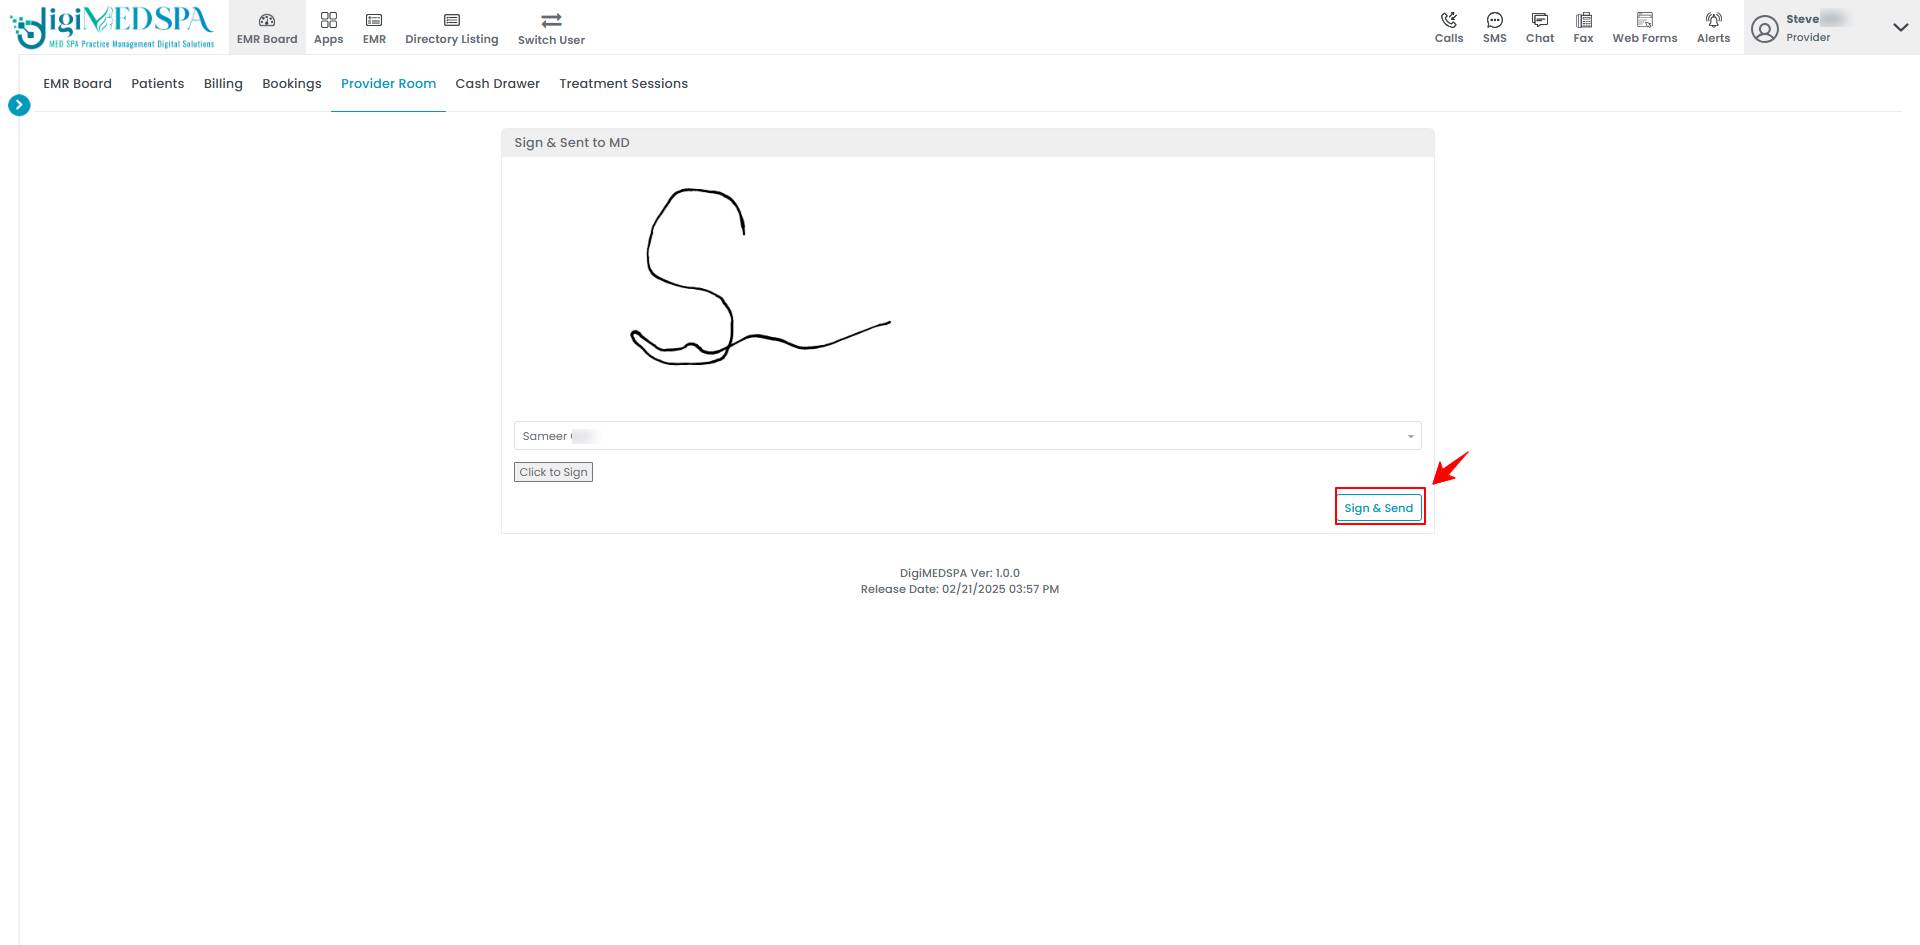
- When you are finished, click the "Sign & Send" button. The provider's signature will be saved, and the signed procedure will be sent to the MD.

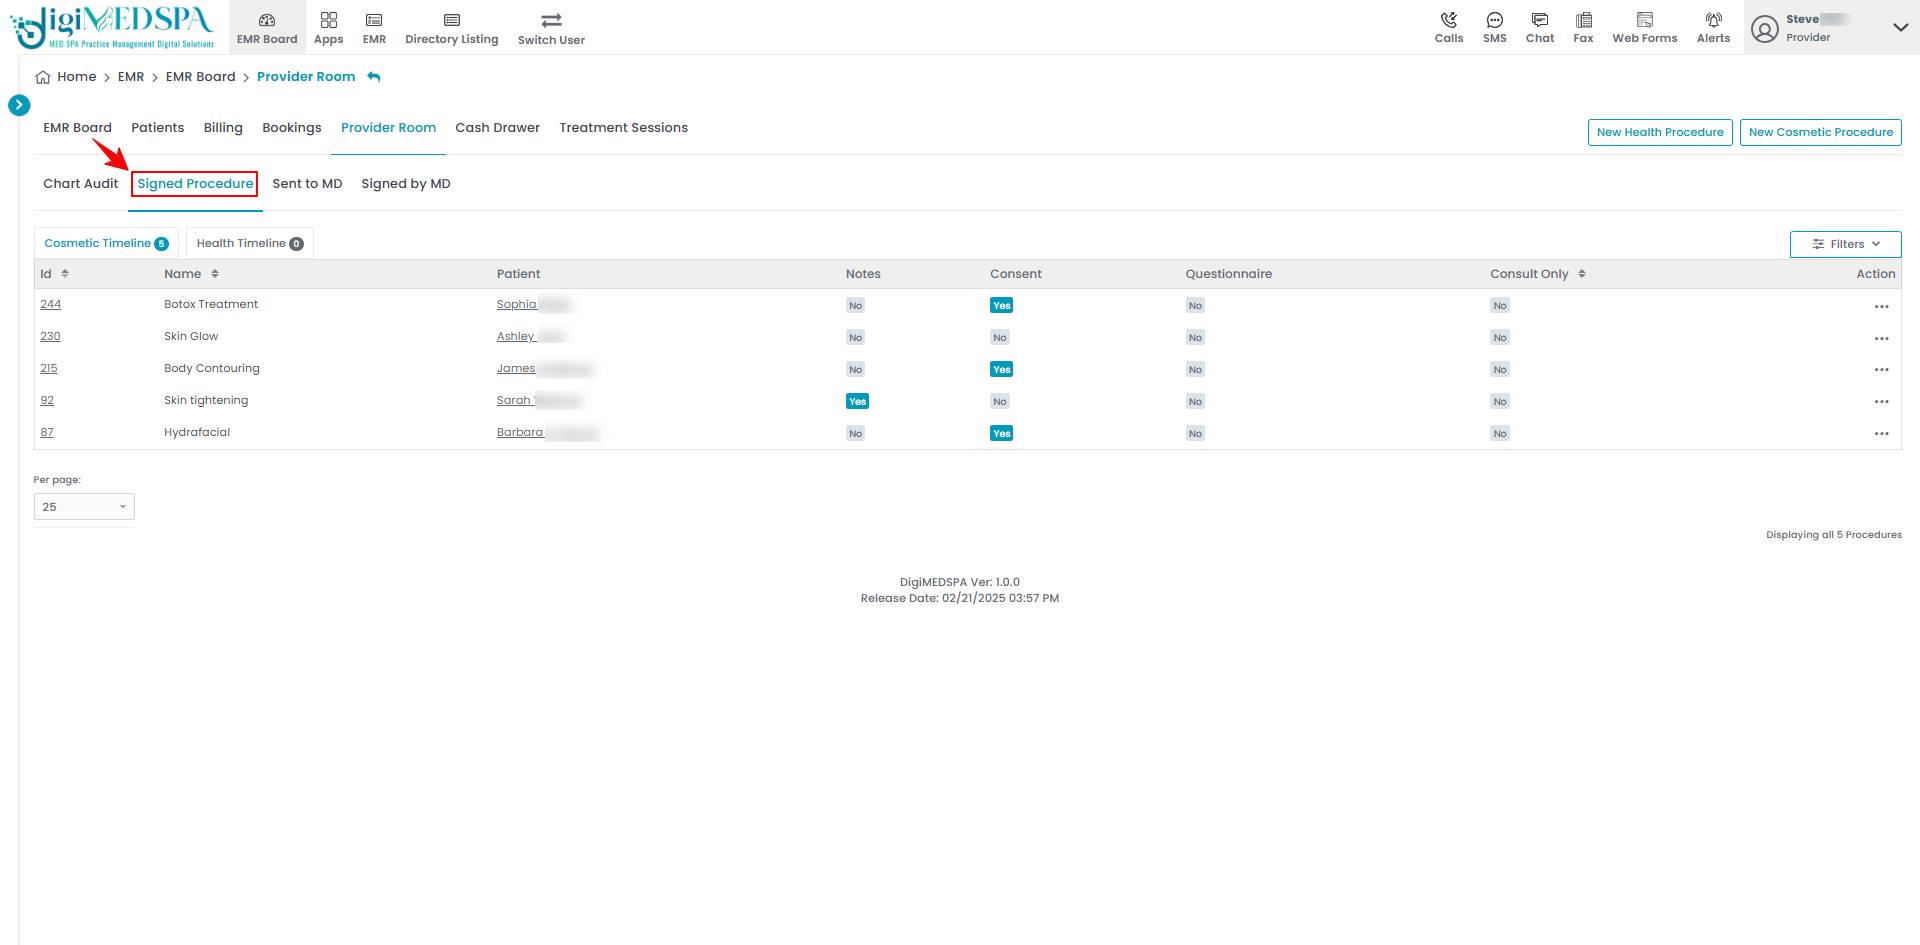
- In the Provider’s Room, click on ‘’Signed Procedure’’ to view the signed procedures.

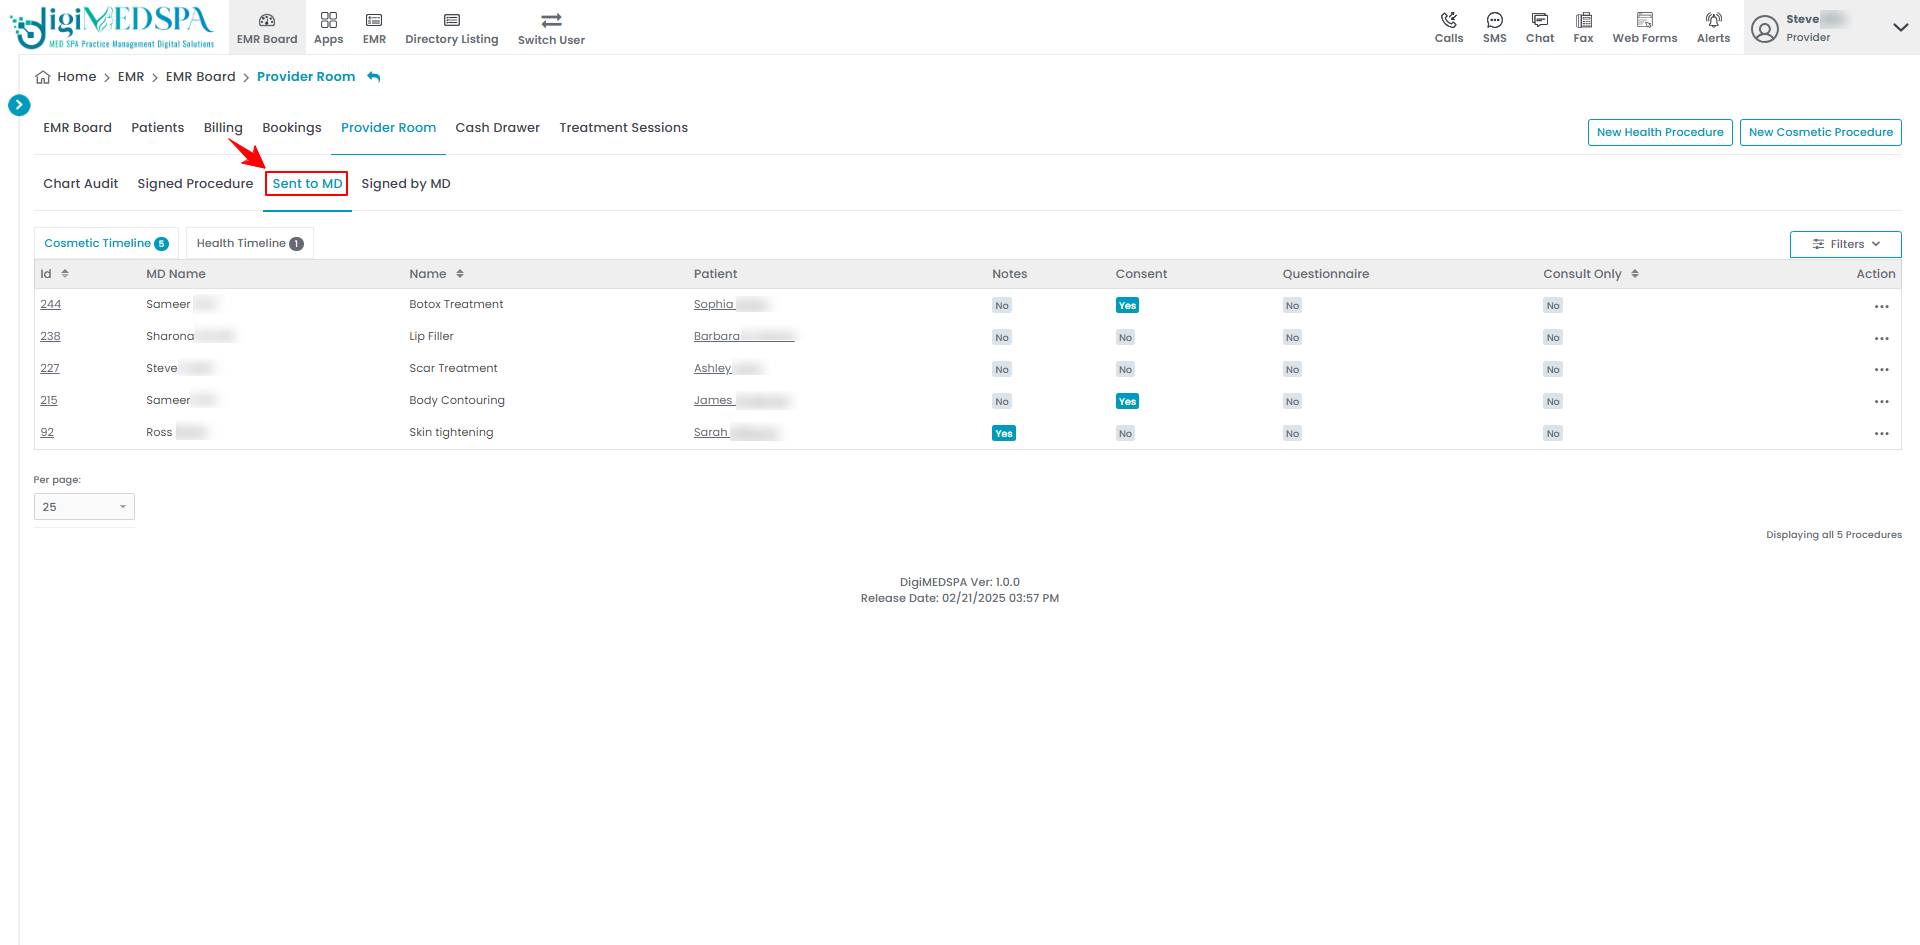
- In the Provider’s Room, click on ‘’Sent to MD’’ to view what was sent to the MD.

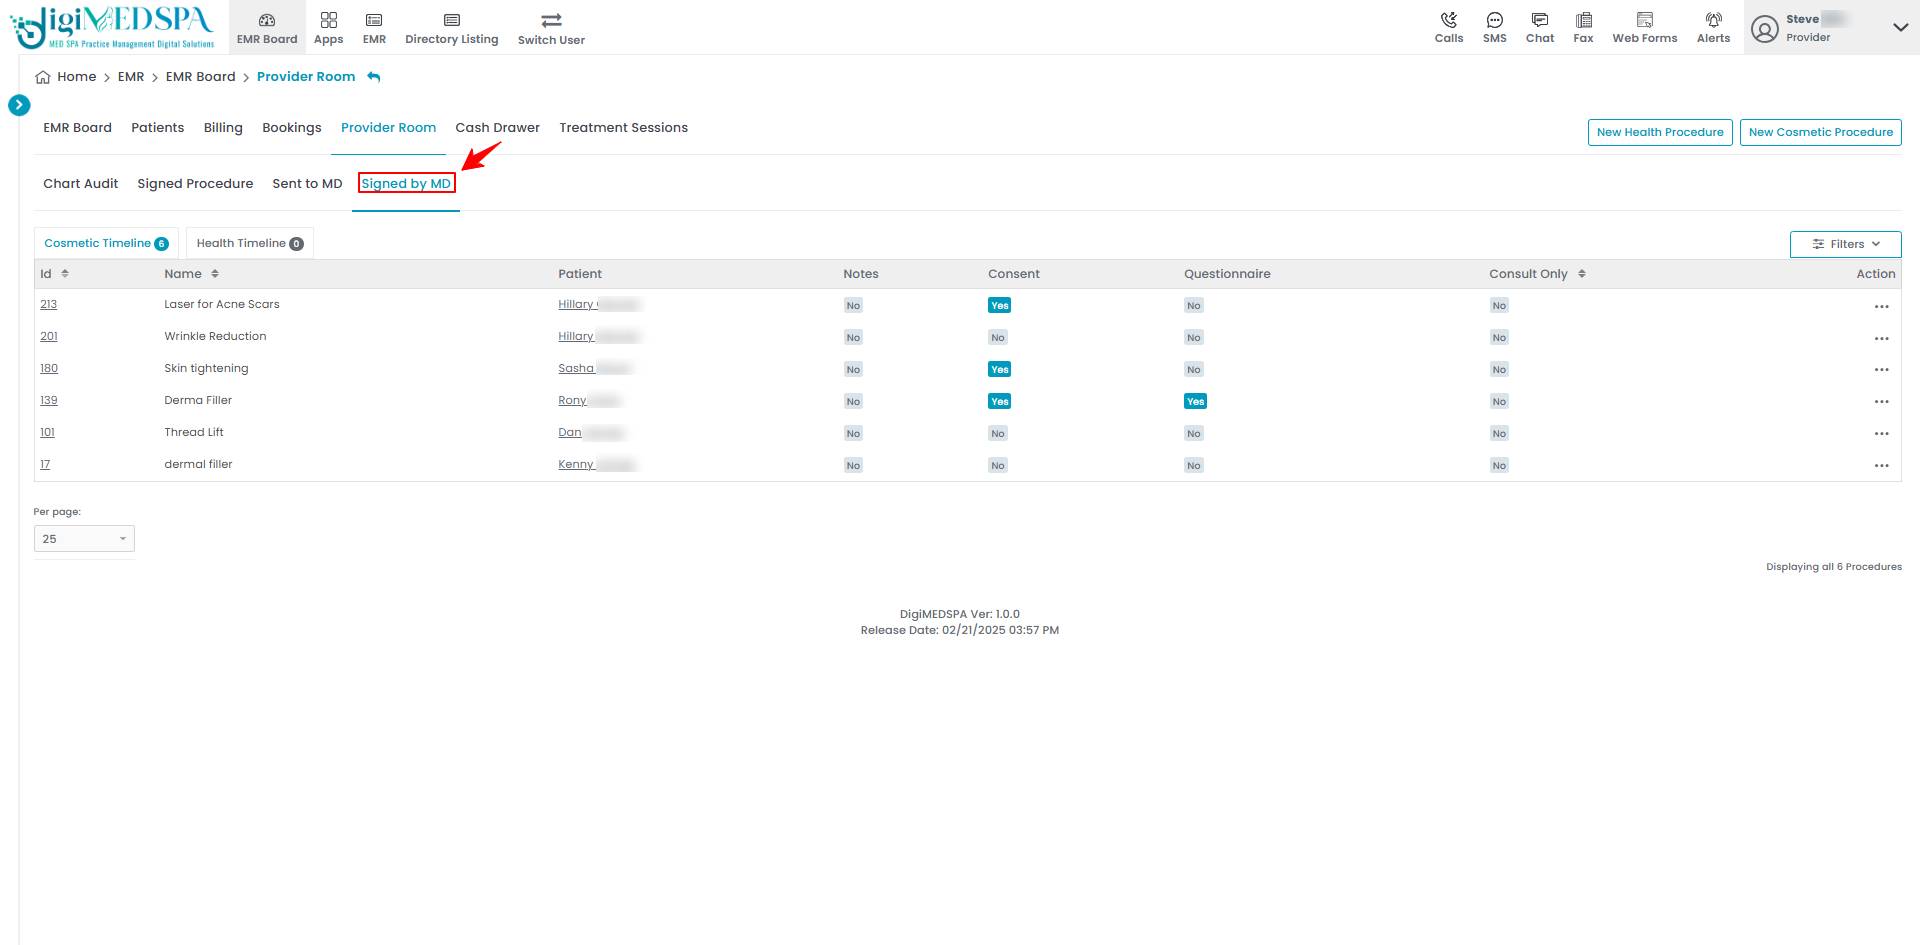
- To check the status of the chart, click on ‘’Signed by MD’’ in the Provider’s Room. The signed procedures will be displayed here.

Step 3: Signing Provider Charts as the Medical Director
- If you are a Medical Director, log into your account, and your EMR Board tab will show ‘MD Room.’

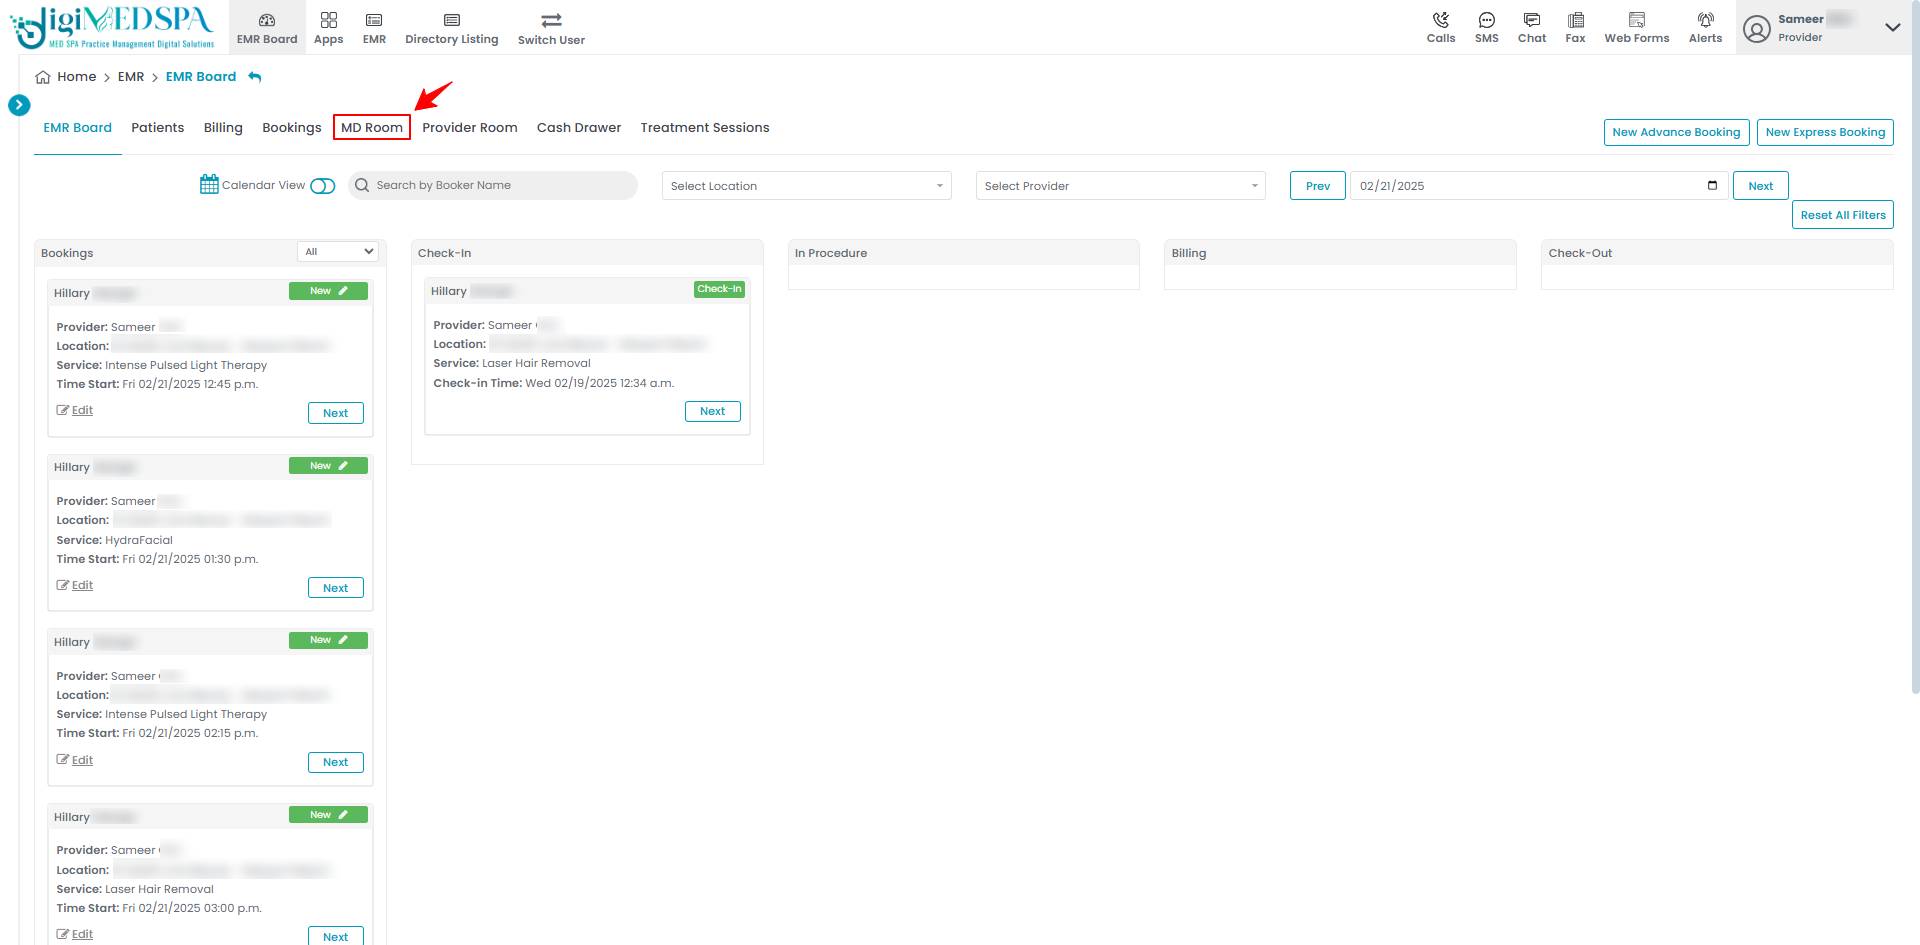
- You will see a list of cosmetic procedures awaiting signatures. Select the procedure the MD needs to sign from the Pending Procedures list.

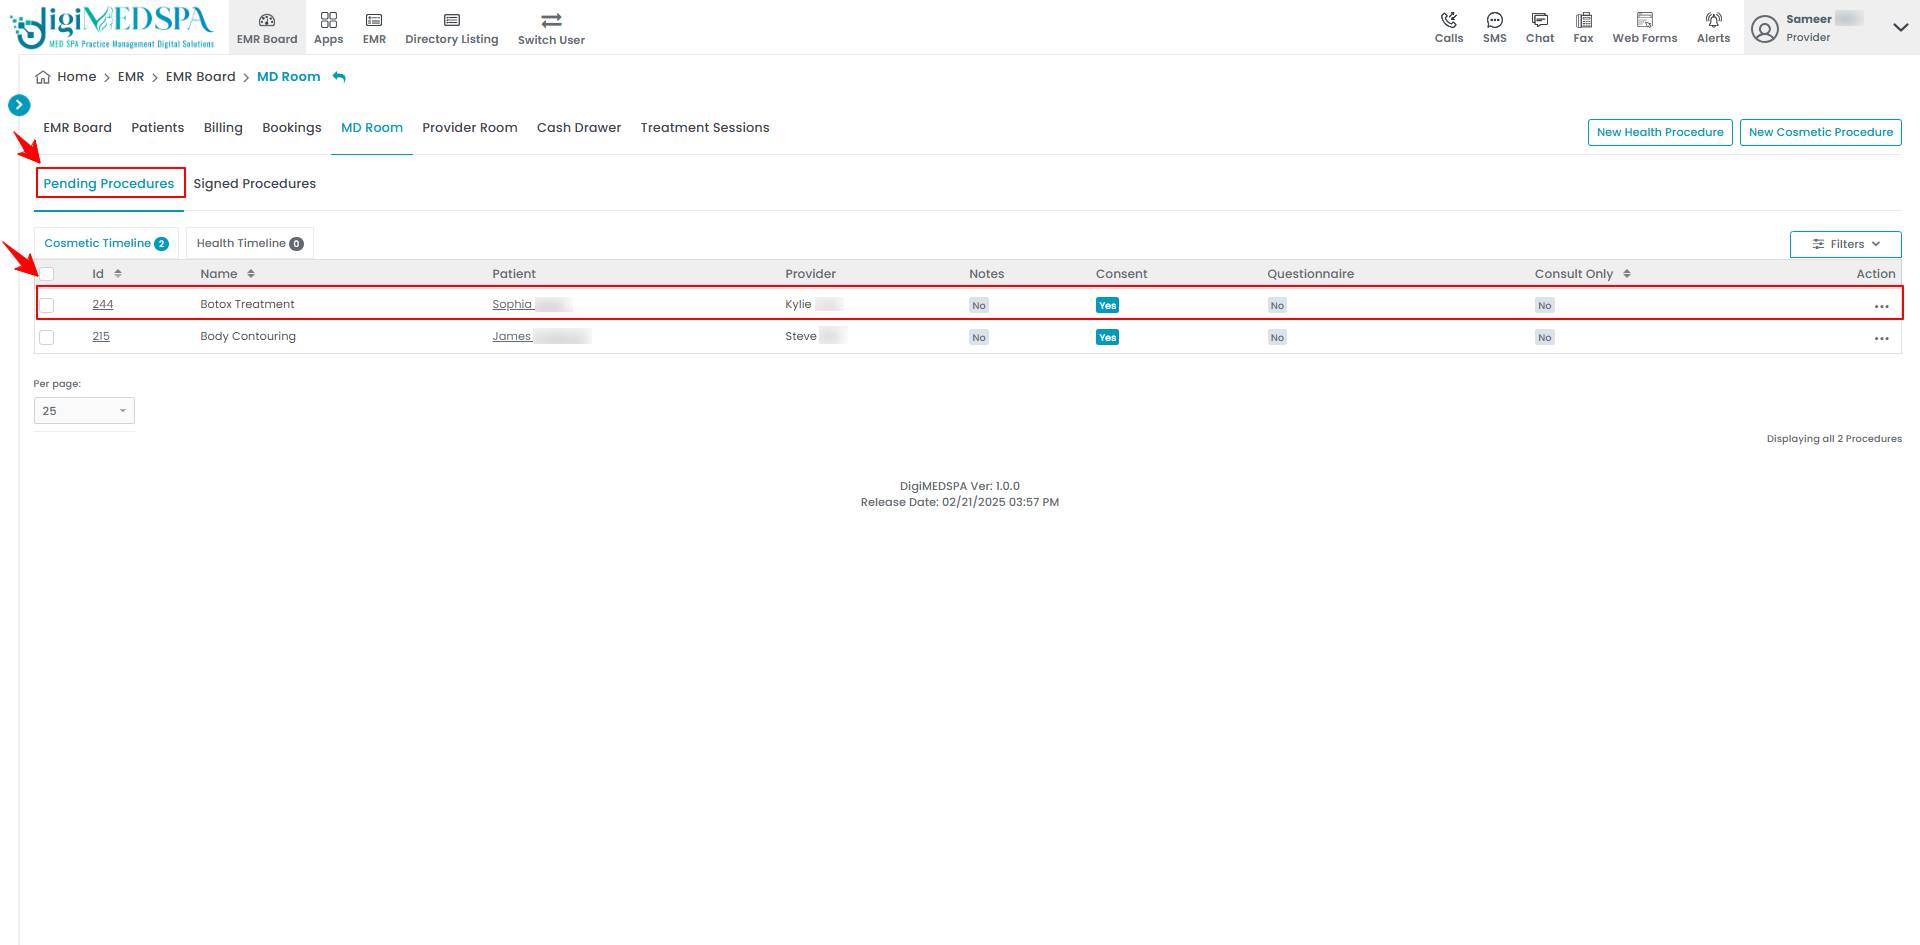 Note: This pending signature list contains procedures the provider sent to the MD for approval and signature.
 - After selecting the procedure, click on the ‘’Sign’’ button in the top right corner.

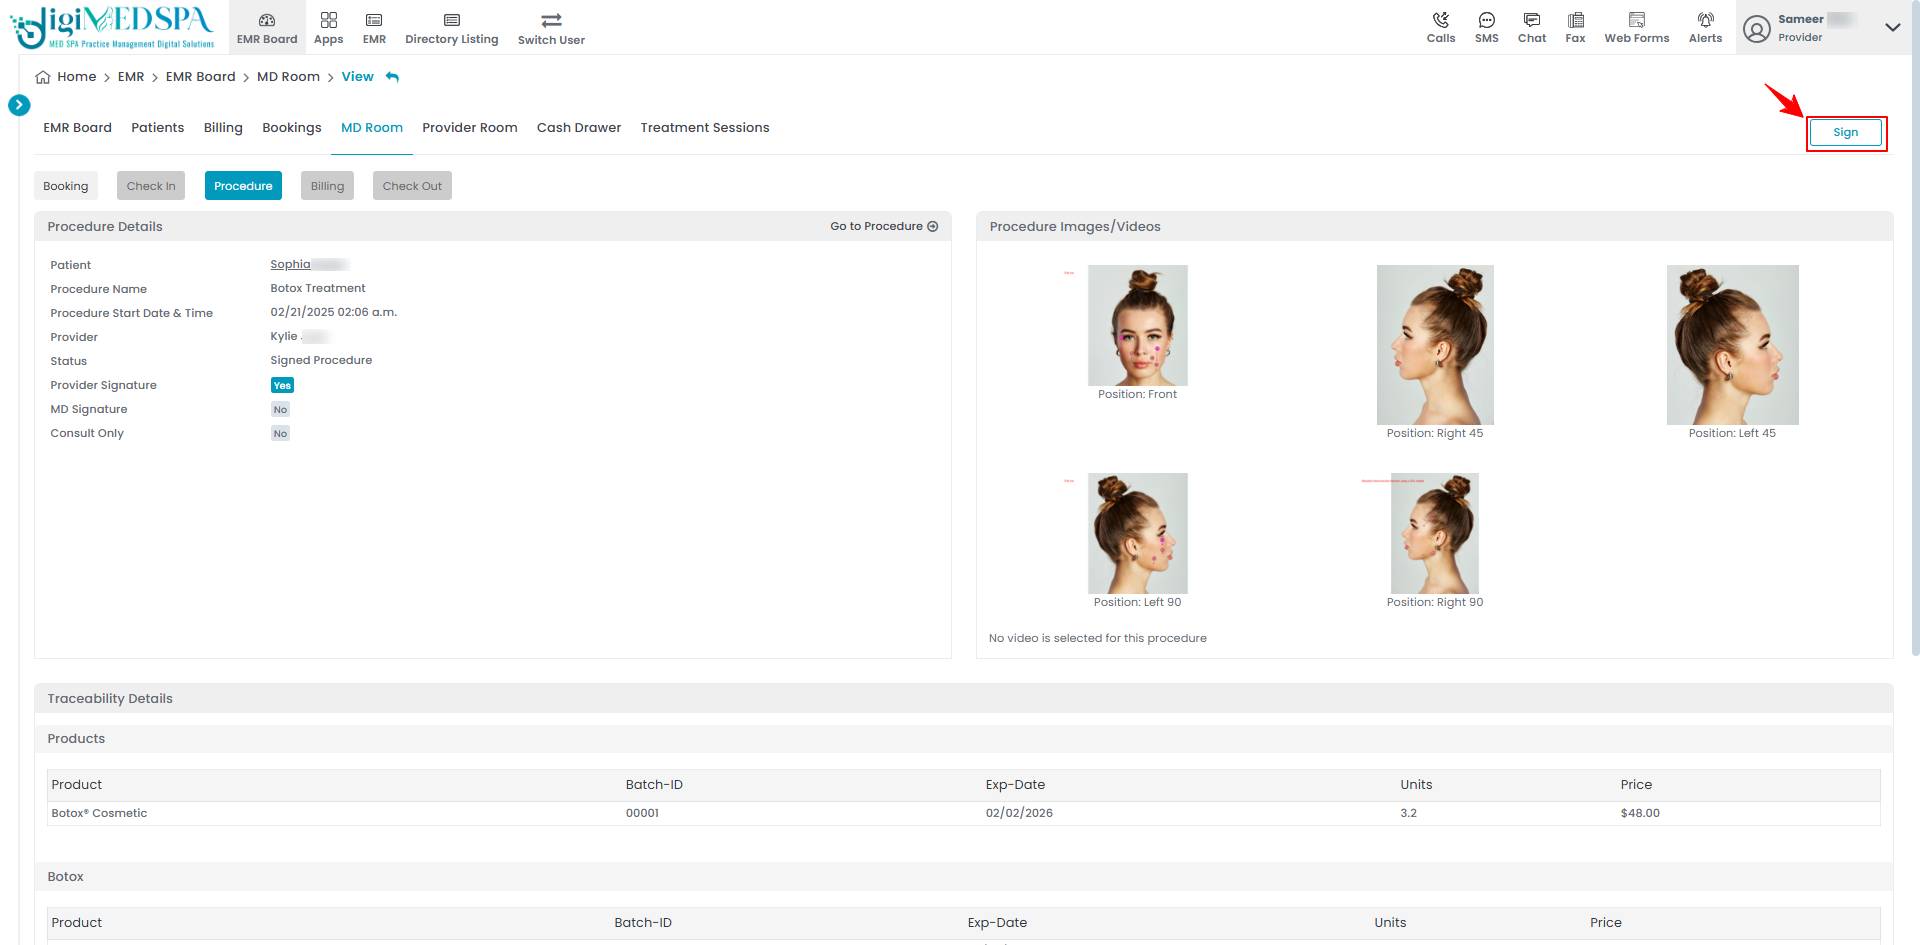
- Click on the ‘’Click to Sign’’ button.

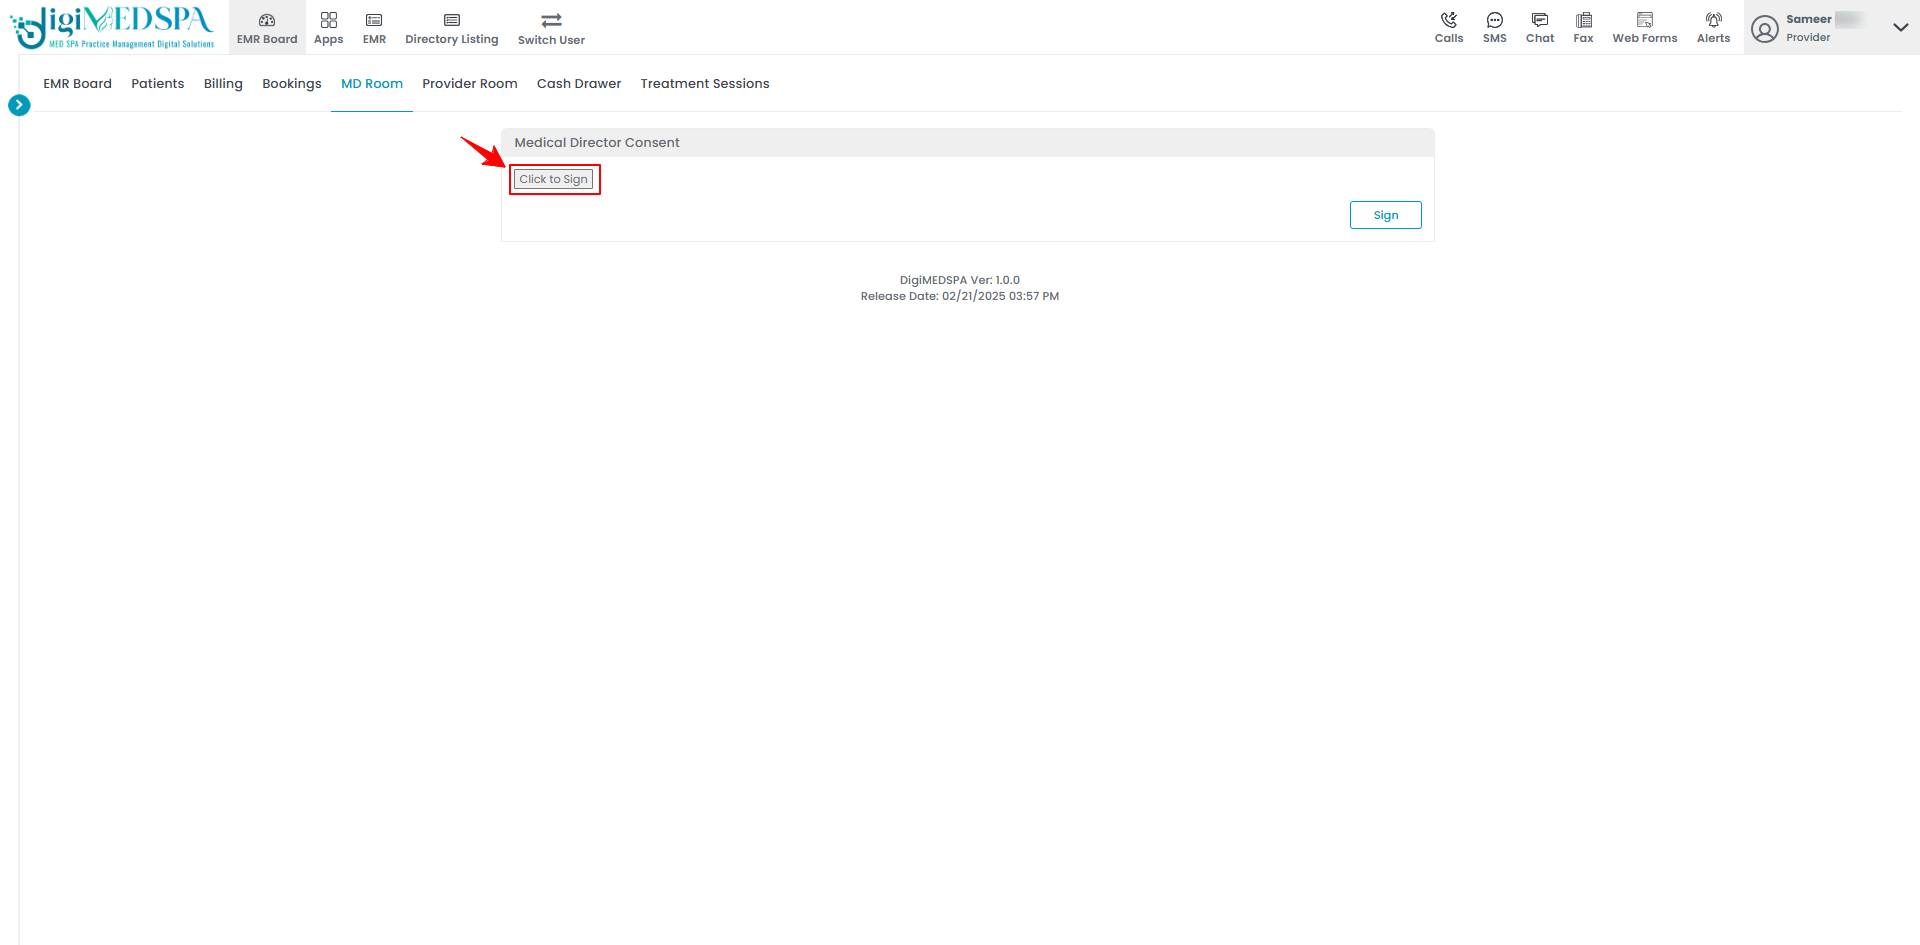
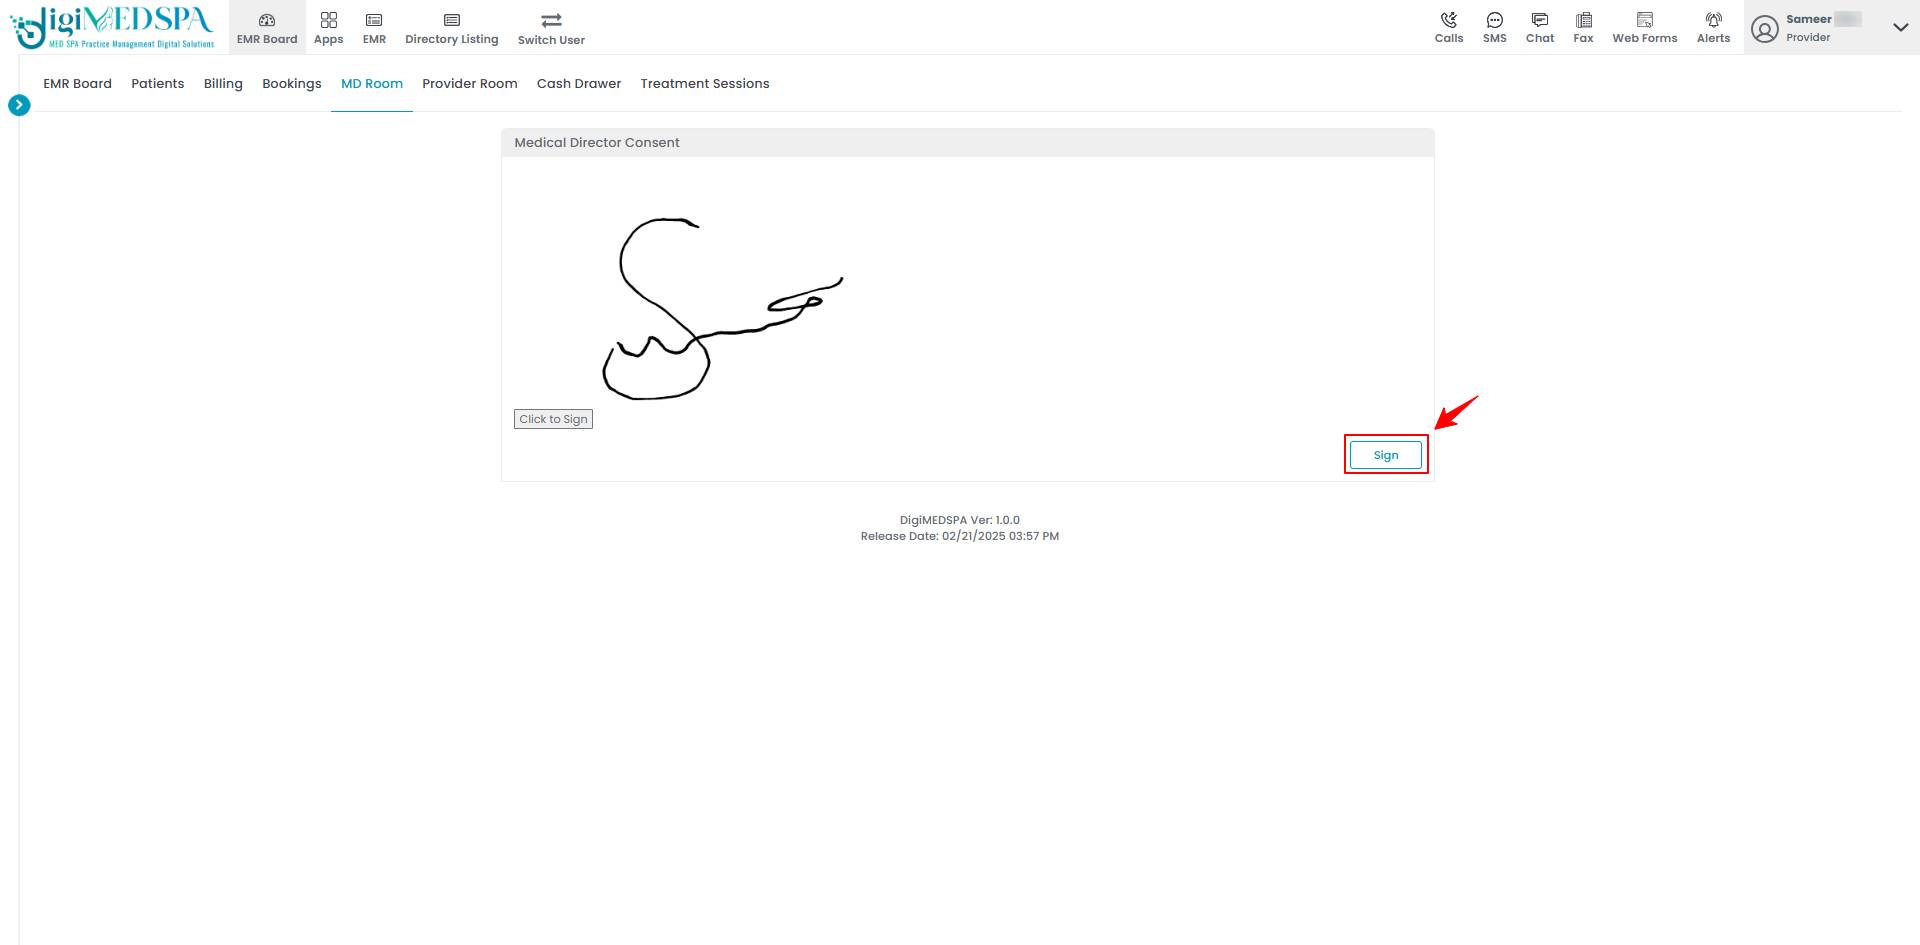
- A blank screen will appear for the MD to provide their electronic signature. Once the signature is completed, click "Save".

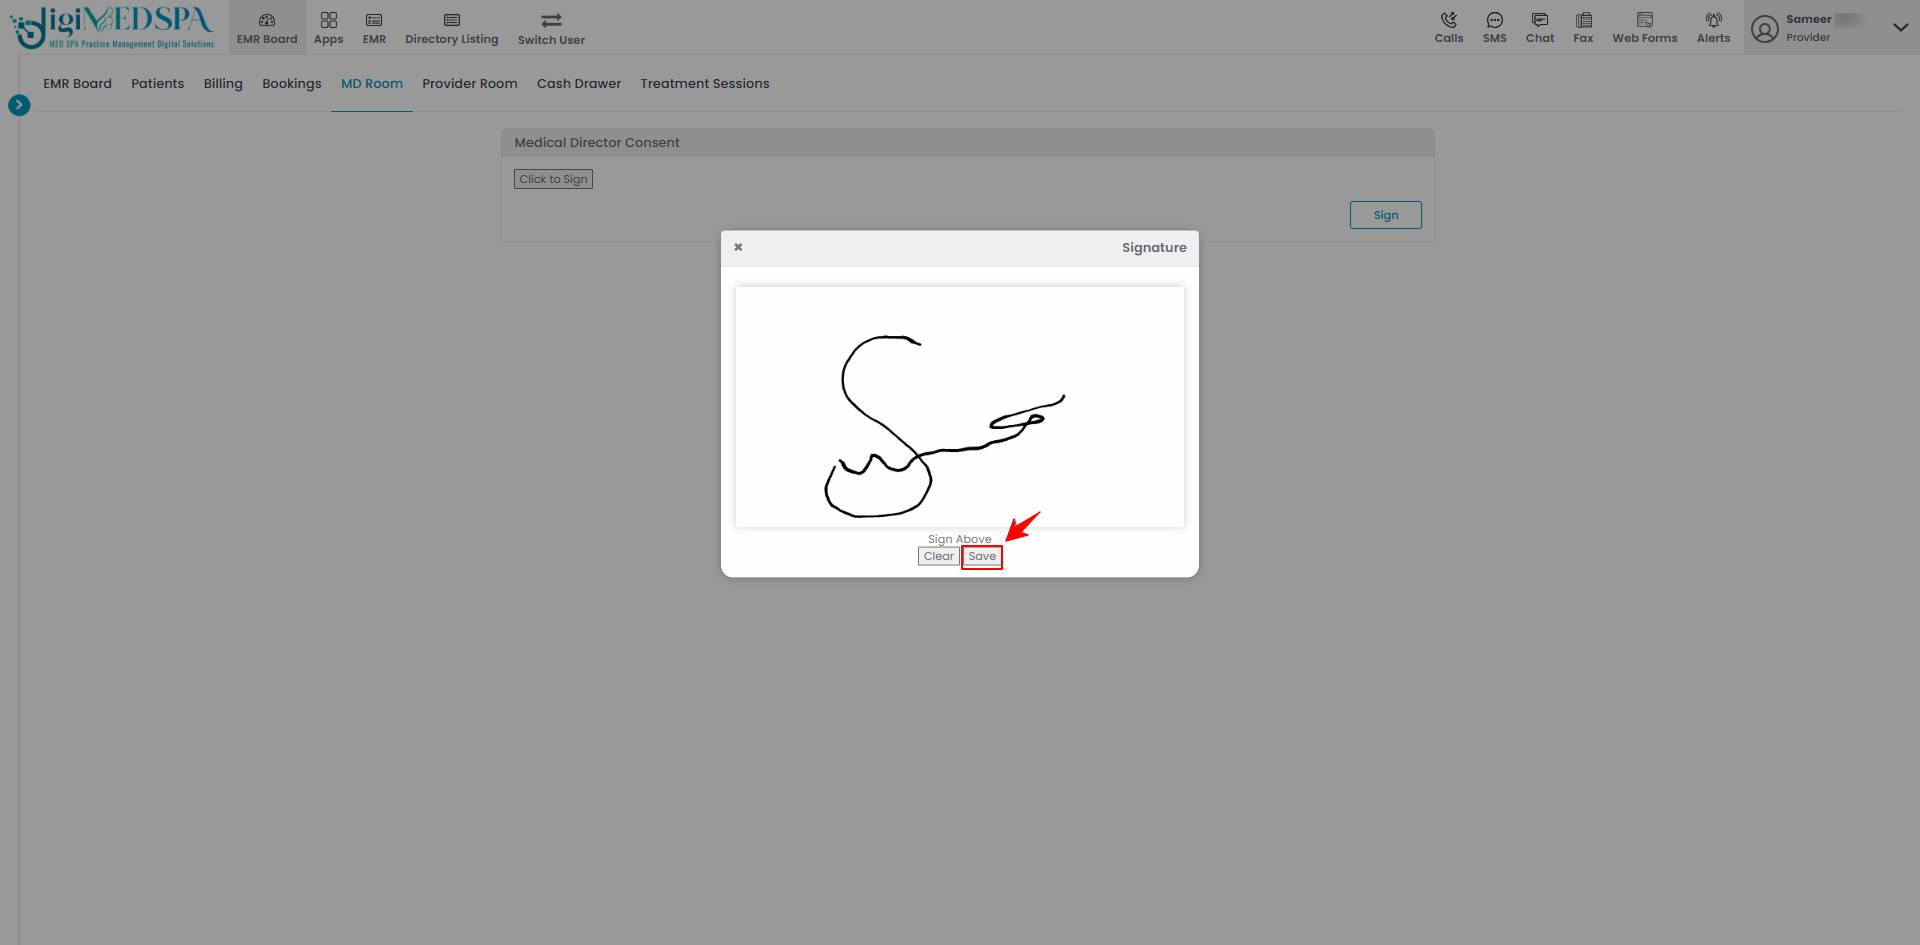
- Click the ‘’Sign’’ button once finished and the MD’s sign will be saved.

- The signed procedures will be displayed in the ‘’Signed Procedures’’ tab in the MD’s Room.

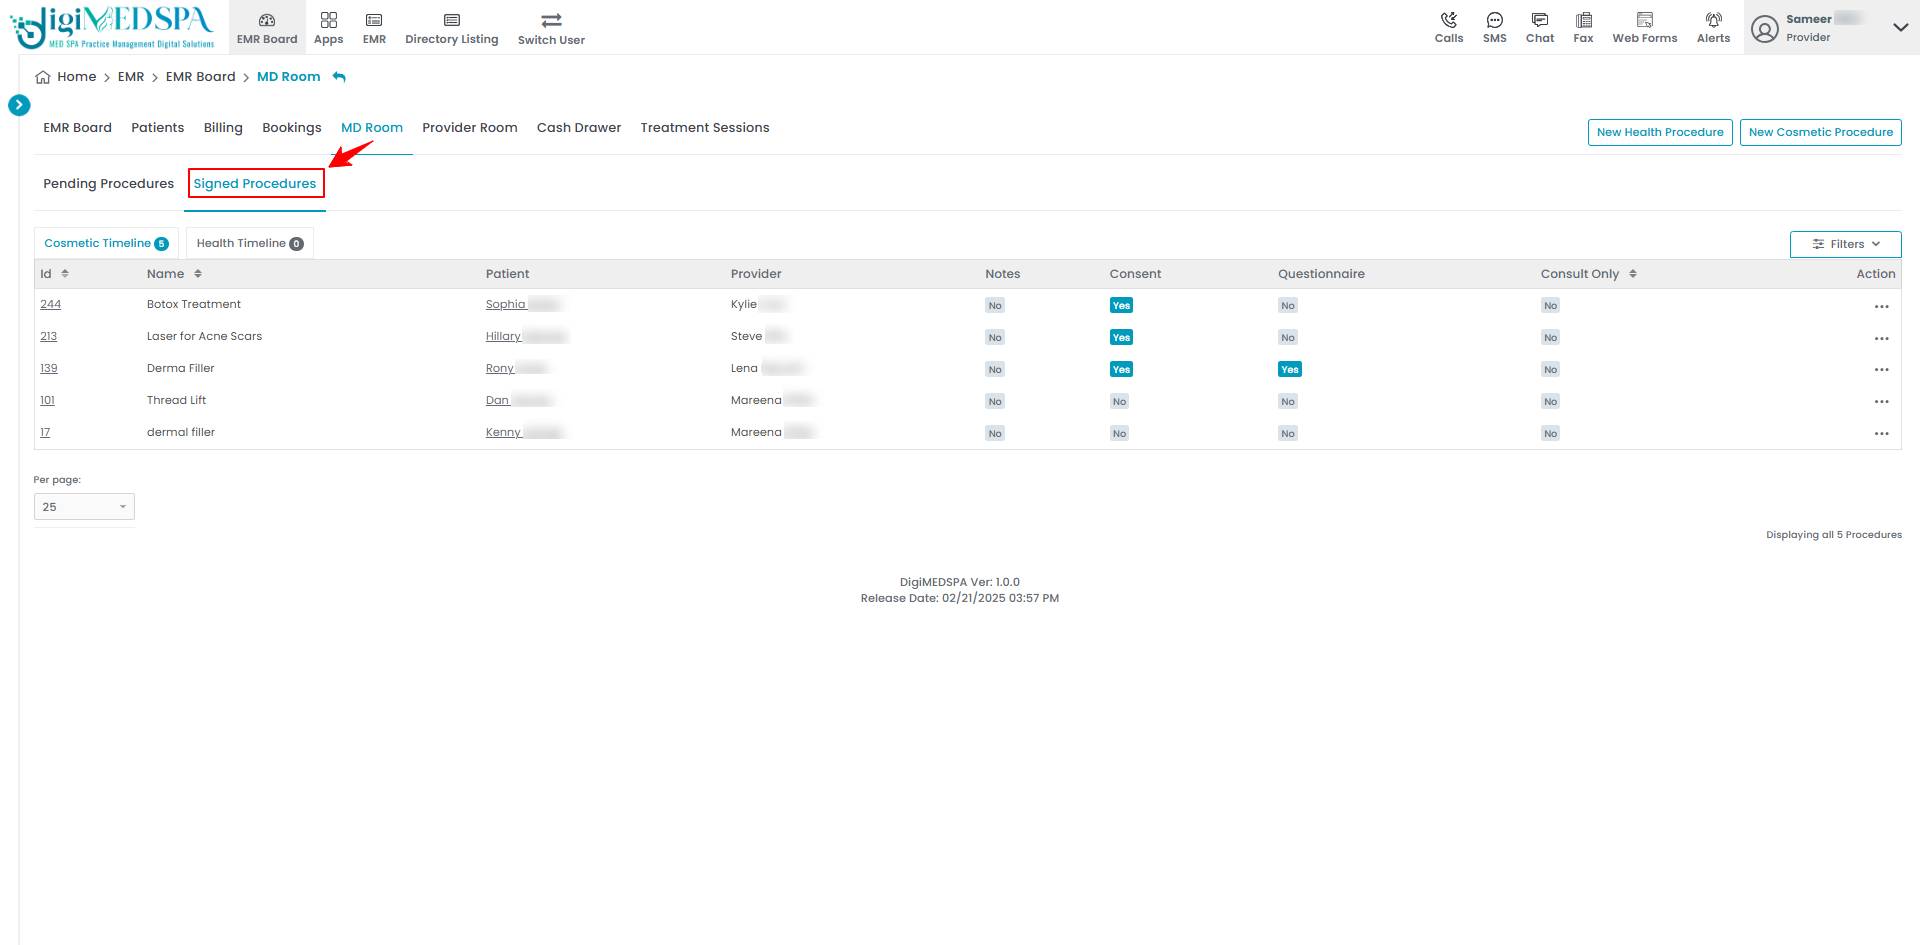 Note: Once all the procedures are signed their status will be completed.


