

 DigiMEDSPA EMR
 DigiMEDSPA CONNECT ™
Set Patient Contact Preferences
This user guide explains how to set and manage a patient’s contact preferences, including choosing preferred communication channels such as email, SMS, or chat. It ensures that patients receive notifications and messages according to their preferences.
Understanding Terminologies
Contact Preferences
Contact preferences refer to a patient’s selected choices for how they wish to receive communications from a clinic, such as via email, SMS, phone calls, or in-app messages.
Access this link: https://digimedspa.com/ap2/questionnaires
Set Patient Contact Preferences for New Patient
- The user can set a patient's contact preferences while creating a new patient from two entry points.
- From the EMR Board Tabs, select “Patients.”

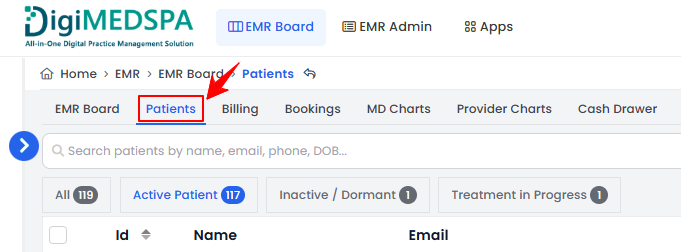
- From the Left Navigation, click on the “EMR Board” dropdown menu and select “Patients.” Alternatively, you can type “Patients” into the search bar in the Left Navigation.
- From the EMR Board Tabs, select “Patients.”
- To add a patient, click the “New Patient” button in the top right corner of the screen.
- Complete the required patient information, then set the patient’s contact preferences. Check “Do Not Email” if the patient prefers not to receive emails, “Do Not Text” to opt out of text messages, and “Do Not Call” if they do not wish to receive phone calls. Once done, click “Create Patient” to save.

The contact preferences have been successfully saved for the new patient!
Set Patient Contact Preferences for Existing Patient
- The user can set a patient's contact preferences while editing an existing patient from three entry points.
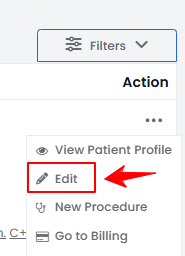
- From the patients list, click on three dots under the action column and select "Edit" for the specific patient.
- On the Patient Information Screen, click the "Edit Patient" button in the top right corner of the screen.Note: You can access the patient’s information by clicking the three dots under the action column next to the patient and selecting “View Patient Profile,” as demonstrated in the previous steps.
- And finally, select “Edit Patient” under the Quick Actions menu on the Patient Information Screen.Note: The patient information form will open in edit mode from all three points.
- From the patients list, click on three dots under the action column and select "Edit" for the specific patient.
- From here, set the patient’s contact preferences. Select “Do Not Email” to block emails, “Do Not Text” to block messages, and “Do Not Call” to block phone calls. Click "Update Patient” to save.
The contact preferences have been successfully saved for the existing patient!