How to Create a Stock Transfer Between Locations
This user guide provides step-by-step instructions for transferring stock between different locations of the same Med SPA clinic. It also covers how to view, edit, and check the status of an existing stock transfer. Products available at one Med SPA location can be transferred to another location where they are in short supply.
Understanding Terminologies
Stock Transfer
Stock transfer refers to the process of moving products from one location (e.g., a Med SPA branch or clinic) to another. Stock transfers are used to redistribute supplies, such as skincare products, injectables, or equipment, between locations to ensure each site has adequate inventory. This helps maintain balanced stock levels, preventing shortages at one location and overstocking at another.
Add a New Stock Transfer
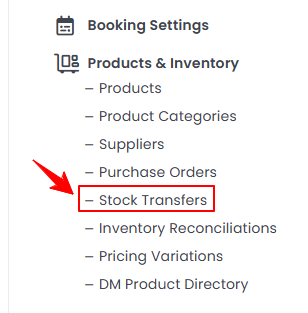
- The user can transfer stock between locations by accessing the Stock Transfers List Screen from two entry points.
- To add a new stock transfer, click "New Stock Transfer" in the top right corner of the screen.
- Select the “From Clinic” and “To Clinic” locations from the dropdown menu.

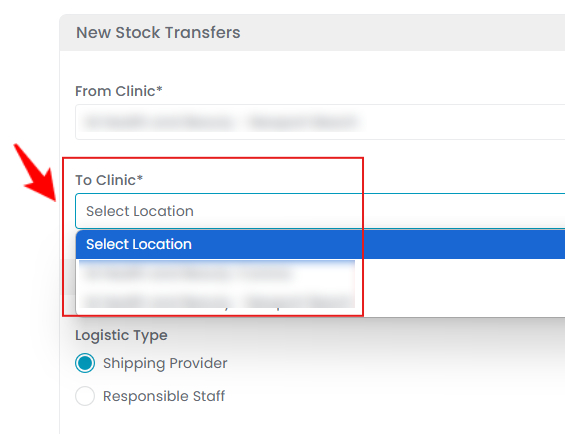 Note: The “From Clinic” location is the Med SPA branch from which the stock will be transferred, while the “To Clinic” location is the destination where the stock is to be transferred.
 - Select the “Logistic Type” to determine how you want to transfer the stock. If the “Shipping Provider” option is selected, enter the Provider Name and the Tracking Number for the shipment.

 Note: A ‘’Tracking Number’’ is a unique identifier assigned to a package, shipment, or order that allows its location and delivery status to be monitored in real time. It helps track movement from the sender to the recipient through a logistics or courier system.
 - If you want to transfer the stock through a responsible employee, select the “Responsible Staff” option and choose the staff member from the dropdown menu. Then click the “Add Product” button to select the products for the stock transfer.
- Search the Product from the dropdown menu and enter the Batch number.

 Note: You can add as many products as needed for the stock transfer. A ‘’Batch Number" is a unique identifier assigned to a specific group of products manufactured or received at the same time and under the same conditions.
 - Enter the Stock quantity that needs to be transferred for that product. Click “Create Stock Transfer” once all required details have been entered. The stock transfer has been successfully added!
View a Stock Transfer
- On the Stock Transfers List Screen, click the three dots under the action column next to the specific stock transfer and select '’View,” or simply click anywhere on the stock transfer’s data.

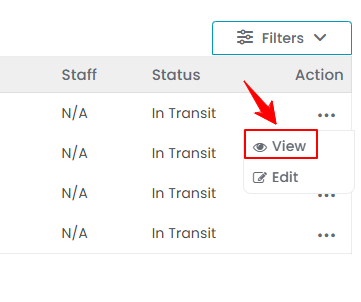
- The Stock Transfer View Screen will open, displaying all the details of the stock transfer.
Edit a Stock Transfer
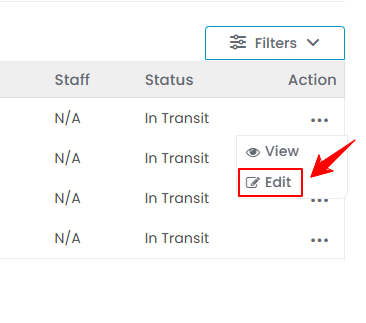
- There are two ways to edit an existing stock transfer.
- Make the necessary changes and click “Update Stock Transfer” to save your updates.
The stock transfer has been successfully edited!
Check the Status of Stock Transfer
- To check the status of your stock transfer, go to the Stock Transfer tab and review the status indicators in the top scopes bar for the latest updates.

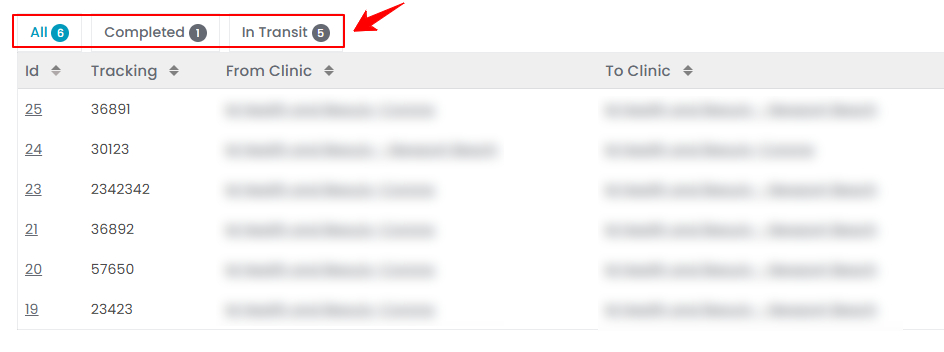
- Click on the “Completed” scope to view the list of all stock transfer orders that have been successfully transferred to the destination location and are received by them.
- Click “In Transit” to view the list of stock transfer orders currently in progress, where items are still being transported between locations.Note: The status of your stock transfer can also be viewed in the ‘’All’’ orders list. The ‘’Status’’ column shows whether a stock transfer is completed or in transit.


