

 DigiMEDSPA EMR
 DigiMEDSPA CONNECT ™
Add Patient Memberships to a Patient’s Profile
This user guide explains how to add, view, and edit patient memberships within a patient’s profile in the DigiMEDSPA Portal. Patient memberships can be created by authorized users, including providers, employees, and patients under the supervision of staff members.
Understanding Terminologies
Patient Memberships
Patient membership is a subscription program that provides patients with access to exclusive benefits and perks, such as discounted services, priority booking, and special product pricing, in exchange for a recurring fee. Patient memberships often offer different tiers, allowing patients to select the membership type that best suits their needs and budget.
Access this link: https://digimedspa.com/ap2/patients?dashboard=true
Add Patient Memberships
- You can add patient membership through the Patients List Screen, accessible via two entry points.
- From the EMR Board Tabs, select “Patients.”

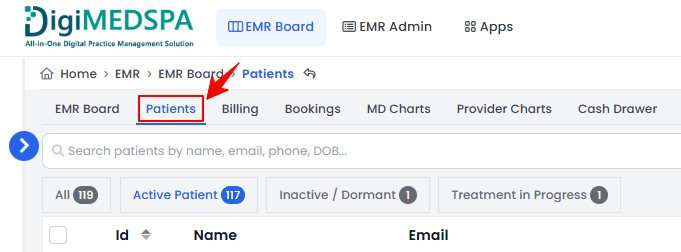
- From the Left Navigation, click on the “EMR Board” dropdown and select “Patients.” Alternatively, you can type “Patients” into the search bar in the Left Navigation.
- From the EMR Board Tabs, select “Patients.”
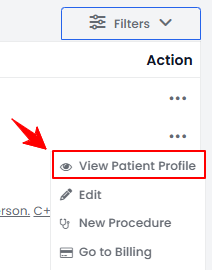
- From the patient list, click on three dots under the action column and select "View Patient Profile" for the specific patient.
- On the Patient Information Screen, users can access complete patient information. Click on the “Memberships” tab.
 Note: If the patient already has existing memberships, a list of those memberships will be displayed. Otherwise, the new patient membership form will open directly.
 - To create a new patient membership, click the “New Patient Membership” button in the top right corner of the screen.Note: Alternatively, to create a new membership, click the “New Patient Membership” button located in the Quick Actions Menu at the bottom left of the screen.
- Select who the membership is intended for. If you choose “For Others,” select the appropriate patient from the dropdown menu to assign the membership.

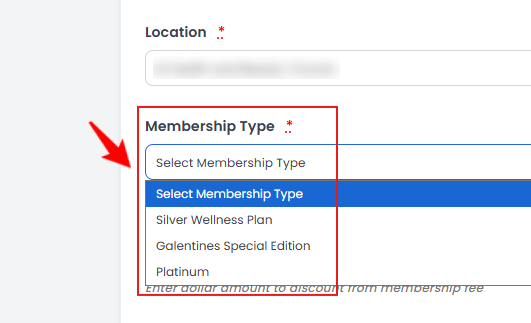
- Select Location from the dropdown menu.
Note: Selecting location specifies where the membership benefits will be available for the patient. - Select Membership Type from the dropdown menu and enter the Discount Amount.
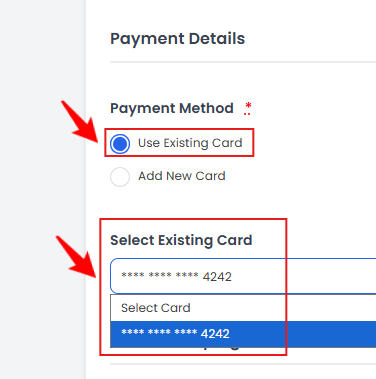
- Set the Membership Start Date and select the Payment Method as either Existing Card or New Card. Choosing “Existing Card” will display a dropdown menu of the cards already saved in the patient’s profile.
 Note: The patient’s email will be autofilled from their profile. To change it, the patient must first get the email updated in their profile details. Refer to our “Add / View / Edit Patient” guide for more details.
 - Selecting “Add New Card” displays a field for entering the card number along with an Autofill link. Click the link to automatically fill in the card details.Note: The Autofill link for entering new card details is a feature that automatically fills in saved payment information (such as card number, expiration date, and cardholder name) from your browser or device’s autofill settings. It helps you quickly complete the payment form without manually typing in all the details. On the Membership List Screen, the Status column displays the current membership state: Paid (active and payment received), Unpaid (payment pending or failed), Mark as Cancelled (option to manually cancel), and Cancelled (expired membership).
- The Membership Agreement will automatically appear based on the one attached to the selected membership type. Click “Sign Agreement” to proceed.
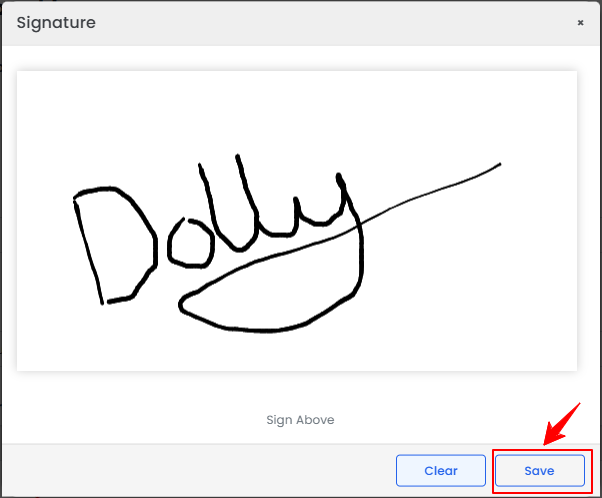
- A blank screen will open for the patient to provide their signature. Get the patient’s signature and click “Save” to confirm agreement to the membership terms.
- Once all the information is entered, click “Create Patient Membership.”
The patient membership has been successfully created!
View Patient Memberships
- To view patient memberships added for a patient, click anywhere on the patient's data in the patient listing, or click the three dots in the action column next to the specific patient and select “View Patient Profile.”
- On the Patient Information Screen, users can access complete patient information. Click on the “Memberships” tab.
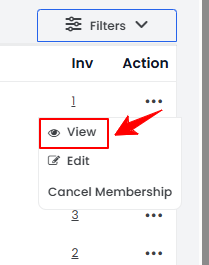
- The Patient Membership List Screen will open in the patient profile, displaying all memberships associated with the patient. To view details of a specific membership, click the three dots under the action column and select “View.”
- The Patient Membership Details View Screen will open, showing all information related to the selected membership.
Edit a Patient Membership
- There are two ways to edit an existing patient membership.
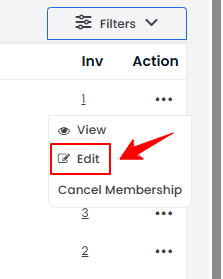
- From the Patient Membership List Screen in the patient profile, click on three dots under the action column and select "Edit" for the specific membership.
- On the Patient Membership Details View Screen, hover over the Actions menu in the top-right corner of the screen and select “Edit Membership.”
- From the Patient Membership List Screen in the patient profile, click on three dots under the action column and select "Edit" for the specific membership.
- Make the desired changes in the patient membership form. Once done, click “Update Patient Membership.”
The patient membership has been successfully edited!
Cancel Patient Membership
- There are two ways to cancel an existing patient membership.
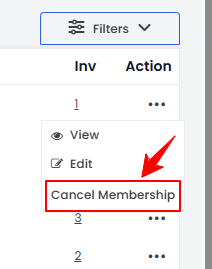
- From the Patient Membership List Screen in the patient profile, click on three dots under the action column and select "Cancel Membership" for the specific membership.
- On the Patient Membership Details View Screen, hover over the Actions menu in the top-right corner of the screen and select “Cancel Membership”
- From the Patient Membership List Screen in the patient profile, click on three dots under the action column and select "Cancel Membership" for the specific membership.
- A confirmation pop-up will appear, click “OK” to proceed with the cancellation.Note: A canceled membership will remain in the patient profile with the status “Mark as Cancelled” until its expiry date. After expiration, the status will be automatically changed to “Cancelled.”
The patient membership has been successfully cancelled!
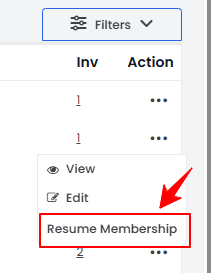
Resume Patient Membership
- From the Patient Membership List Screen in the patient profile, click on three dots under the action column and select "Resume Membership" for the specific membership.
- A confirmation pop-up will appear, click “OK” to resume the membership.
The patient membership has been successfully resumed!