

 DigiMEDSPA EMR
 DigiMEDSPA CONNECT ™
Update the Patient's Profile Photo
This user guide provides clear, step-by-step instructions for efficiently adding and updating a patient's profile picture.
Understanding Terminologies
Patient Profile Photo
A patient profile photo is an image, usually of the patient's face, attached to their medical record for identification in healthcare settings. It improves patient safety by helping providers quickly recognize patients during appointments and is also important for updated record-keeping.
Access this link: https://digimedspa.com/ap2/patients
Add / Upload Profile Photo for a New Patient
- The user can add a profile photo for a new patient by accessing the Patients List Screen. From the EMR Board Tabs, select “Patients.”

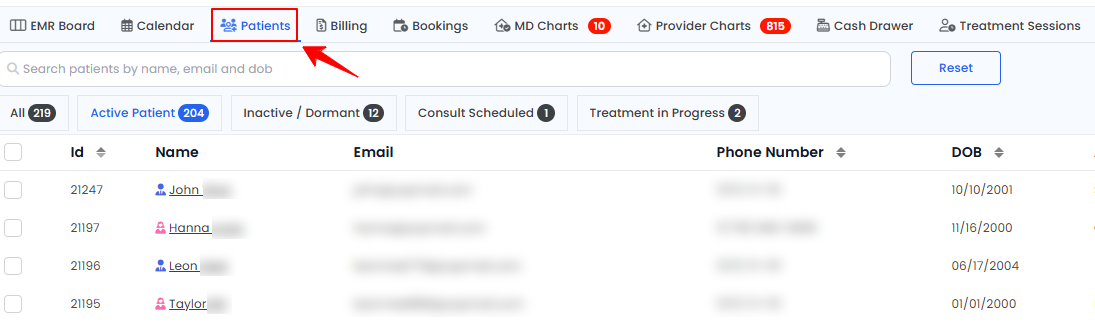
- On the Patients List Screen, click the "New Patient" button in the top right corner of the screen.
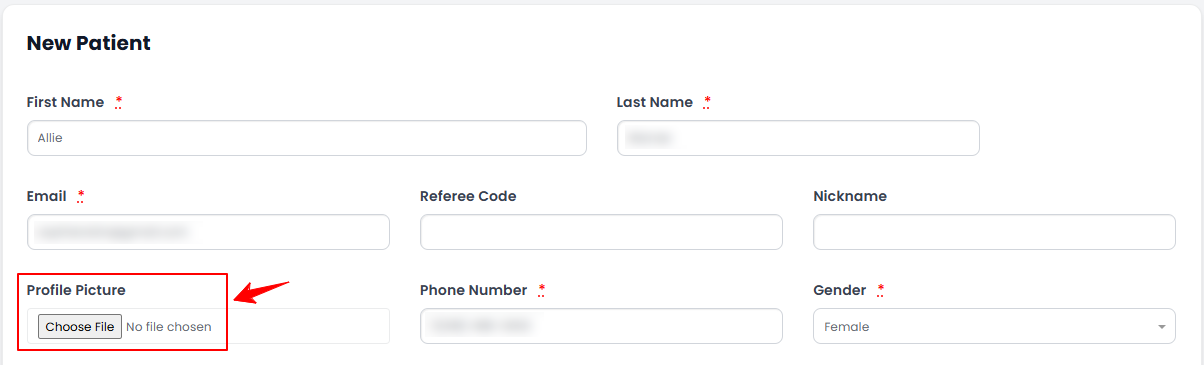
- The New Patient form will open for the user to enter patient information. There is an optional field for adding a profile picture. To upload a photo, click “Choose File" and select an image from your computer. Once you've filled in all required fields, click "Create Patient" to finish.
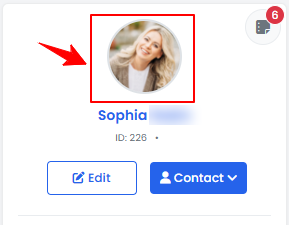
- The new patient profile will display the attached profile photo.
Update / Change Profile Photo for an Existing Patient
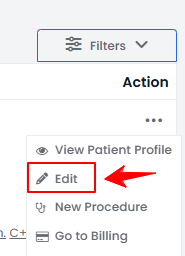
- From the patient list, click on three dots under the action column and select "Edit" for the specific patient.
- From the Edit Patient form, upload or change the profile photo as needed. Click "Update Patient" to save your changes.
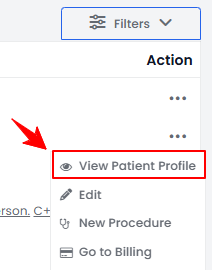
- A patient’s profile photo can also be updated through the patient profile. Click anywhere on the patient's data in the patient listing, or click the three dots under the action column next to the specific patient and select “View Patient Profile.”
- From the Patient Information Screen, click the "Edit Patient" button in the top right corner of the screen.
- The patient information form will open in edit mode. To change a profile picture, click on "Choose File" and select an image from your computer, and upload it. Then click "Update Patient" to save your changes.