

 DigiMEDSPA EMR
 DigiMEDSPA CONNECT ™
Reschedule a Booking
This guide provides clear, step-by-step instructions on how to reschedule a booking using the DigiMEDSPA Portal. Rescheduling allows you to change only the date and time of an existing appointment, while keeping the rest of the booking information unchanged, including the service, provider, and location the same.
Understanding Terminologies
Reschedule a Booking
Rescheduling refers to changing the date, time, service, or provider of an existing booking while keeping the patient’s record and booking details intact. This option allows flexibility in managing appointments without needing to cancel and recreate a new booking.
Reschedule a Booking Through EMR Board
- The user can reschedule a booking from the EMR Board by switching to the “Calendar” at the top of the screen.

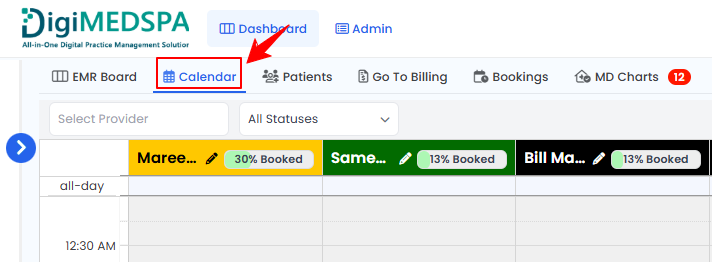
- Click and drag the booking to the desired time slot to reschedule it.
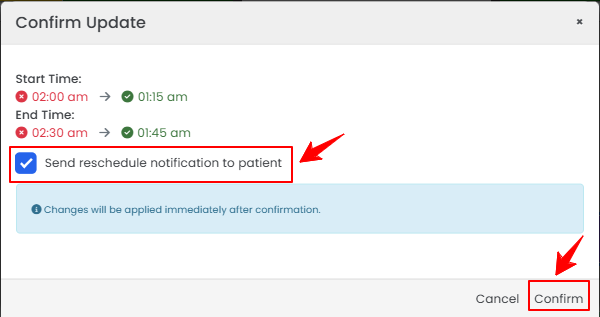
- A confirmation pop-up will appear showing the new Start and End Times for the booking. If you want to notify the patient of the change, check the box to send a reschedule notification, then click “Confirm” to finalize the reschedule.
The booking has been successfully rescheduled!
Reschedule a Booking from the Bookings List Screen
- The user can reschedule a booking through the Bookings List Screen. From the EMR Board Tabs, select “Bookings.”

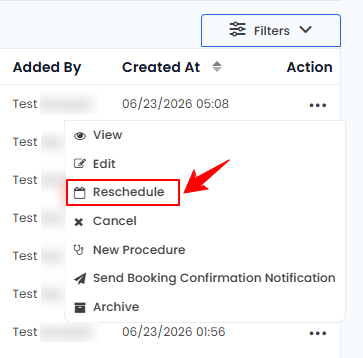
- From the bookings list, click on three dots under the action column and select "Reschedule" for the specific booking.
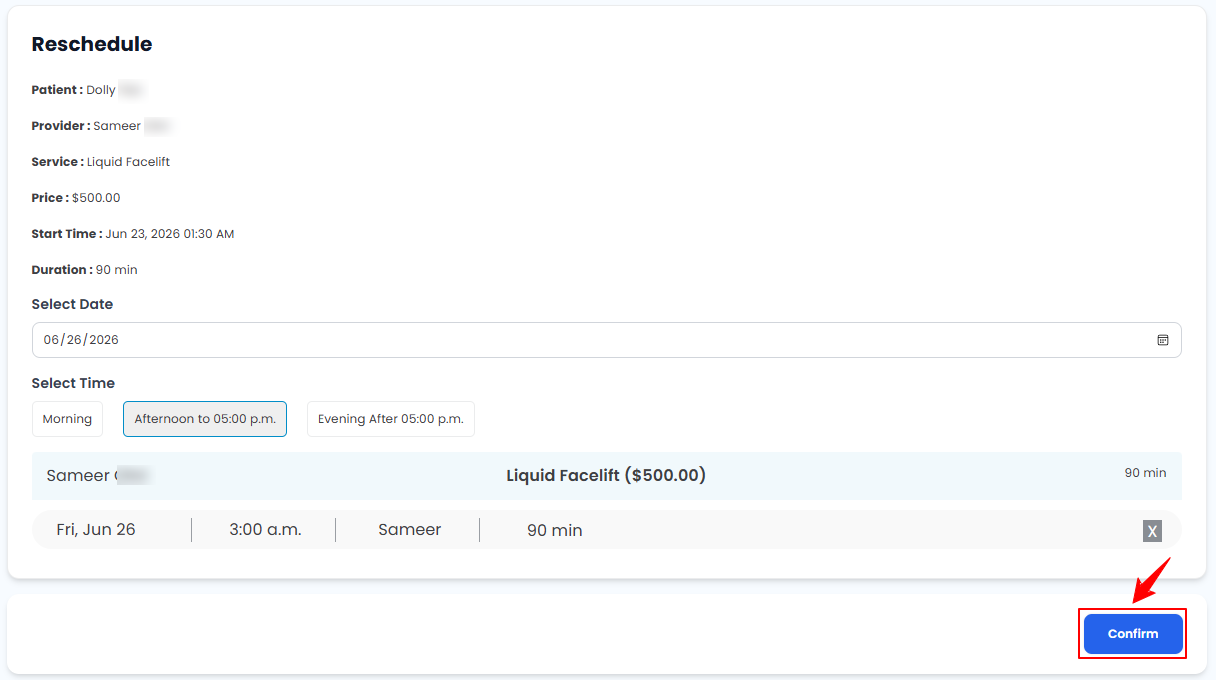
- To reschedule your booking, choose a new Date and Time, select an available time slot, and then click the “Confirm” button to finalize the changes.
- Once the changes are confirmed, the Booking Details Screen will appear, displaying the new Date and Time for your appointment.
The booking has been successfully rescheduled!
Reschedule a Booking from the Patients List Screen
- The user can reschedule a booking through the Patients List Screen. From the EMR Board Tabs, click on ‘’Patients.’’
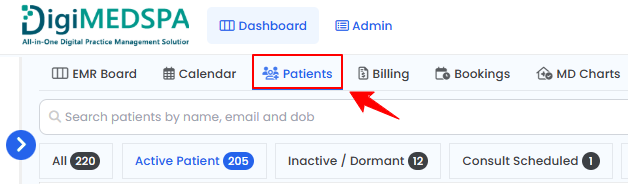
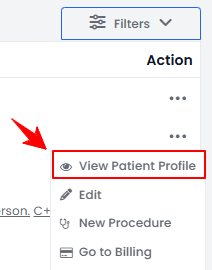
- To view a specific patient from the list, click the three dots under the action column and select "View Patient Profile," or simply click anywhere on the patient’s data.
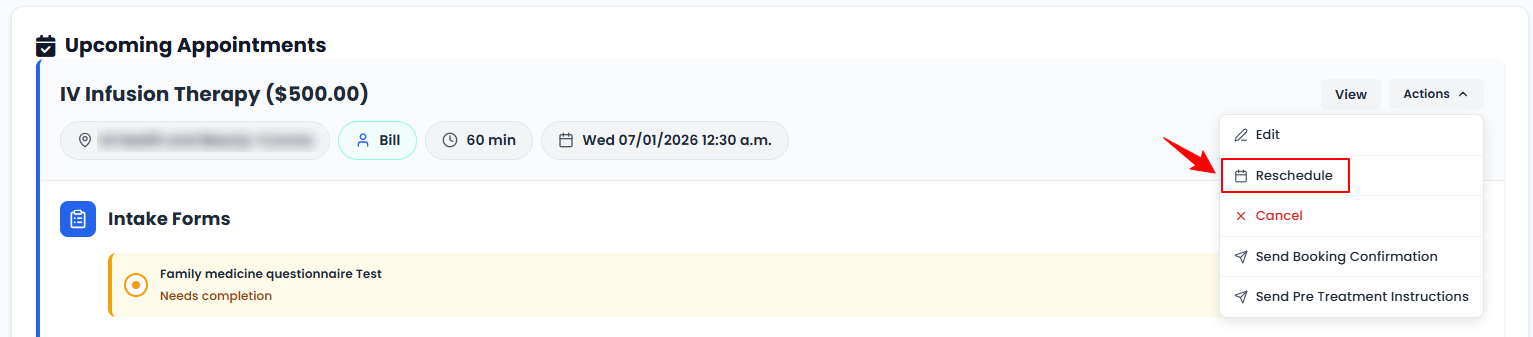
- On the Patient Information Screen, users can view a comprehensive overview of the patient’s information. To modify an upcoming appointment, hover over the “Actions” menu and click “Reschedule.”
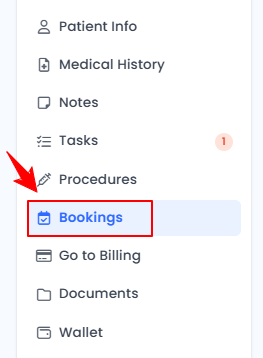
- Another way to reschedule a booking is via the Bookings tab in the patient profile. On the Patient Information screen, click "Bookings" from the side panel to view all the patient’s appointments.
- Click on three dots under the action column and select "Reschedule" for the specific booking.
- Update the Date and Time, select an available time slot, and then click the “Confirm” button to finalize the changes.
The booking has been successfully rescheduled!