

 DigiMEDSPA EMR
 DigiMEDSPA CONNECT ™
Manage Vital Settings
This user guide provides clear steps to configure patient vitals for accurate, consistent, and efficient health data tracking across the system.
Understanding Terminologies
Vital Settings
Vital settings are customizable options that determine how patient vital signs, such as blood pressure, heart rate, and temperature, are recorded, displayed, and tracked. These settings ensure accurate, consistent data entry and help maintain clinical standards for patient monitoring.
Access this link: https://digimedspa.com/ap2/stock_transfers
Manage Vital Settings
- The user can manage vital settings by accessing “Vital Settings” through Clinical Documentation from two entry points.
- From the EMR Admin, click on “Vital Settings” under “Clinical Documentation.”

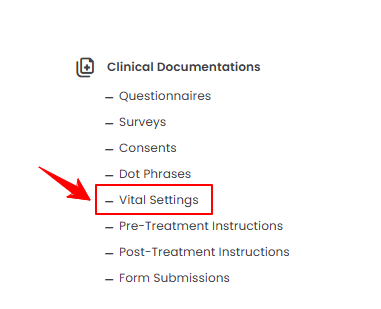
- From the Left Navigation, open the “EMR Admin” dropdown menu, select “Clinical Documentation,” and then choose “Vital Settings” from the subsequent dropdown menu. Alternatively, you can type “Vital Settings” into the search bar in the Left Navigation.
- From the EMR Admin, click on “Vital Settings” under “Clinical Documentation.”
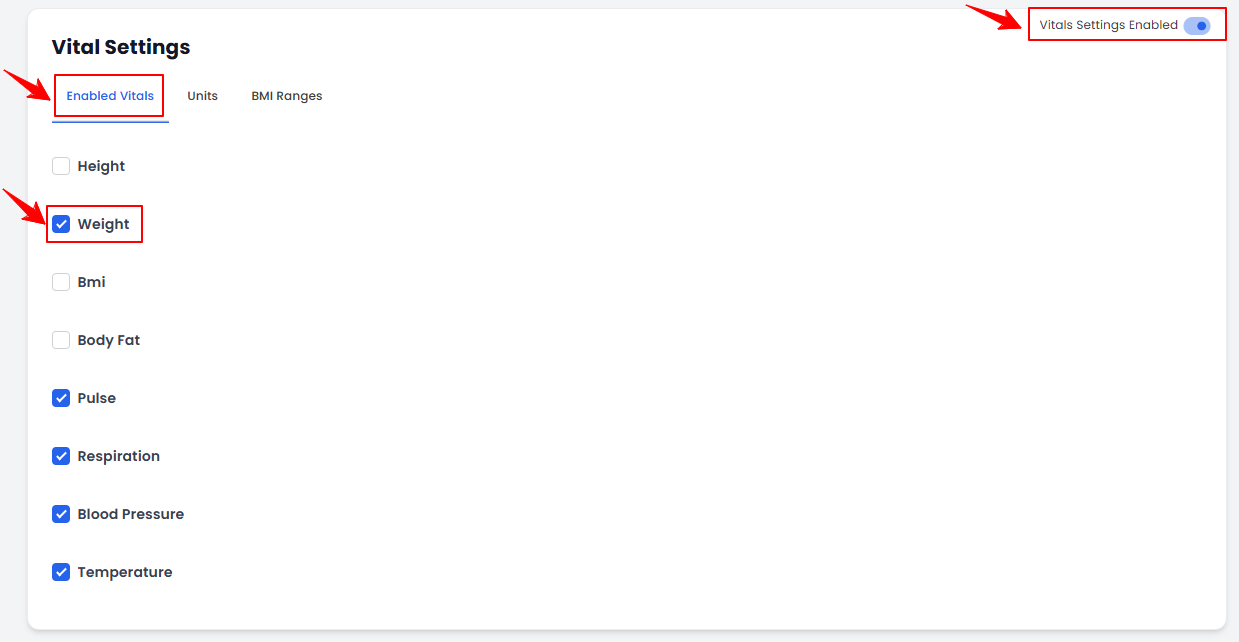
- To enable vital settings, first turn on the toggle. Then select the vitals you want to activate by checking the corresponding boxes. The selected vitals will be saved as enabled and used throughout the portal.
- Click the “Units” tab and choose the Height, Weight, and Temperature units from their respective dropdown menus.

- Click the “BMI Ranges” tab, then enter the Label, Minimum and Maximum BMI values, and select a Color for the range.
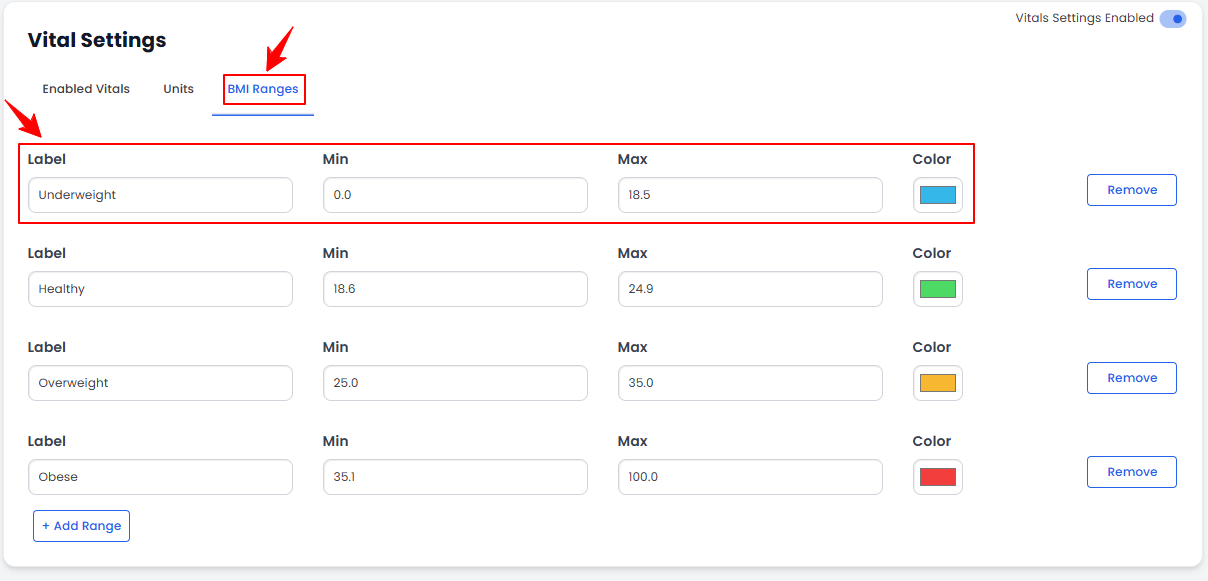
- To create a new BMI range, click the “+Add Range” button.Note: To delete a BMI range, click the “Remove” button next to the range you wish to delete.
- Once the Enabled Vitals, Units, and BMI Ranges are configured, click “Update Vital Settings” to save the changes.