

 DigiMEDSPA EMR
 DigiMEDSPA CONNECT ™
Manage Surveys
This user guide provides step-by-step instructions on creating, viewing, editing, attaching surveys to services, and assigning services to surveys in the DigiMEDSPA Portal.
Understanding Terminologies
Surveys
A survey is a tool used to gather feedback from patients regarding their experiences, satisfaction with procedures, and overall service quality. It typically consists of questions designed to assess patient preferences, procedure outcomes, and areas for improvement. These surveys help Med SPAs make informed decisions to enhance patient care, tailor services, and improve overall patient satisfaction.
Access this link: https://digimedspa.com/ap2/questionnaires
Create a Survey
- The user can create a survey form by accessing the “Surveys” through Clinical Documentations from two entry points.
- From the EMR Admin, click on “Surveys” under “Clinical Documentations.”

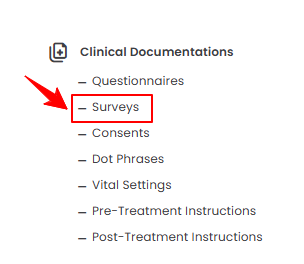
- From the Left Navigation, open the “EMR Admin” dropdown, select “Clinical Documentations,” and then choose “Surveys” from the subsequent dropdown menu. Alternatively, you can type “Surveys” into the search bar in the Left Navigation.
- From the EMR Admin, click on “Surveys” under “Clinical Documentations.”
- To create a new survey, click the ‘’New Survey’’ button in the top right corner of the screen.
- The Form Type will be automatically set to Survey. Select the Default Template from the dropdown menu.
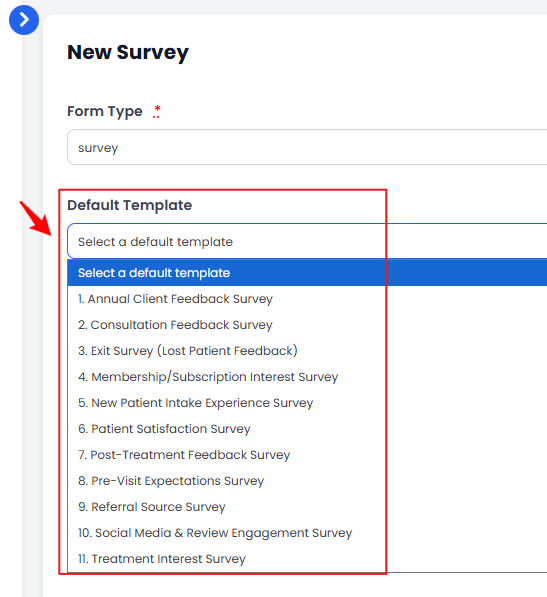 Note: Our portal provides default survey form templates. You can select one from these options for quick editing, or you can create your own custom template by following the instructions in this user guide.
 - Enter the Title and Description for your survey form, then check the “Active” box.
 Note: If this box is unchecked, the survey form will remain inactive in the portal and cannot be attached to any procedure or service.
 - Select the “Good Faith Exam” checkbox if the survey you are creating is intended to serve as a Good Faith Exam.Note: A “Good Faith Exam” is a preliminary medical evaluation conducted to ensure that a proposed treatment or procedure is appropriate and safe for the patient. It typically involves reviewing the patient’s medical history, current health status, allergies, medications, and aesthetic goals before performing cosmetic or wellness procedures.
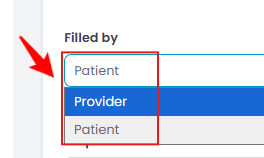
- Choose who will be filling out this form from the Filled By dropdown menu.
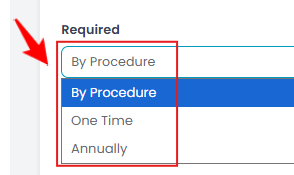
- Select how often the form is required from the Required dropdown menu.
- In the Form Builder section, click “Add Field” to start adding survey fields.
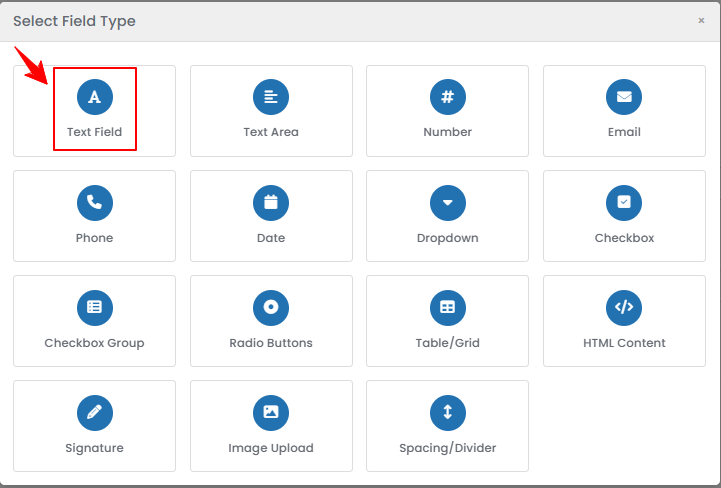
Note: You can add as many fields to your survey form as needed. - Select the Field Type from the pop-up menu to create your form as required.
- Select Text Field as Field Type.
- If you select the Text Field option, the Field Type and Field Name will be auto-filled. Enter the Label and choose a Variable from the dropdown to appear in the Placeholder. Check “Required Field” for mandatory fields, enter the Grid Row, and click “Save Field.”
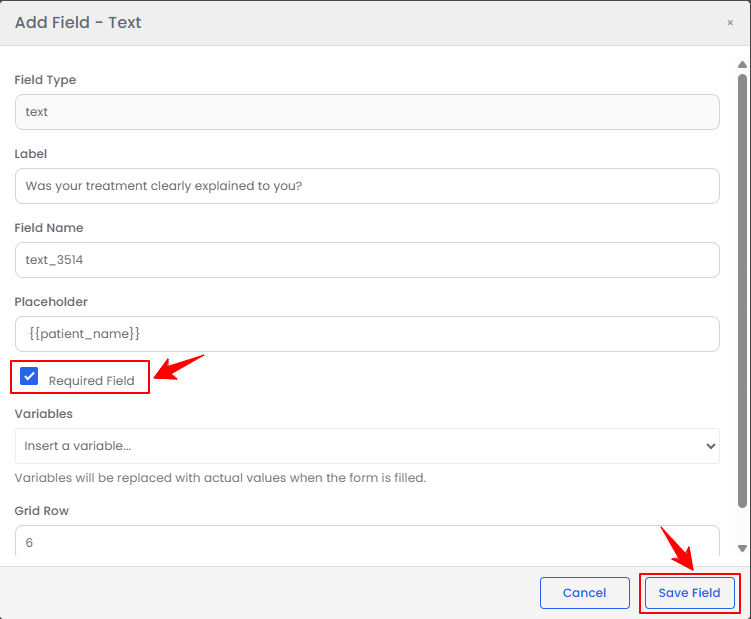 Note: A “Variable” is a unique name that stores the data entered in a field, allowing the system to use it in forms, reports, and templates. A “Placeholder” is text that appears inside a form field to give the user a hint or example of what to enter. “Grid Row” refers to the position of a field in a form layout. It determines which row the field appears on when the form is displayed. Field types such as Text Area, Number, Email, Phone, and Date are added in the same way as a Text Field.
 - For a Dropdown field, enter the Label and Placeholder, then add the options. When finished, click “Save Field.”
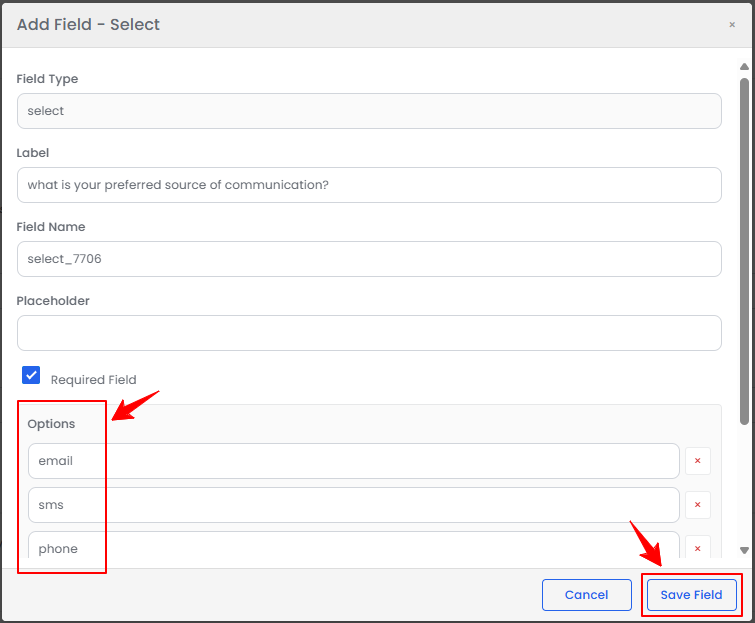 Note: A dropdown field allows the patient to select one option from a predefined list. When the patient clicks the field, the list of options appears, and they can choose the most appropriate response. The “Radio Buttons” field type is added the same way as a dropdown. Radio buttons display all options on the screen at once. They take more space but allow quicker selection when there are only a few choices.
 - For Checkbox and Signature field types, simply enter the Label and Grid Row, then click “Save Field.”
- For a Checkbox Group field, enter the Label, add the options, specify the Number of Columns, and click “Save Field.”
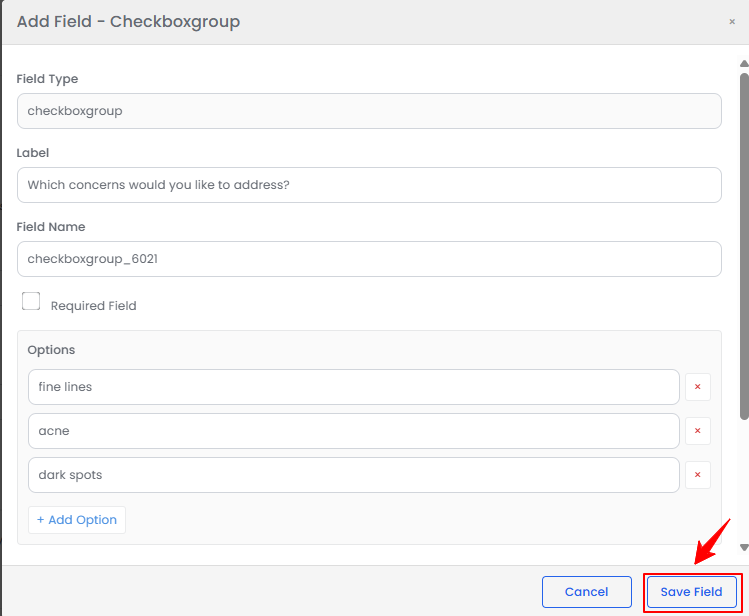 Note: A single checkbox is used when the patient needs to confirm or agree to something while a checkbox group allows the patient to select multiple options from a list. In a checkbox group field, the “Number of Columns” refers to how the options are arranged visually on the form.
 - For a Table/Grid field, the Table Data Name, Field Type, and Field Name are pre-filled. Enter the Label and Table Label, add and fill columns (choose type from the dropdown), set row permissions, enter Initial Rows and Initial Data (JSON Array), specify the Grid Row, and click “Save Field.”
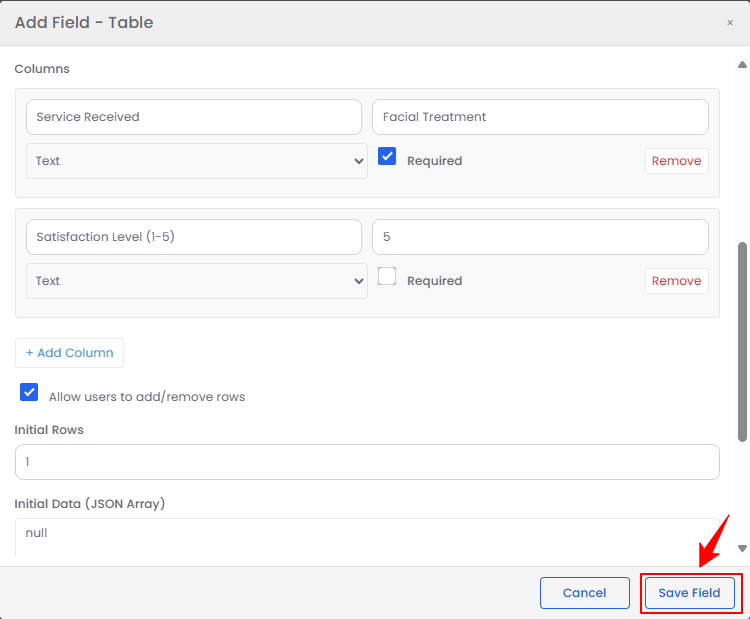 Note: A “Table/Grid” is a structured layout used to organize multiple fields or data in rows and columns within a form. Initial Data (JSON Array) is a field used to pre-fill a table or grid with existing data in a structured format. JSON (JavaScript Object Notation) is a standard way to represent data as text. A JSON Array is a list of items, where each item can have multiple properties (like columns in a table). By entering initial data in this format, the grid/table will automatically display these rows and columns when the form loads.
 - For the HTML Content field, enter the text or HTML code you want to display in the form. Click “Save Field” to save.
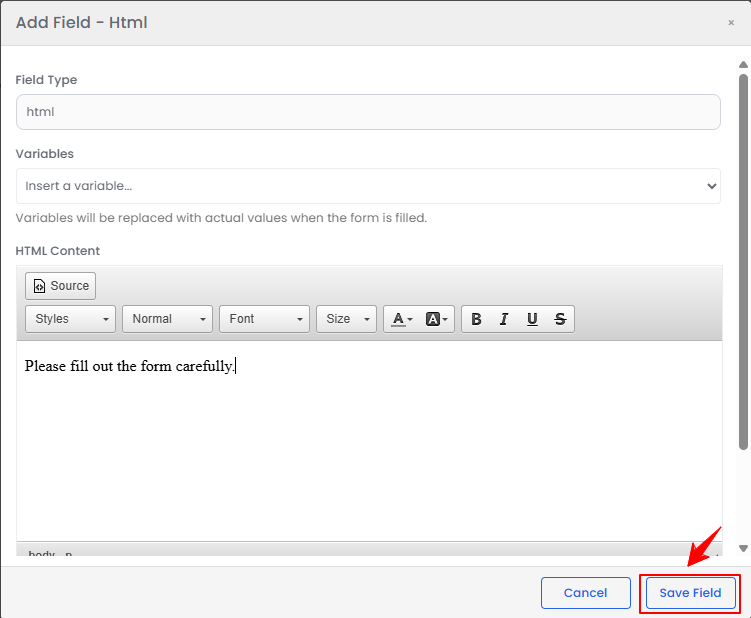 Note: HTML Content is a field type that allows you to add formatted text, images, links, or other HTML elements directly into a form. It is used to display custom content such as instructions, headings, or media without collecting user input.
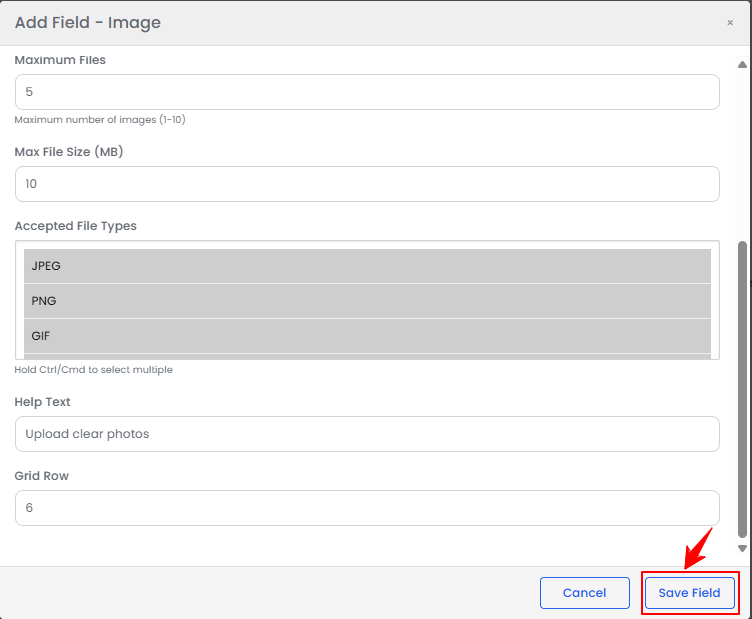
 - For the Image Upload field, the Label, Field Type, and Field Name are auto-filled. Enter the Maximum Files and File Size, select Accepted File Types, add Help Text, specify the Grid Row, and click “Save Field.”
- For a Spacing/Divider field, enter the Label and Height, select a Style from the dropdown, specify the Grid Row, and click “Save Field.”
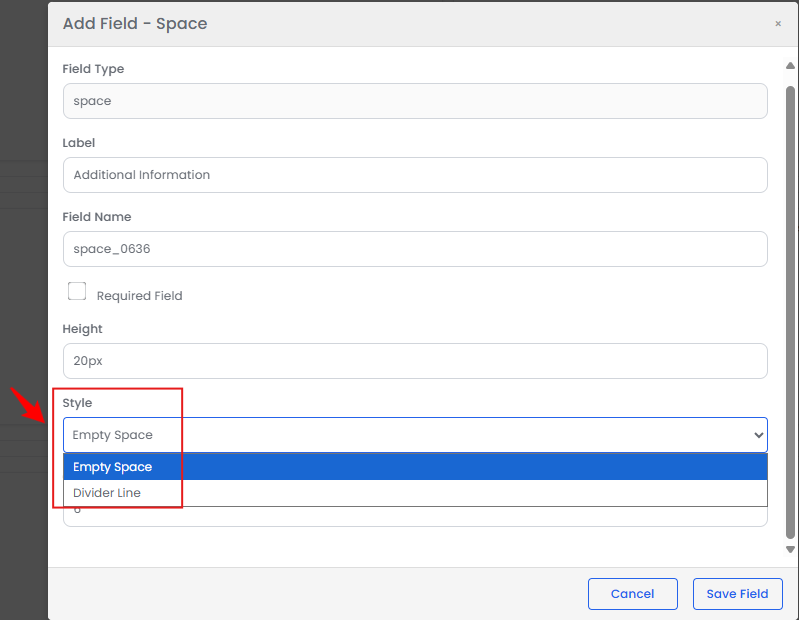 Note: A “Spacing/Divider” is a non-input field used to organize and separate sections within a form.
- Select Text Field as Field Type.
- Once all fields are saved, click “Preview” to view the survey form. To modify a specific field, use the “Edit” or “Delete” buttons on the right side of that field.
- Once you've finished adding all the survey fields, click “Create Survey” to save it.
The survey form has been successfully created!
View a Survey
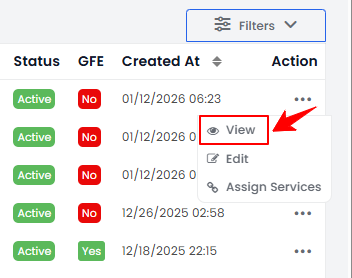
- To view a specific survey form from the list, click the three dots under the action column and select "View," or simply click anywhere on the form's data.
- The Survey Form View Screen will display the complete survey details.
Edit a Survey
- There are two ways to edit an existing survey.
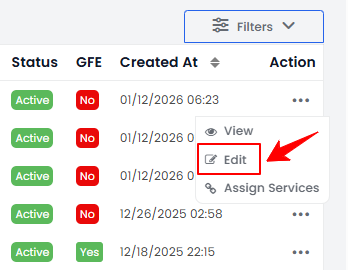
- From the list of added surveys, click the three dots under the action column and select “Edit” for the specific survey you want to edit.
- On the Survey Form View Screen, click on the "Edit Survey" button in the top right corner of the screen.
- From the list of added surveys, click the three dots under the action column and select “Edit” for the specific survey you want to edit.
- Make the desired changes in the survey form. Once done, click “Update Survey” to apply the changes.
The survey has been successfully edited!
Assign Services to a Survey
- There are two ways to assign services to an existing survey form.
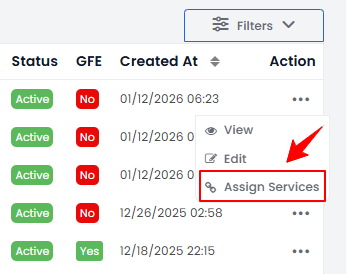
- From the list of added survey forms, click the three dots under the action column and select “Assign Services” for the specific survey form.
- On the Survey Form View Screen, click on the "Assign Services" button in the top right corner of the screen.
- From the list of added survey forms, click the three dots under the action column and select “Assign Services” for the specific survey form.
- From the dropdown menu, select the services for which the survey should be sent after 1 hour and those for which it should be sent after 1 day, then click “Assign Services.”
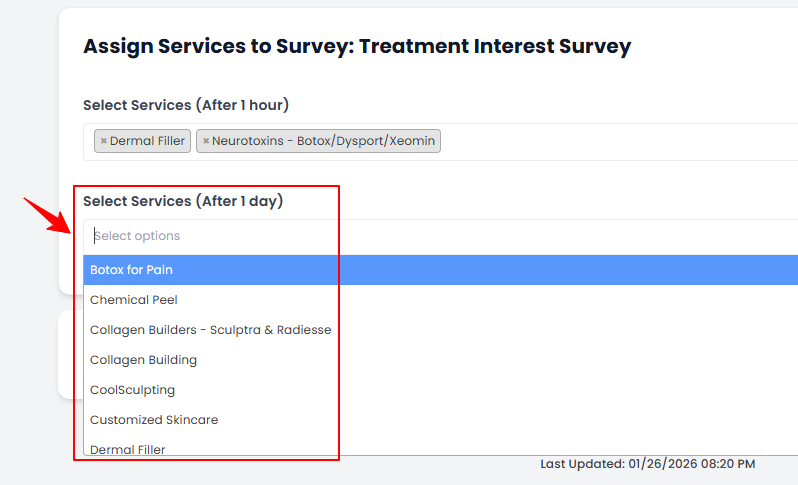 Note: Assigning services to a survey form links those specific services to that survey form.
The services have been successfully assigned to the survey form!
Attach a Survey to a Service
- From the EMR Admin, click on “Services” under “Services & Bundles.”

- Click the "New Service" button to add a service, or select an existing service from the list to edit.
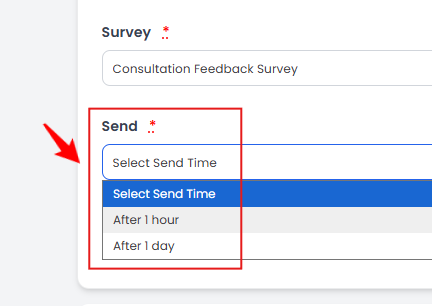
- Go to the Step 2 of creating or updating a service, click “Add Survey” then select the appropriate survey form you want to attach to the service from the dropdown menu. Choose the send time of the survey from the dropdown menu.
- After selecting the relevant survey for the service, click “Next.” At Step 3, click “Submit” to save the updates.
The survey has been successfully attached to the service!