

 DigiMEDSPA EMR
 DigiMEDSPA CONNECT ™
Manage Permissions for Users
This user guide provides step-by-step instructions for managing user permissions in the DigiMEDSPA Portal, allowing administrators to grant, modify, or restrict access based on user roles.
Understanding Terminologies
Users
Users refer to individuals with authorized access to the portal, including employees, providers, authorized personnel, and patients. Each user has a profile with specific roles and assigned permissions based on their responsibilities.
Permissions
Permissions define what actions a user can perform within the DigiMEDSPA Portal, such as viewing, editing, or managing specific features and data. Administrators can assign, modify, or restrict permissions to ensure users have appropriate access based on their roles.
Manage Permissions for Users
- The user can manage user permissions by accessing the Users & Roles from two entry points.
- From the Top Right Profile dropdown menu, select “Users & Roles.”

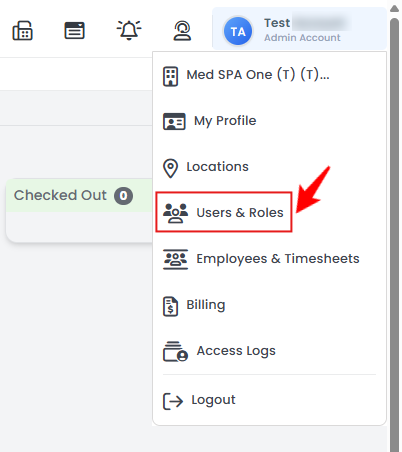
- From the Left Navigation, click on the “My Account” dropdown menu and select “Users & Roles.” Alternatively, you can type “Users & Roles” into the search bar in the Left Navigation.
- From the Top Right Profile dropdown menu, select “Users & Roles.”
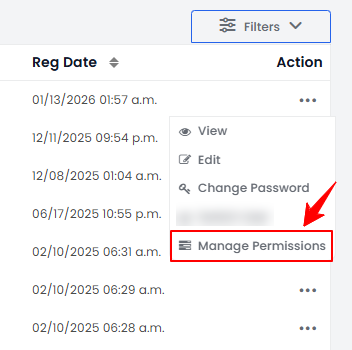
- Clicking '’Users & Roles'’ opens the Users List Screen. From the user list, click on three dots under the action column and select “Manage Permissions" for the specific user.
- A list of all portal features will be displayed, and the user will only have access to the features that are ticked (selected).
- Each category includes four core permissions: "List," "View," "New," and "Edit." Select the necessary permissions, then click "Save" to apply the changes.
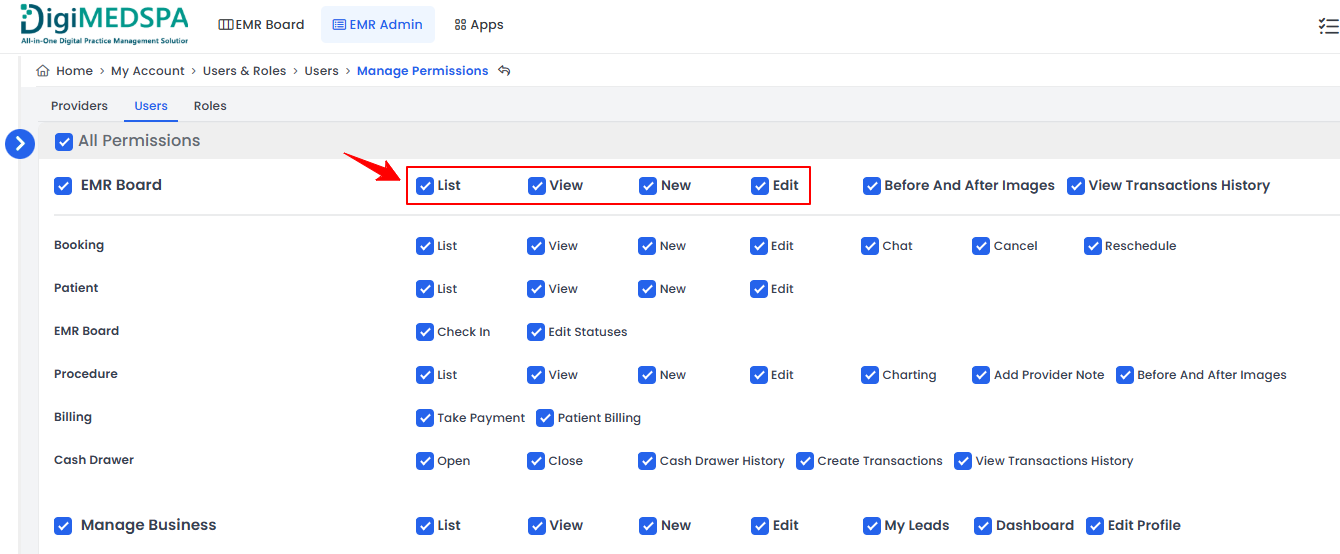 Note: “List” gives the user the ability to view lists of records. “View” allows the user to see specific records or data. “New” enables users to create new entries, such as adding patients, appointments, or treatment plans. “Edit” allows the role to modify existing records, including updating patient details, treatment plans, or other system entries. Other permissions are based on the specific portal features.
 - Some features also include advanced actions like Delete, Manage Schedule, Manage Permissions, Import, Export, or Activate, depending on the module.Note: “Delete” gives the user the ability to remove records or items from the system. “Manage Schedule” allows the user to organize and modify calendars, appointments, or provider availability. “Manage Permissions” enables the user to control what actions or features other users can access. “Import” gives the user the ability to bring external data or content into the system. “Export” allows the user to extract data or content from the system for external use. “Activate” enables the user to turn on features, services, or items so they become functional or visible.
- In the Services & Providers section, permissions can be assigned to allow adding new services, editing existing services, managing schedules, and managing provider permissions.
- In the Marketing or Website section, permissions can be granted to edit, import, or export campaigns and pages.
- In the Phone System or Unified Communications section, permissions can be granted to view or edit calls, chats, and web forms.
- Each category includes four core permissions: "List," "View," "New," and "Edit." Select the necessary permissions, then click "Save" to apply the changes.
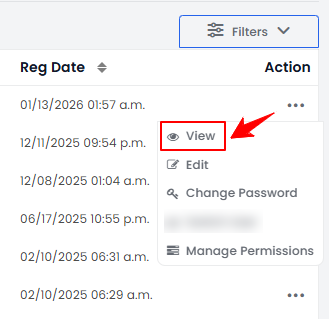
- Another way to manage permissions is through the User View Screen. To view a specific user from the list, click the three dots under the action column and select "View," or simply click anywhere on the user’s data.
- On the User View Screen, hover over the Actions menu in top right corner of the screen and click on ‘’Manage Permissions.’’
- Select the desired permissions from the list, then click “Save” to apply them.
You have successfully managed permissions for the user!