

 DigiMEDSPA EMR
 DigiMEDSPA CONNECT ™
Manage Blogs and Blog Categories for Your Website
This user guide provides step-by-step instructions on how to add, view, edit and delete blogs and blog categories in the portal for the website DigiMEDSPA is creating for you. The information you enter here will guide the design and layout of your website. You can make content changes directly in the portal, and our team will implement them accordingly. Instructions for editing other website pages are provided in separate articles.
Understanding Terminologies
Blog Categories
Blog categories are organized groupings of blog topics on a website, such as Skin Care Tips, Wellness Advice, or Treatment Guides. These categories help visitors easily navigate and find blog content that interests them while organizing related posts into specific themes.
Blogs
Blogs are individual articles or posts within the blog categories that provide valuable information, insights, and advice on various topics. Each blog includes a title, a short description, and detailed content, offering in-depth information on relevant subjects to educate and engage readers.
Add Blog Category
- You can add your blog categories through the “Website Content” accessible from two entry points:
- Click “Apps” in the Top Menu Navigation to access the applications.


- From the Website Panel, click on “Website Content.”
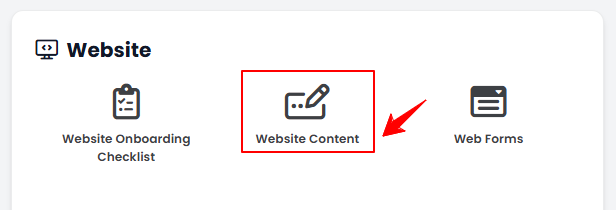
- From the Website Panel, click on “Website Content.”
- From the Left Navigation, open the “Website” dropdown menu, and select “Website Content.” Alternatively, you can type “Website Content” into the search bar in the Left Navigation.Note: Clicking “Website Content” will take you directly to General Information, the first step in editing the full website content.
- Click “Apps” in the Top Menu Navigation to access the applications.
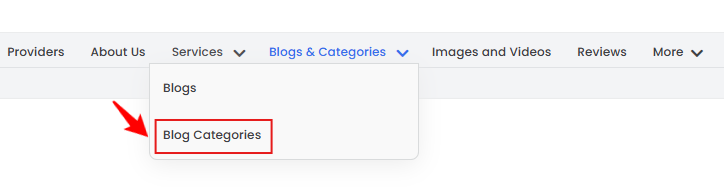
- Hover over “Blogs & Categories” in the menu bar and select “Blog Categories” from the dropdown menu.
- To add a new blog category to your website, click on the “New Blog Category'’ button in the top right corner of the screen.
- Enter the Name and Short Description for the blog category you are adding to your website. To add an additional attachment for the blog category, click “Add New Attachment.”
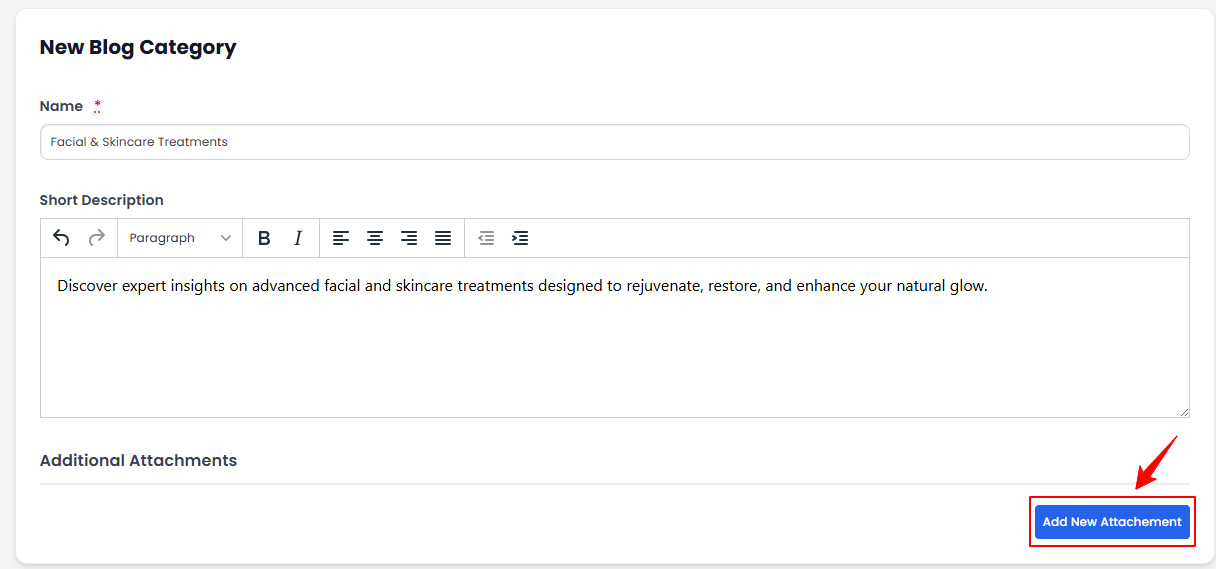 Note: “Additional attachment” refers to an image associated with the service category you are adding.
 - Click “Choose File” to upload a relevant image for the blog category from your computer. Once all the information has been entered, click “Create Blog Category.”
The new blog category for your website has been added successfully!
View Blog Category
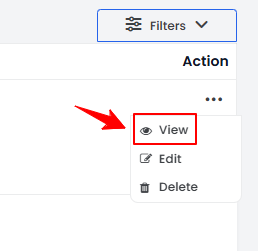
- To view a blog category details, click anywhere on the category’s detail in the listing, or click the three dots in the action column next to the specific category and select '’View.’’
- The Blog Category View Screen will open, displaying all the information for the category.
Edit Blog Category
- There are two ways to edit an existing blog category:
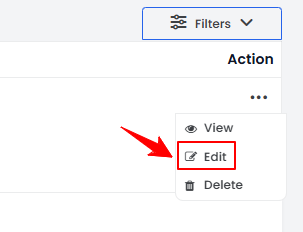
- From the blog category listing, click on three dots under the action column for the specific blog category and click “Edit.”
- From the Blogs Category Details View Screen, hover over “Actions” and select “Edit Blog Category”’ in the top right corner of the screen.
- From the blog category listing, click on three dots under the action column for the specific blog category and click “Edit.”
- Make the desired changes. Once done, click “Update Blog Category.”
Your blog category has been successfully edited!
Delete Blog Category
- There are two ways to delete an existing blog category:
- From the blog category listing, click on three dots under the action column for the specific blog category and click “Delete.”

- From the Blog Category Details View Screen, hover over “Actions” and select “Delete Blog Category”’ in the top right corner of the screen.
- From the blog category listing, click on three dots under the action column for the specific blog category and click “Delete.”
- A pop-up confirmation message will appear on the screen. Select “OK” to delete the blog category.
The blog category for your website has been deleted successfully!
Add Blog
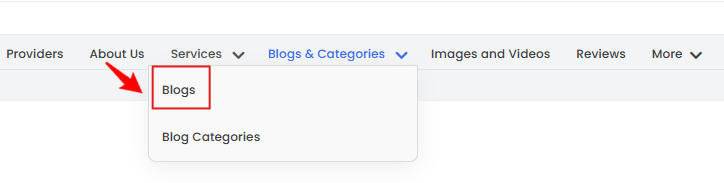
- Hover over Blogs & Categories in the menu bar and select “Blogs” from the dropdown menu.
- To add a new blog to your website, click on the “New Blog'’ button in the top right corner of the screen.
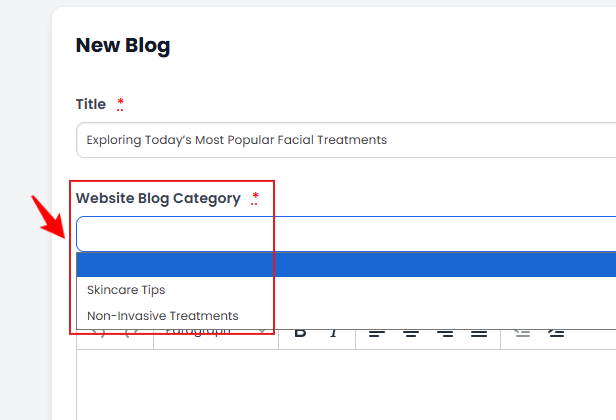
- Enter the Name for the blog you are adding to your website. Then, select the “Website Blog Category” for the content from the dropdown menu.
- Enter the Short Description and Long Description for the blog. To add an additional attachment for the blog, click “Add New Attachment.”Note: “Additional attachment” refers to an image associated with the blog you are adding.
- Click “Choose File” to upload a relevant image for the blog from your computer. Once all the information has been entered, click “Create Blog.”
The new blog has been added successfully!
View Blog
- To view a blog’s details, click anywhere on the blog’s information in the listing, or click the three dots in the action column next to the specific blog and select '’View.’’
- The Blog Details View Screen will open, displaying all the information for the blog.
Edit Blog
- There are two ways to edit an existing blog:
- From the blog listing, click on three dots under the action column and select "Edit" for the specific blog.
- From the Blog Details View Screen, select “Edit Blog”’ located in the top right corner of the screen.
- Make the necessary changes and click "Update Blog" to save your updates.
Your blog for your website has been successfully edited!
Delete Blog
- There are two ways to delete an existing blog:
- From the blog listing, click on three dots under the action column and select "Delete" for the specific blog.
- From the Blog Details View Screen, select “Delete”’ located in the top right corner of the screen.
- A pop-up confirmation message will appear on the screen. Select “OK” to delete the blog.
The blog for your website has been deleted successfully!