

 DigiMEDSPA EMR
 DigiMEDSPA CONNECT ™
Manage Additional Pages and Website Settings for Your Website
This user guide provides step-by-step instructions on how to add, view, edit and delete additional pages and update website settings in the portal for the website DigiMEDSPA is creating for you. The information you enter here will guide the design and layout of your website. You can make content changes directly in the portal, and our team will implement them accordingly. Instructions for editing other website pages are provided in separate articles.
Understanding Terminologies
Additional Pages
Additional pages are extra pages on a website beyond the standard website sections. These additional pages might include specific topics like Our Mission, FAQs, or Blogs, providing more information or resources for patients. They allow the website to be tailored to the unique needs and interests of visitors.
Website Settings
Website settings refer to the configuration options that control the appearance, functionality, and basic operations of the website. This includes settings like the color scheme, font style, layout preferences, contact information, and notification emails. Website settings ensure the site aligns with the brand’s identity and provides a consistent user experience.
Add Additional Pages
- You can add additional pages for your website through the “Website Content” accessible from two entry points:
- Click “Apps” in the Top Menu Navigation to access the applications.


- From the Website Panel, click on “Website Content.”
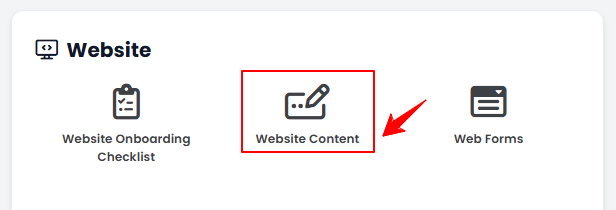
- From the Website Panel, click on “Website Content.”
- From the Left Navigation, open the “Website” dropdown menu, and select “Website Content.” Alternatively, you can type “Website Content” into the search bar in the Left Navigation.Note: Clicking on “Website Content” will take you directly to General Information, the first step in editing the full website content.
- Click “Apps” in the Top Menu Navigation to access the applications.
- From the menu bar, hover over “More” and select “Additional Pages.”

- To add a new additional page for your website, click on the “New Additional Page'’ button located in the top right corner of the screen.
- Enter the Name, URL and Content for the additional page you are adding to your website. Once all the information has been entered, click “Create Additional Page.”
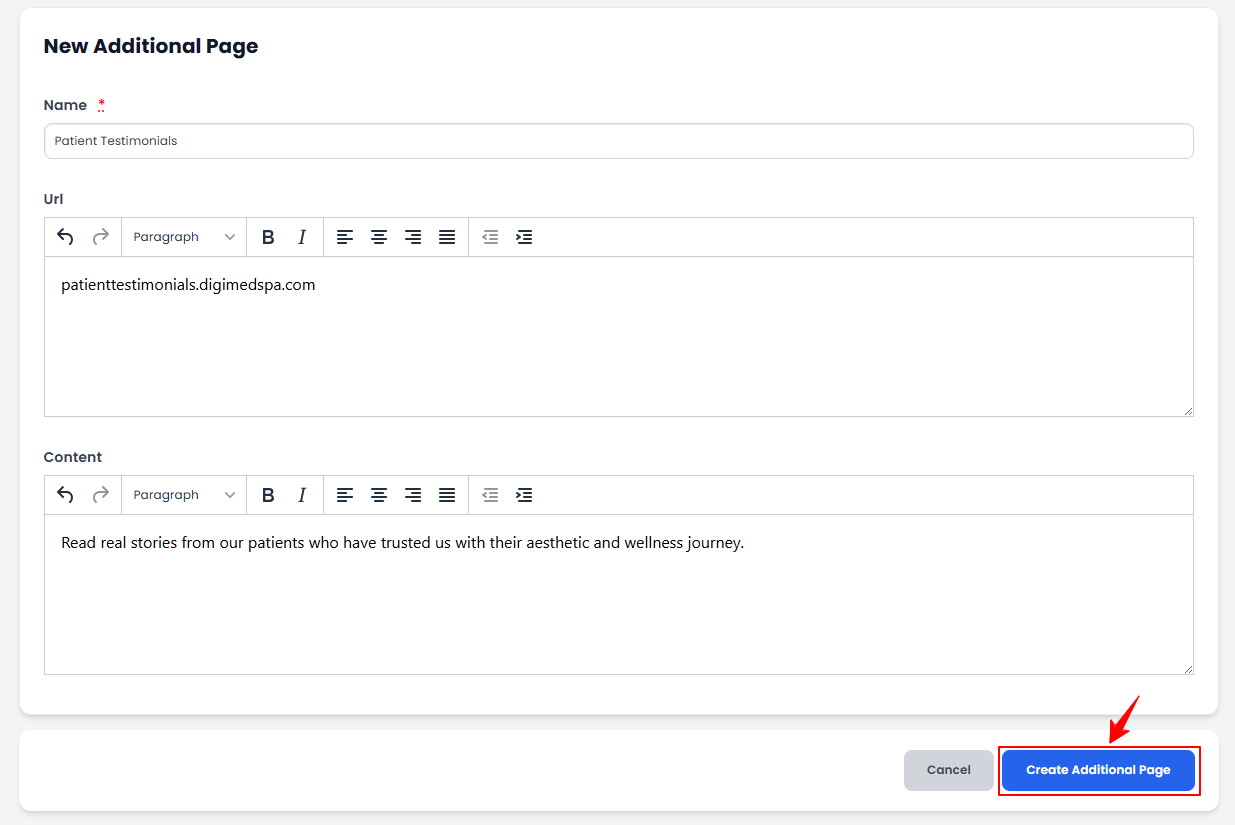 Note: A clear, descriptive URL enhances the user experience, allowing visitors to know exactly what content to expect on each page.
The additional page has been added successfully!
View Additional Pages
- To view an additional page’s details, click anywhere on the page’s detail in the listing, or click the three dots in the action column next to the specific page and select '’View.’’
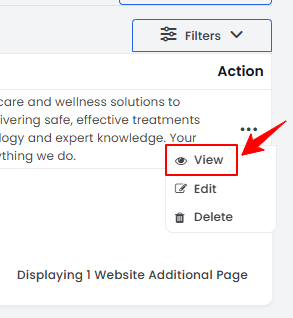
- The Additional Page View Screen will open, displaying all the information for the page.
Edit Additional Pages
- There are two ways to edit an existing additional page’s details:
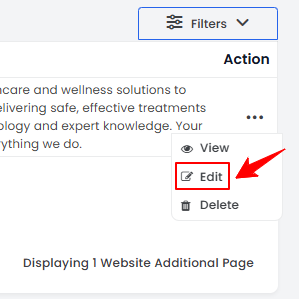
- From the page listing, click on three dots under the action column and select "Edit" for the specific page.
- From the Additional Page View Screen, hover over “Actions” and select “Edit Additional Page”’ in the top right corner of the screen.
- From the page listing, click on three dots under the action column and select "Edit" for the specific page.
- Make the necessary changes and click "Update Additional Page" to save your updates.
The additional page for your website has been successfully edited!
Delete Website Additional Pages
- There are two ways to delete an existing additional page’s details:
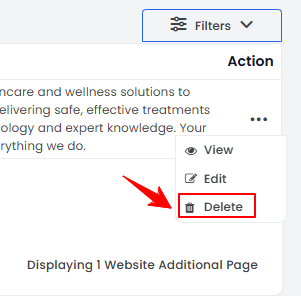
- From the page listing, click on three dots under the action column and select "Delete" for the specific page.
- From the Additional Page View Screen, hover over “Actions” and select “Delete Additional Page”’ in the top right corner of the screen.
- From the page listing, click on three dots under the action column and select "Delete" for the specific page.
- A pop-up confirmation message will appear on the screen. Select “OK” to delete the additional page details.
The additional page added for your website has been deleted successfully!
Manage Website Settings
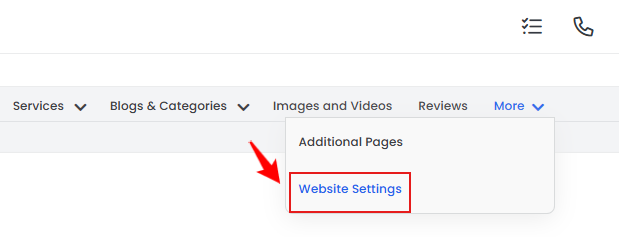
- From the menu bar, hover over “More” and select “Website Settings.”
- Select the options you want accessible on your website from the following: Chat, Text Message, Online Appointment, and Products.
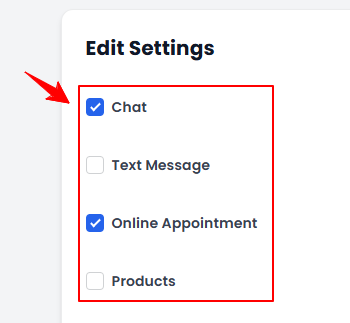
Note: “Chat” adds a live chat feature to the website, allowing patients to communicate instantly with staff, ask questions, or get assistance in real-time. “Text Message” enables patients to reach out via text message, providing an additional, convenient communication method. “Online Appointment” allows patients to book appointments directly through the website. “Products” displays available products on the website, allowing patients to browse and purchase items like skincare products or wellness tools. This option supports e-Commerce functionality and encourages sales of retail items. - Enter the Web Forms and Notification Email for your website settings.
Note: “Web Forms” are customizable forms on your website that allow visitors to submit information, such as appointment requests, inquiries, or feedback. Web forms help gather patient details and streamline communication. “Notification Email” is the email address where notifications from submitted web forms will be sent. Setting this ensures that you receive prompt updates on form submissions, enabling timely responses to patient inquiries or requests. - The options “Contact us information will pick from manage locations” and “Business Hours information will pick from manage locations” redirect to the Locations page. This means the Contact Us information and the Business Hours section on your website will automatically display the information entered in the portal under Locations. This ensures that your website always shows accurate and up-to-date details. Once all the information has been entered, click “Update Website Settings.”

Your website settings have been updated successfully!