

 DigiMEDSPA EMR
 DigiMEDSPA CONNECT ™
How to Send and Receive eFaxes
This guide explains how to send and receive eFaxes through the DigiMEDSPA portal. You will learn how to manage fax communications efficiently, access received faxes, and send new documents securely.
Understanding Terminologies
eFaxes
eFaxes (electronic faxes) allow users to send and receive fax documents digitally through the DigiMEDSPA portal. Instead of using a physical fax machine, eFaxes transmit documents securely over the internet, enabling faster, paperless communication and easier record management.
Access this link: https://digimedspa.com/ap2/services
How to Send eFaxes
- The user can send a new eFax by accessing “Fax” in the Communication Apps accessible from three entry points.
- From the EMR Board, click “Fax” in the Top Menu Navigation.


- From the EMR Board, click “Apps” in the Top Menu Navigation to access the applications.
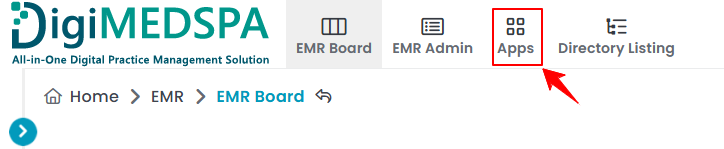
- Navigate to the Communication Apps and click on “Fax.”
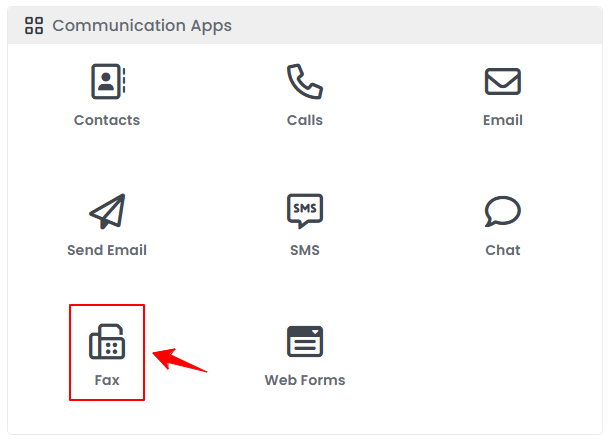
- Navigate to the Communication Apps and click on “Fax.”
- From the Left Navigation, click on the “Communication Apps” dropdown menu, and select “Fax.” Alternatively, you can type “Fax” into the search bar in the Left Navigation.
- From the EMR Board, click “Fax” in the Top Menu Navigation.
- To create a new fax, click the “New Fax” button in the top-right corner of the screen.
- Enter the Sender Information, including the Sender Name, Cover Sheet Header, Cover Sheet Subject, and optional fields including Cover Sheet Message and Cover Sheet Footer.
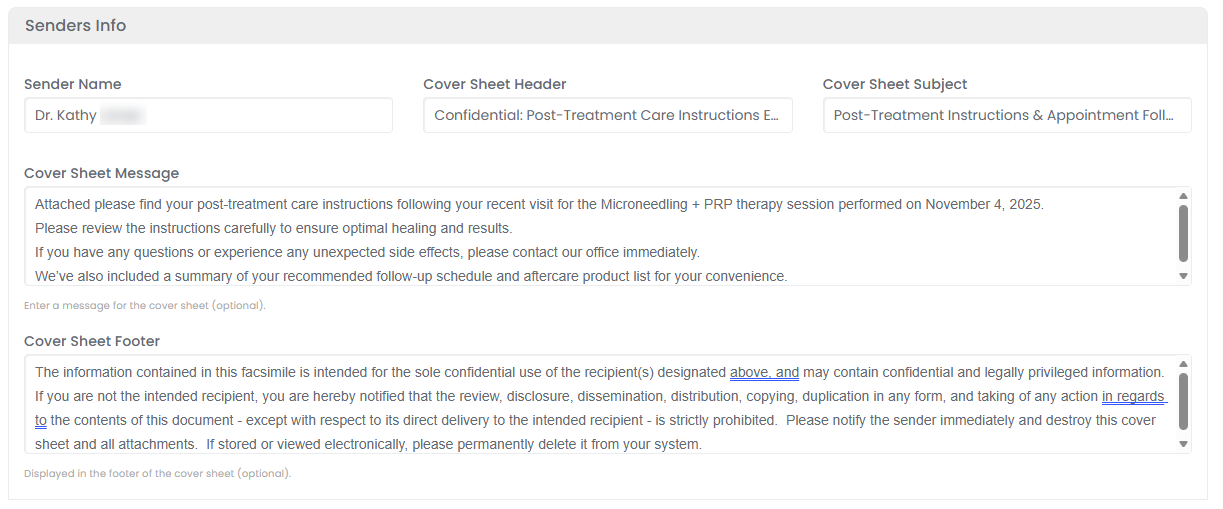 Note: The “Sender Name” identifies the person or clinic sending the fax. The “Cover Sheet Header” appears at the top of the fax cover page as a title or heading, while the “Cover Sheet Subject” provides a brief summary of the fax content. The “Cover Sheet Message” is for adding notes or instructions, and the “Cover Sheet Footer” is used to include details such as contact information or disclaimers at the bottom of the cover page.
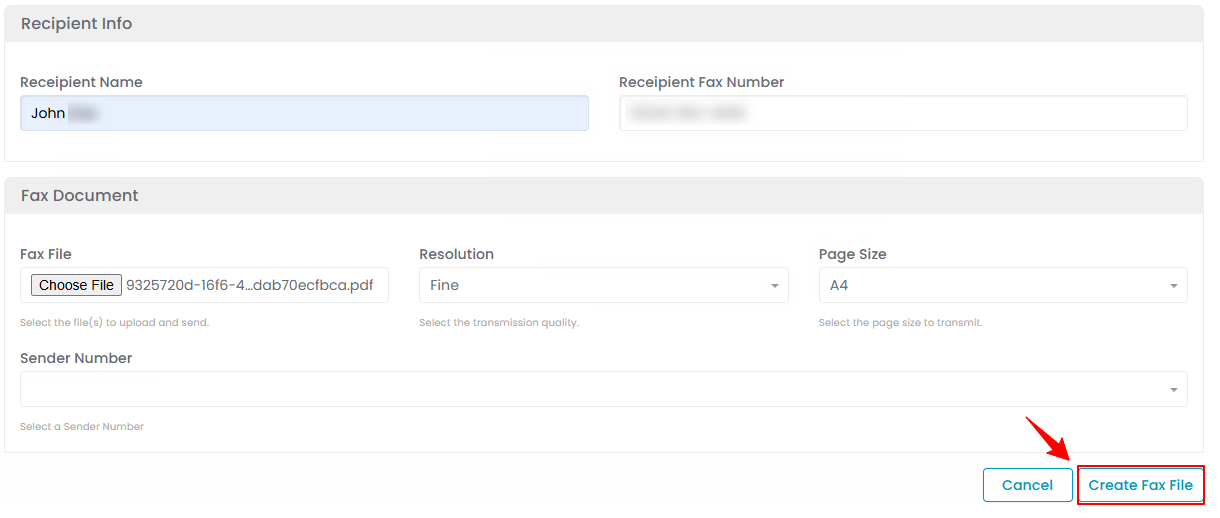
 - Next, enter the Recipient’s Information, including the Recipient Name and Recipient Fax Number, to specify who will receive the fax.
Note: The “Recipient Name” identifies the individual or organization receiving the fax. The “Recipient Fax Number” is the fax number where the document will be delivered. - Lastly, complete the Fax Document section. To attach a file, click “Choose File” and upload the document from your computer.
- Then, select the Resolution from the dropdown menu by choosing one of the options: Normal, Fine, or Superfine.Note: “Resolution” refers to the clarity and detail of the faxed document. Higher resolution provides sharper text and images but may take longer to send. The “Normal” option offers standard quality for text documents and faster transmission. “Fine” provides better quality for documents with smaller text or simple graphics, while “Superfine” delivers the highest quality, ideal for detailed images or complex layouts.
- Select the Page Size from the dropdown menu by choosing one of the available options: Letter, Legal, or A4.Note: “Page Size” determines the dimensions of the document being faxed, ensuring proper formatting and display on the recipient’s end. The “Letter” size (8.5" x 11") is commonly used in the U.S. for standard documents, “Legal” size (8.5" x 14") is used for longer forms or contracts, and “A4” size (8.27" x 11.69") is the standard international paper size for most documents.
- Next, select the Sender Number from the dropdown list of numbers already added to the portal. Once selected, click “Create Fax File” to proceed.
You have successfully sent eFax!
How to Receive eFaxes
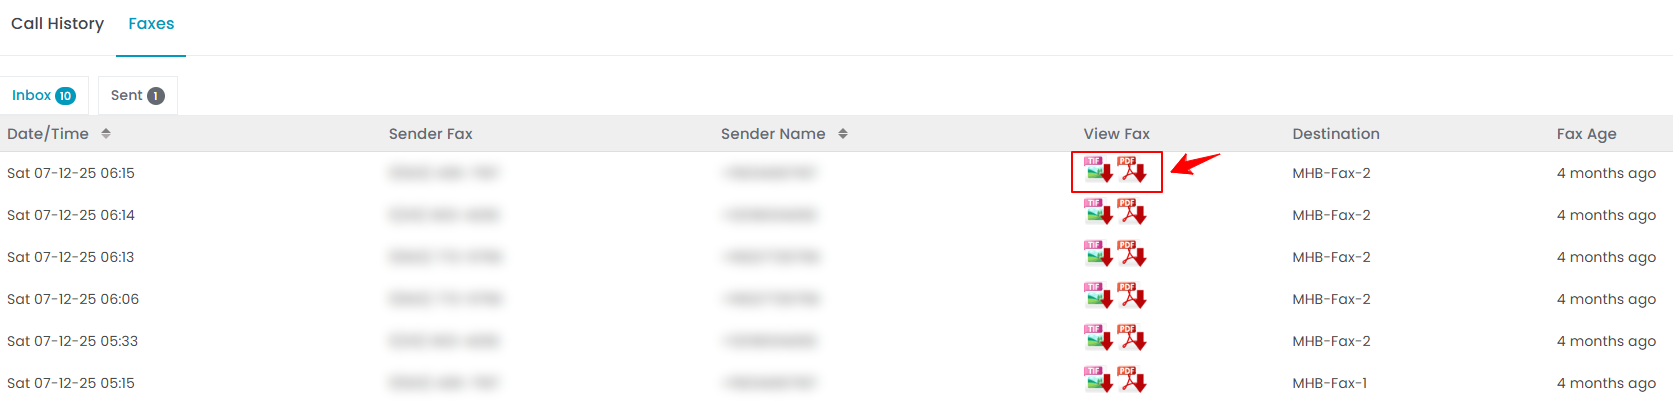
- To view received eFaxes, go to the Fax listing and click the “Inbox” tab on the top score bar. A list of all received eFaxes will be displayed.
- Select multiple users for the group chat, and once you've chosen all the users, click the “Create Group Chat” button to start the chat.
- Click the TIF or PDF file in the “View Fax” column for the specific eFax you want to view. The file will automatically download to your computer in the selected format.
You have successfully downloaded the received eFax!
