

 DigiMEDSPA EMR
 DigiMEDSPA CONNECT ™
How to Pin a Document in the Patient Profile
This user guide explains how to pin a document in a patient’s profile in the DigiMEDSPA portal. Pinning a document highlights important patient files, making them easily accessible at the top of the patient’s profile for quick reference during consultations, procedures, or follow-ups.
Understanding Terminologies
Documents
Documents refer to medical and administrative records associated with a patient’s care. These may include medical history, consent forms, questionnaires, prescriptions, invoices, insurance details, patient notes, and other essential files that support treatment, compliance, and record-keeping.
Pinning a Document
Pinning a document means marking a specific document in a patient’s profile as important so that it appears at the top of the document list. This ensures quick and easy access to critical files, such as consent forms, medical reports, or treatment plans, without searching through the entire patient record.
Pin a Document in the Patient Profile
- The user can pin a document to a patient profile by accessing the Patients List Screen from two entry points.
- From the EMR Board Tabs, select “Patients.’’

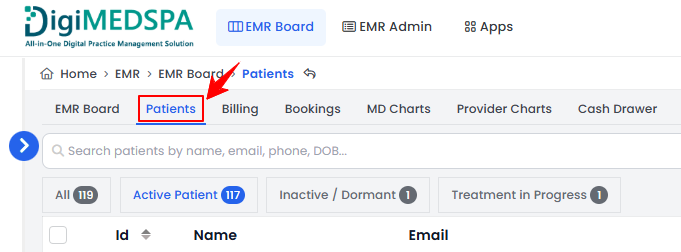
- From the Left Navigation, click on the “EMR Board” dropdown menu and select “Patients.’’ Alternatively, you can type “Patients” into the search bar in the Left Navigation.
- From the EMR Board Tabs, select “Patients.’’
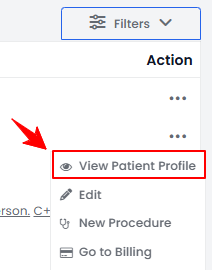
- From the patient listing, click on three dots under the action column and select "View Patient Profile" for the specific patient.
- On the Patient Information Screen, the user will find a detailed overview of the patient’s information. Click on the ‘’Documents’’ tab.

- To attach a new document to the patient profile, click the “New Document” button in the top right corner of the screen.
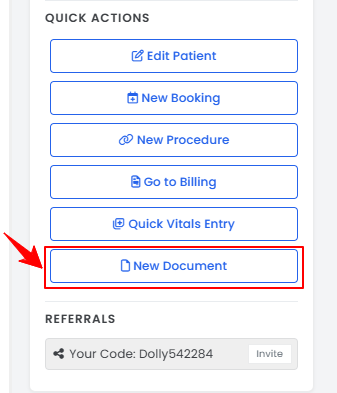
- Alternatively, on the Patient Information Screen, click on the "New Document" button under the Quick Actions on the left side of the screen.
- Fill in the required document details and attach a file if available. Then, check the “Pin this Document” box to mark the document as important and keep it easily accessible in the patient’s profile.

- After entering all the required information, click ‘’Create Document’’ to save it in the patient profile.
View Pinned Documents or Files in a Patient's Profile
- On the Patient Information Screen, the user will find a detailed overview of the patient’s details. To view documents, click on the ‘’Documents’’ tab.
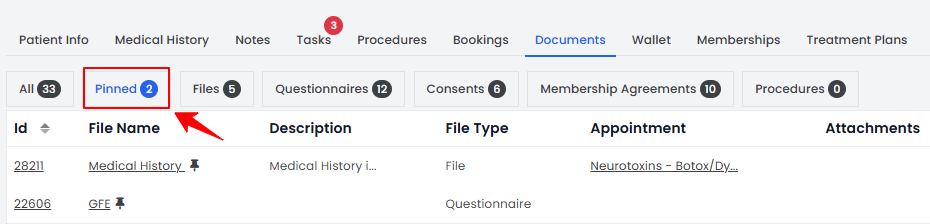
- All documents are organized by file type on the top scopes bar. Click the “Pinned” scope in the top scope bar to view a list of all pinned documents. Each pinned document is also marked with a pin icon next to its file name for quick identification.
Note: “Health Procedure” is a procedure performed to maintain or improve a patient’s health, treat medical conditions, or support overall wellness. “Cosmetic Procedure” is a procedure aimed at enhancing or improving a patient’s appearance for aesthetic purposes. - Select the Body Area from the dropdown, then click “Save” to save the data, or “Save & Chart” to proceed to upload images and access the Marking Screen.