

 DigiMEDSPA EMR
 DigiMEDSPA CONNECT ™
How to Activate Super Invoice?
This user guide explains how to activate super invoices within the DigiMEDSPA Portal. and how to edit provider details, as well as customize procedure and diagnosis codes for accurate and efficient invoicing.
Understanding Terminologies
Super Invoice
Super Invoice is an advanced invoicing tool that streamlines billing by allowing users to create, customize, and manage invoices efficiently. It enables editing of provider details, procedure codes, and diagnosis codes, helping clinics maintain accurate records and simplify the payment and reporting process.
Access this link: https://digimedspa.com/ap2/treatmentplantemplates
Activate Super Invoice Through Invoice List Screen
- The user can activate super invoice through Invoice List Screen accessible via two entry points:
- From the EMR Admin, click on “Invoices” under “Patient Billing.”

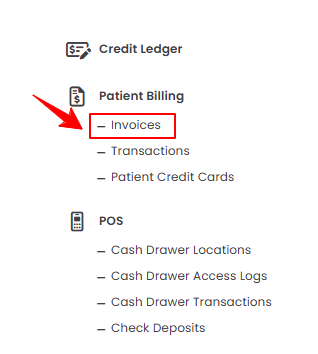
- From the Left Navigation, open the “EMR Admin” dropdown menu, select “Patient Billing,” and then choose “Invoices” from the subsequent dropdown menu. Alternatively, you can type “Invoices” into the search bar in the Left Navigation.
- From the EMR Admin, click on “Invoices” under “Patient Billing.”
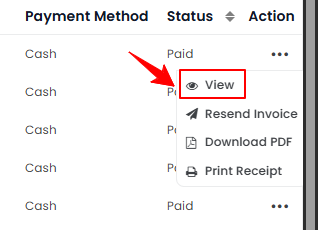
- A list of all invoices will be displayed. From this list, click the three dots in the Action column next to the invoice you want to view, and select “View,” or simply click anywhere on the invoice’s data.
- To activate super invoice, simply turn on the toggle to switch from Simple Invoice to Super Invoice.
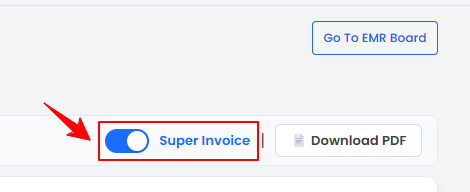 Note: “Simple Invoice” is a basic invoicing option used for straightforward billing. It includes essential details like patient name, services provided, and total cost, making it ideal for quick and easy transactions without advanced customization. While “Super Invoice” provides enhanced customization and detailed documentation for medical purposes.
 - Click the “Edit” button on the invoice to update or modify the provider details.
- Enter or update the Provider Name and Address, along with the National Provider ID, Tax ID, Procedure Codes, and Diagnosis Codes. The Patient Name will populate automatically. When all details are complete, click “Save” to apply the changes.
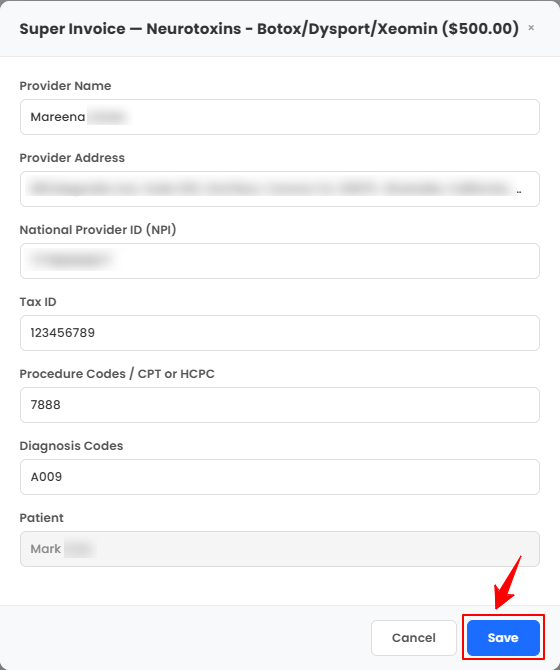 Note: “National Provider ID (NPI)” is a unique identification number assigned to healthcare providers in the U.S., used for billing and administrative purposes. “Tax ID” is the Employer Identification Number (EIN) or Tax Identification Number associated with the provider or Med SPA for tax and invoicing purposes. “Procedure Codes” are standardized codes (often CPT or HCPCS) representing the specific treatments or services provided, used for accurate billing. “Diagnosis Codes” are standardized codes (ICD-10) indicating the patient’s condition or reason for treatment, used for medical and billing documentation.
The super invoice has been activated successfully!
Activate Super Invoice Through Patient Profile
- The user can activate super invoice through patient profile accessible via two entry points:
- From the EMR Board Tabs, select “Patients.’’
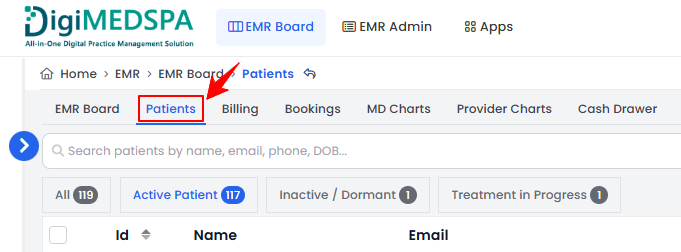
- From the Left Navigation, click on the “EMR Board” dropdown menu and select “Patients.” Alternatively, you can type “Patients” into the search bar in the Left Navigation.
- From the EMR Board Tabs, select “Patients.’’
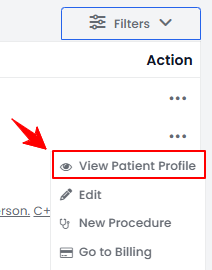
- From the patient list, click on three dots under the action column and select "View Patient Profile" for the specific patient.
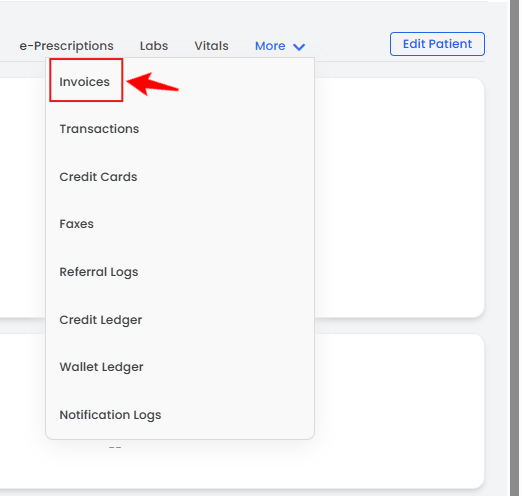
- Users can view detailed patient information on the patient profile. Hover over "More" and click the "Invoices" tab.
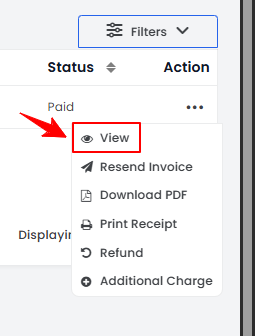
- A list of invoices will be displayed, showing the patient’s payment history. From this list, click the three dots in the Action column and select “View” for the specific invoice, or simply click anywhere on the invoice’s data.
- To activate super invoice, simply turn on the toggle to switch from Simple Invoice to Super Invoice.
- Click the “Edit” button on the invoice to update or modify the provider details.
- Make the necessary updates, and once all information is complete, click “Save” to apply the changes.
The super invoice has been activated successfully!