

 DigiMEDSPA EMR
 DigiMEDSPA CONNECT ™
Attach Documents or Files To a Patient's Profile
This user guide offers detailed instructions for uploading and managing patient-related documents within the DigiMEDSPA portal, ensuring efficient record-keeping and easy access to important files.
Understanding Terminologies
Documents
Documents refer to medical and administrative records associated with a patient’s care. These may include medical history, consent forms, intake forms, prescriptions, invoices, insurance details, membership agreements, and other essential files that support treatment, compliance, and record-keeping.
Access this link: https://digimedspa.com/ap2/patients
Attach Documents or Files To a Patient's Profile
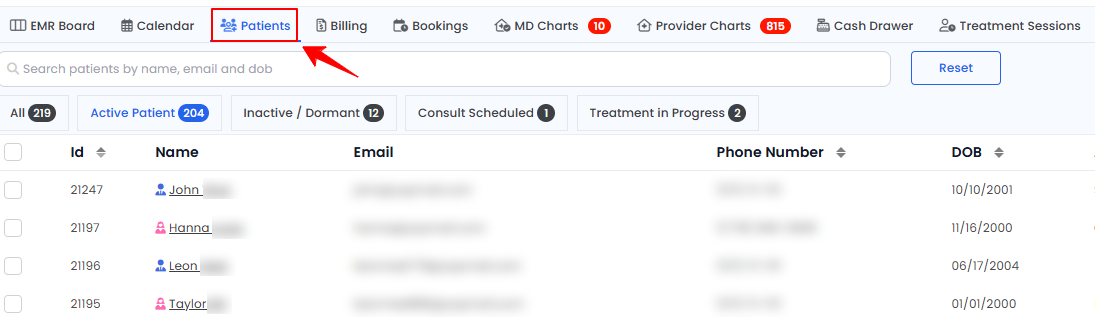
- The user can attach documents to a patient profile by accessing the Patients List Screen. From the EMR Board Tabs, select “Patients.’’

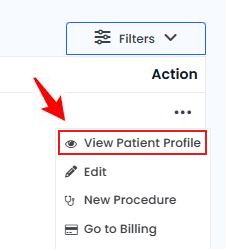
- From the patient listing, click on three dots under the action column and select "View Patient Profile" for the specific patient.
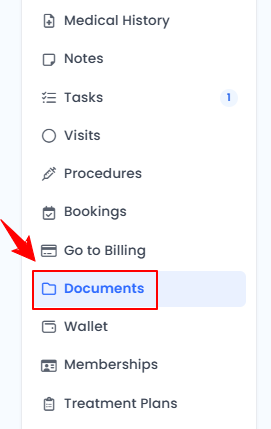
- On the Patient Information Screen, the user will find a detailed overview of the patient’s information. To view the documents, simply click "Documents" from the side panel.
- To attach a new document to the patient profile, click the “New Document” button in the top right corner of the screen.
- Enter the Document Name, Description, and select a Document Type from the dropdown menu. Choose from File, Intake Form, Consent, Membership Agreement, or Procedure.Note: “Description” is a brief summary or explanation that provides additional context about the document’s contents or purpose. “Document Type” refers to the category or classification assigned to a document based on its purpose or content. A “File” is a digital or physical record containing data, documents, or media related to a specific subject. An “Intake Form” is a structured set of questions designed to gather patient information, typically related to medical history, symptoms, or treatment preferences. “Consent” is a formal document that grants permission for a medical procedure, treatment, or data usage, ensuring the patient understands and agrees to the terms. A “Membership Agreement” is a contractual document outlining the terms and conditions of a membership program, often detailing benefits, fees, and cancellation policies for medical or wellness services. A “Procedure” is a medical or esthetic treatment performed on a patient, following a standardized protocol to ensure safety and effectiveness.
- Select an appointment from the dropdown menu if you want to attach this document to a specific appointment.Note: If no appointment is selected, the document will be attached to all appointments and will also appear in the patient profile.
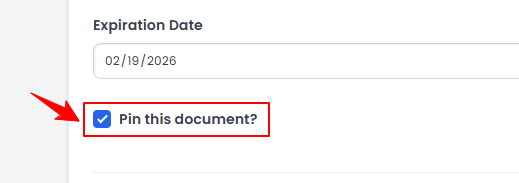
- Select an Expiration Date for the document from the calendar. Check the “Pin this Document” box to mark important documents. Pinned documents always appear at the top of the patient’s document list and in the “Pinned” section of the top score bar, so you can quickly find them without searching through the entire list.
 Note: The “Expiration Date” on a document signifies the date after which the document is considered invalid or outdated. Time-sensitive documents, like licenses, certifications, consent forms, prescriptions, and insurance records, must be regularly updated to stay valid and ensure accurate patient records and compliance.
 - If you want to create a task for this document then enable the “Create Task & Notify Provider” option, then select the appropriate provider from the dropdown to notify them about this document.
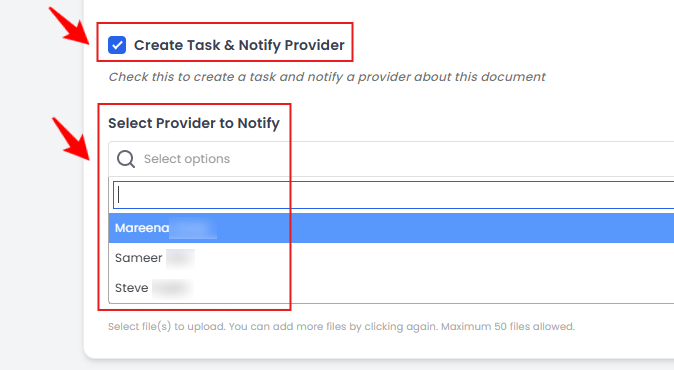 Note: The assigned task will appear in the provider’s “Pending Assigned Tasks” list.
 - Check mark the “Send to Patient” option if the document needs to be sent to the patient via the contact preferences set for the patient.
- To attach a document or file, click “Add Attachment” and upload the desired file from your computer by clicking “Choose File.”Note: You can attach multiple files. To delete an attached file, click the “Remove” button.
- After entering all the required information, click ‘’Create Document’’ to save it in the patient profile.
View Documents or Files in a Patient's Profile
- On the Document List Screen, click the three dots under the action column and select “View” for a specific document.
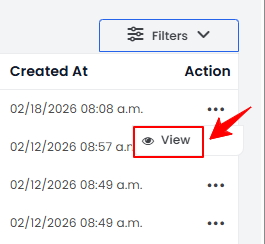
- The Document Details View Screen will open, displaying the details of the document.
- On the Document List Screen, all documents are organized by file type on the top scopes bar. Click on a specific file type to view the documents in that specific category.

Resend Documents or Files to the Patient through the Patient's Profile
- On the Document List Screen, click the three dots under the action column and select “Resend” for a specific document.
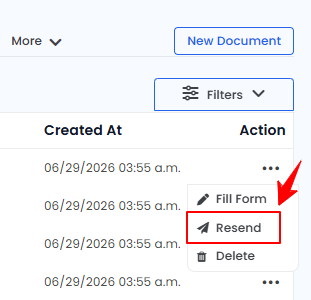
- A confirmation pop-up will appear on the screen. Select “OK” to resend the document as a remainder to the patient.Note: Documents in the patient profile can be deleted by clicking the “Delete” button. Intake forms and consent forms can be completed by clicking “Fill Form,” which opens the selected form for the patient to fill out. Moreover, uploaded documents can be viewed at any time; however, they cannot be edited after upload. This restriction helps maintain the integrity and security of patient records by preventing accidental or unauthorized changes to sensitive information.