

 DigiMEDSPA EMR
 DigiMEDSPA CONNECT ™
Add / Edit / Move Injection Markings
This user guide offers detailed instructions on how to add, edit, and move injection markings during the charting process.
Understanding Terminologies
Injection Markings
Injection markings are specific indicators or marks placed on a patient's photo in the marking screen to guide the provider on where to administer injections during a procedure. These markings ensure precise and consistent injection placement, improving the effectiveness of the procedure and minimizing the risk of complications.
Access this link: https://digimedspa.com/ap2/procedures
Add Injection Markings to Procedure Images Through EMR Board
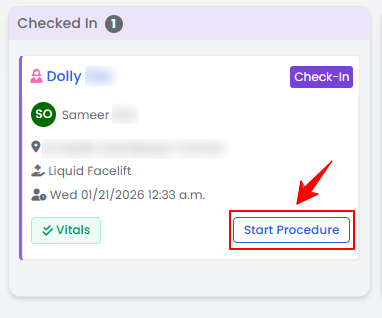
- The user can add injection markings in a procedure through the EMR Board. From the EMR Board select a booking that is in the ‘’Checked In’’ step then press the ‘’Start Procedure’’ button to move that booking to the ‘’In Procedure’’ phase.

- Choose the Body Area from the dropdown menu and click “Start Procedure.”Note: For services without a selected procedure type, you will be prompted to choose the procedure type at this step. Refer to the article “Create a New Procedure,” for step-by-step instructions on creating a procedure.
- You will be directed to the Procedure View Screen in the patient profile, where all procedure sections are displayed.
- To mark images, first upload them in the Procedure Images/Videos section. Click “Upload Images” or “Upload After Images” to proceed.
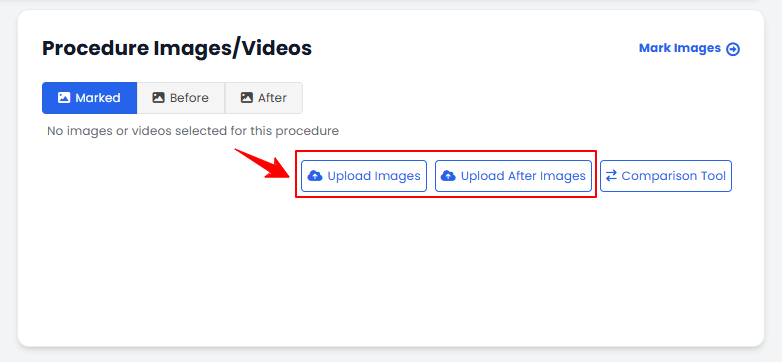 Note: To view and compare before-and-after images of a procedure, click the “Comparison Tool” button. For step-by-step guidance on how to use this feature, refer to the article “Compare Before and After Images Using the Comparison Tool.”
 - Upload images from different angles, select the desired images, and click “Next.”
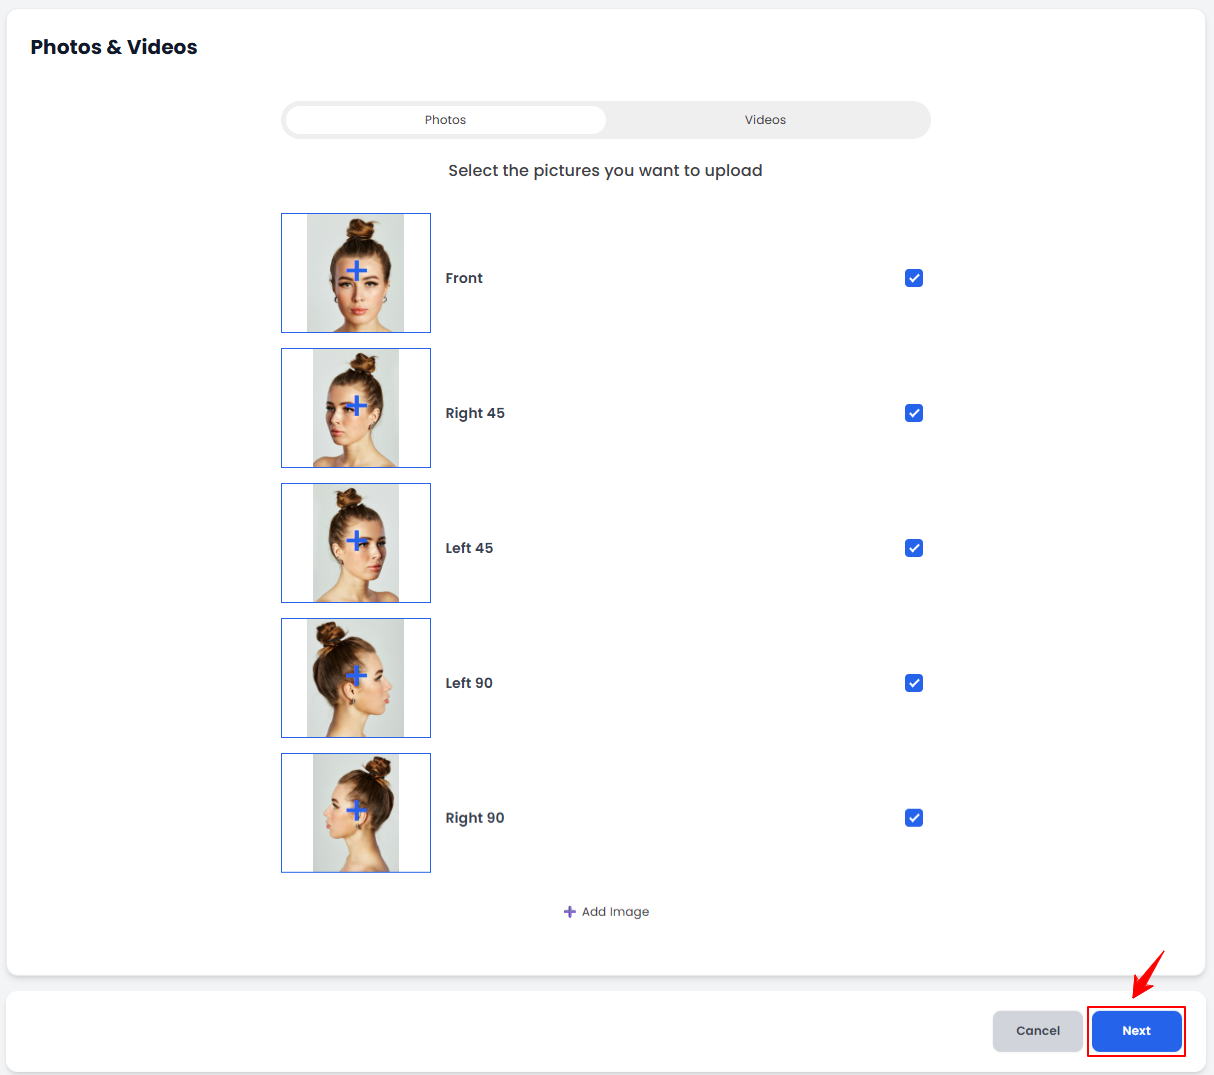 Note: To add additional images, click the “+ Add Image” button at the bottom of the screen. A pop-up window will open where you can upload your image and enter a label. Once finished, click “Add Image” to save it.
 - The “Marking Screen” will open, allowing the user to precisely chart drugs (products) and injection markings on the selected image for use during the procedure.Note: Users can also utilize the drawing tools on the Marking Screen to annotate or highlight treatment areas. Refer to the article, “Use the Draw Tool for Charting.”
- To add products for injection markings on the marking screen, select “Add Product” from the dropdown menu to proceed.
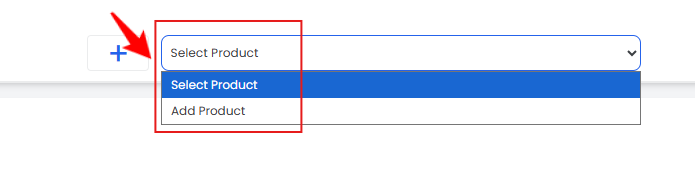 Note: To add a product, click the Products tab at the top, then select “Add Product” and choose the desired item. The product will appear on the Products screen and be available in the “Select Product” dropdown on the Marking Screen. Products can also be added from the Procedure View Screen under the Procedure Products section.
 - Search and select the treatment product from the dropdown menu for which you want to place the injection marking. The dropdown will display all available products.
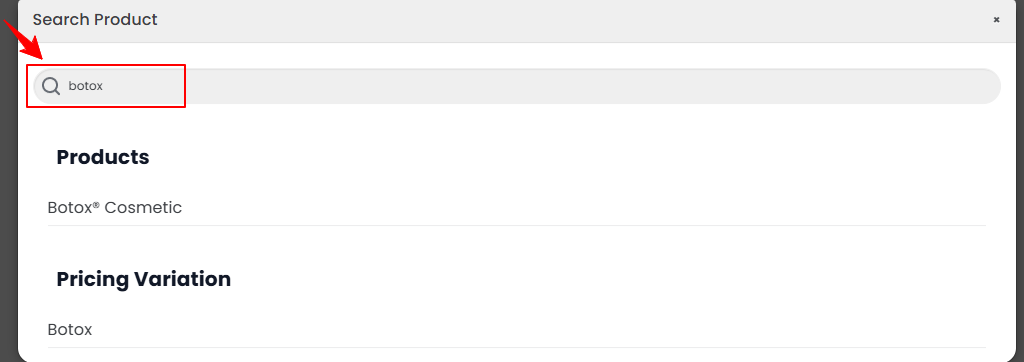 Note: The dropdown menu also displays the pricing variations created, enabling the user to select from those variations for injection markings.
 - After adding the product, select the Batch ID, enter the Units and click on “Save Changes” to confirm.
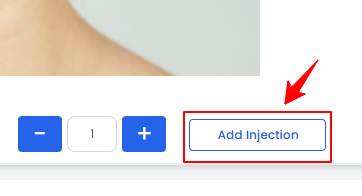
- Now, an option to add injections will appear. Click "Add Injection," then click on the area where you want to place the injection markings.
- After placing the injection markings, double-click on the circle to select the injection. Adjust the unit quantity as needed by clicking the "+" or "-" signs. Once finished, click “Save” to confirm your changes.
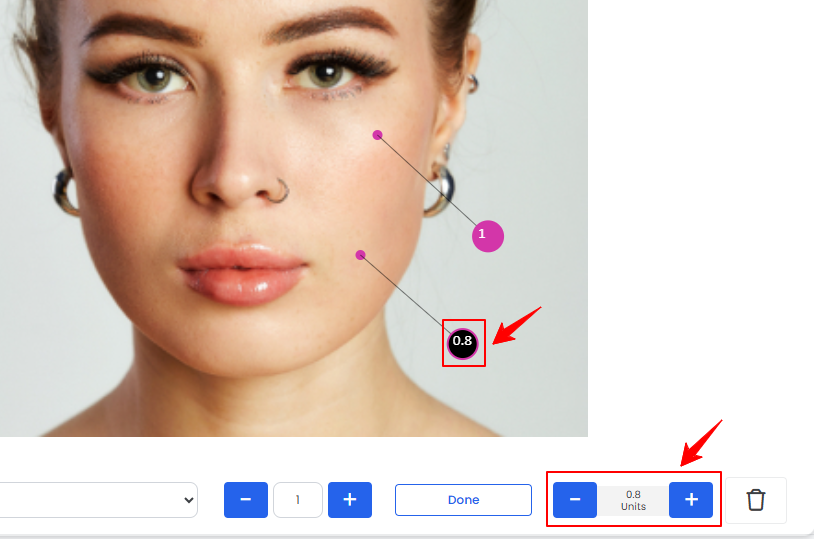
The injection markings have been successfully placed!
Move the Injection Markings
- To move a placed injection marking, long-press and drag the small circle to the desired location, then release to position it precisely. Click “Save” to confirm your changes.Note: You can select multiple treatment products and add as many injection markings as needed.
Add Injection Markings to Procedure Images Through Patient List Screen
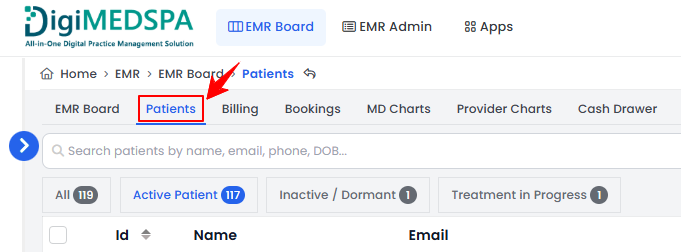
- The user can add injection markings in a procedure through the Patient List Screen. From the EMR Board Tabs, select “Patients.”
- To create a procedure for a specific patient from the list, click the three dots under the action column and select "New Procedure."
- The patient details will be auto-filled. Complete the booking and procedure details, then click “Save & Chart” to proceed with uploading images and accessing the Marking Screen.
- Follow the same steps outlined in the section above to add injection markings on the Marking Screen.
Add Injection Markings to Procedure Images Through Booking List Screen
- The user can add injection markings in a procedure through the Bookings List Screen. From the EMR Board Tabs, select “Bookings.”

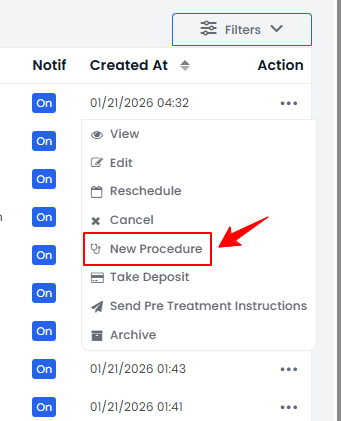
- From the booking list, navigate to the desired booking. Click the three dots under Action and select “New Procedure.”
- The patient and booking details will be automatically filled in. Complete the procedure details. Click “Save & Chart” to proceed with uploading images and accessing the Marking Screen.
- Follow the same steps outlined in the section above to add injection markings on the Marking Screen.
Edit Injection Markings Through Procedure View Screen
- The user can edit injection markings for an existing procedure by accessing the Procedure View Screen through the patient profile.
- From the EMR Board Tabs, select “Patients.”
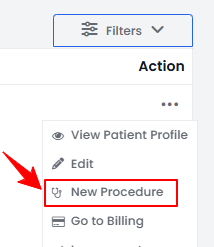
- To view a specific patient from the list, click the three dots under the action column and select "View Patient Profile," or simply click anywhere on the patient’s data.
- On the Patient Information Screen, the user will find a detailed overview of the patient’s information. To view the procedure images, simply click on the ‘’Procedures’’ tab.

- Here, you can view all patient procedures. To see details for a specific procedure, click “View Procedure.”
- To edit the injection markings, click “Mark Images” in the Procedure Images/Videos section.
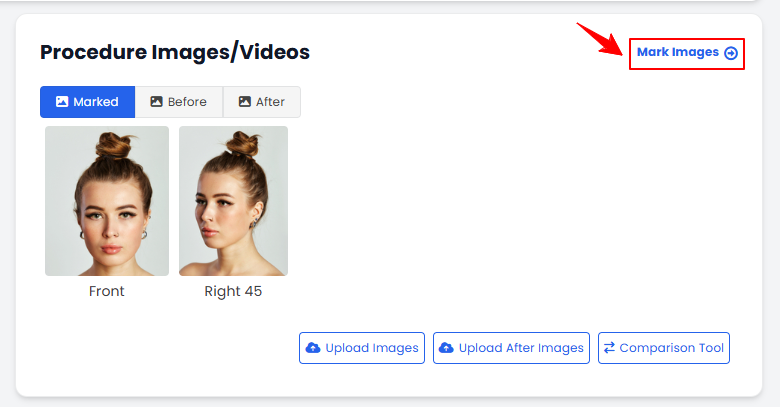
- The Marking Screen will then appear, allowing you to edit and update injection markings. Once you have made the changes, click “Save.”Note: The “Mark Images” button will not appear if billing has been completed and both the MD and procedure signatures are provided, as this indicates the procedure is complete.
The injection markings have been successfully edited!