

 DigiMEDSPA EMR
 DigiMEDSPA CONNECT ™
Confirm a Booking or Check a Patient In
This guide will walk you through the steps to confirm a booking or check a patient in, ensuring a smooth and efficient booking process. In our portal, the term "booking" is used to refer to appointments.
Understanding Terminologies
Booking
Booking refers to scheduling an appointment for a patient to receive specific aesthetic or wellness services, such as facials, injectables, or laser treatments. It includes selecting the service, choosing the provider, and confirming the date and time of the appointment.
Checking In a Patient
Checking in a patient involves confirming a patient’s arrival at the Med SPA for a scheduled appointment. This step typically includes verifying the patient’s details, updating their medical history or consent forms, and preparing the necessary documentation for the upcoming procedure.
Confirm a Booking
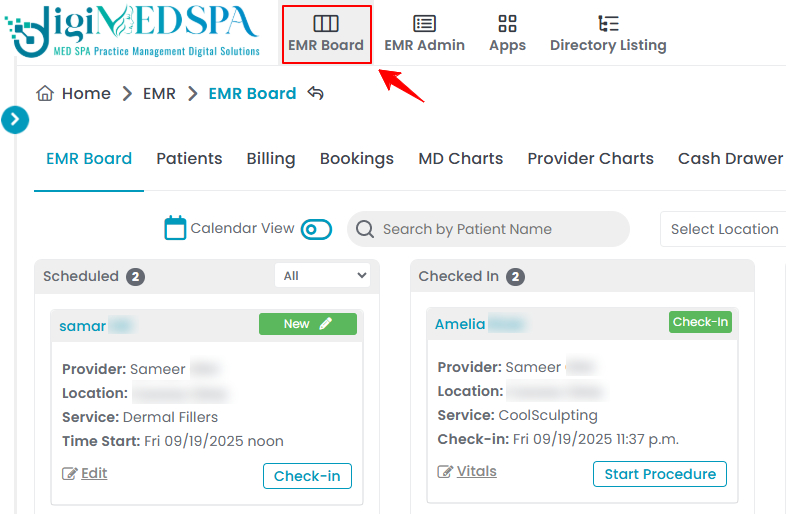
- You can confirm booking through the EMR Board, accessible via three entry points.
- Click on the “EMR Board” on the Top Menu Navigation.

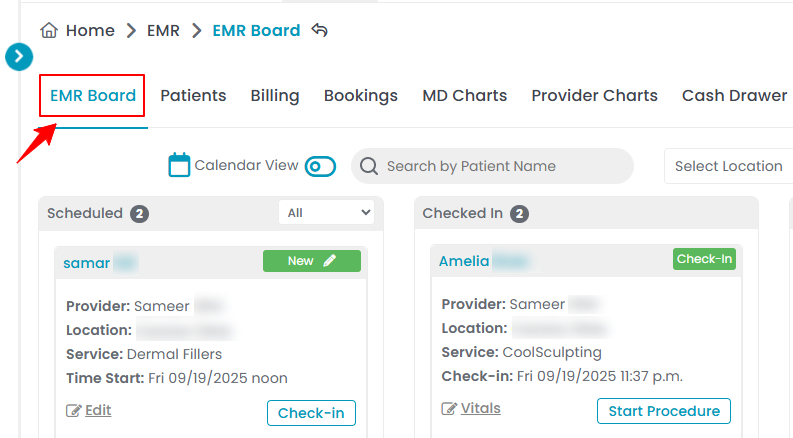
- From the EMR Board Tabs, select “EMR Board.’’
- From the Left Navigation, click on the “EMR Board” dropdown and select “EMR Board.” Alternatively, you can type “EMR Board” into the search bar in the Left Navigation. Note: You are now on the EMR Board, which shows all bookings for your Med SPA on the current day along with their statuses. For more details, see our "How to Navigate the EMR Board" article.
- Click on the “EMR Board” on the Top Menu Navigation.
- Hover over the status of the specific booking to reveal a dropdown with more options. Select "Confirmed" to confirm the booking.
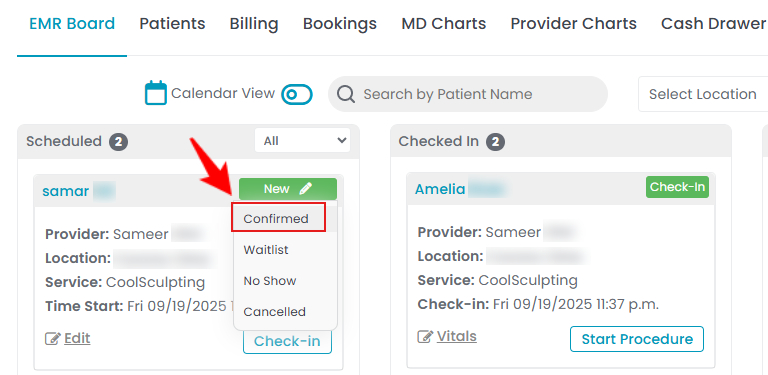 Note: Newly created bookings will automatically appear with the "New" status on the EMR Board. To update the booking status, you need to manually select one of the available status options: Confirmed, Waitlist, No Show, or Cancelled from the EMR Board.
Check a Patient In
- On the EMR Board, choose the booking you want to confirm and press the ‘’Check-in’’ button.
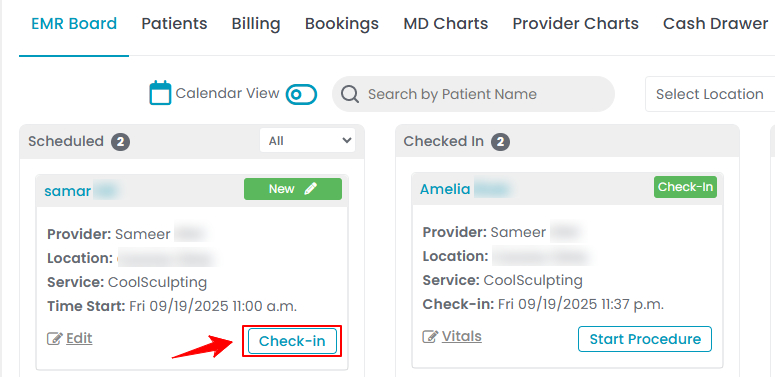 Note: If a sticky note (a pop-up note containing important details) has been added to this patient’s profile, it will automatically appear on the screen after clicking the “Check-in” button.
 - Enter the Check-In Details, including the Check-In Time and Notes, then click '’Save Changes’' to confirm the booking or check in the patient.
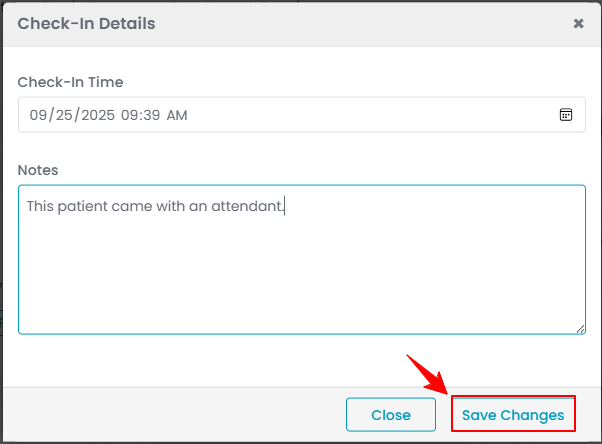 Note: “Notes” entered here are not visible to the patient. They are for internal use only.
 - The booking will be confirmed and the patient’s booking details will appear in the ‘’Checked In’’ section of the EMR Board.
