

 DigiMEDSPA EMR
 DigiMEDSPA CONNECT ™
Add / View / Edit Patient
This user guide offers detailed, step-by-step instructions on how to add, edit, and view a patient’s profile within the DigiMEDSPA Portal. By following these instructions, admins and authorized users, including providers and employees, can manage and update patient information.
Understanding Terminologies
Patient
A patient refers to an individual who receives any services or treatments at your Med SPA. While Med SPA patients often seek cosmetic improvements or rejuvenation, maintaining accurate patient information is essential for quality care, reliable records, minimizing medication errors, regulatory compliance, and effective communication.
Access this link: https://digimedspa.com/ap2/patients
Add a Patient
Watch Video 
- The user can add a patient by accessing the Patients List Screen. From the EMR Board Tabs, select “Patients.”

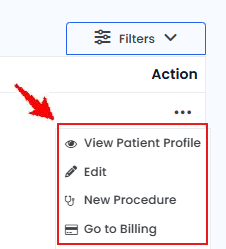
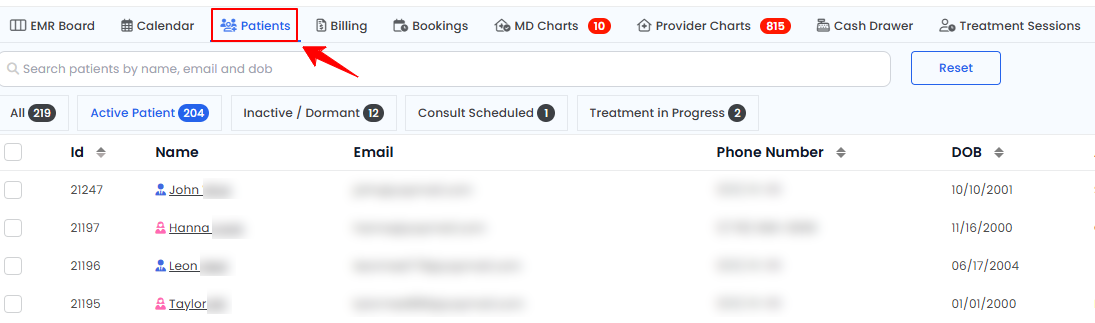 Note: You are now on the Patients List Screen, where a complete list of all patients is displayed. You can select any patient from the list and click the three dots under the action column to access options for viewing, editing, creating new procedures, and managing billing for the selected patient.
- To add a patient, click the “New Patient” button in the top right corner of the screen.
- Complete the required patient information, including the First and Last Name, Email, Phone Number, Gender, Date of Birth, and choose the Status for the patient from the dropdown menu. Selecting Referral Source from the dropdown and specifying it, entering Nickname, Profile Picture, SSN (Social Security Number), ID Type, ID Number, ID Photo, Address, City, State, Zip Code, Emergency Contact Name, Emergency Phone Number, Tags and check marking Do Not Email, Do Not Text, Do Not Call and Patient Consents to Download Medication History fields are optional.
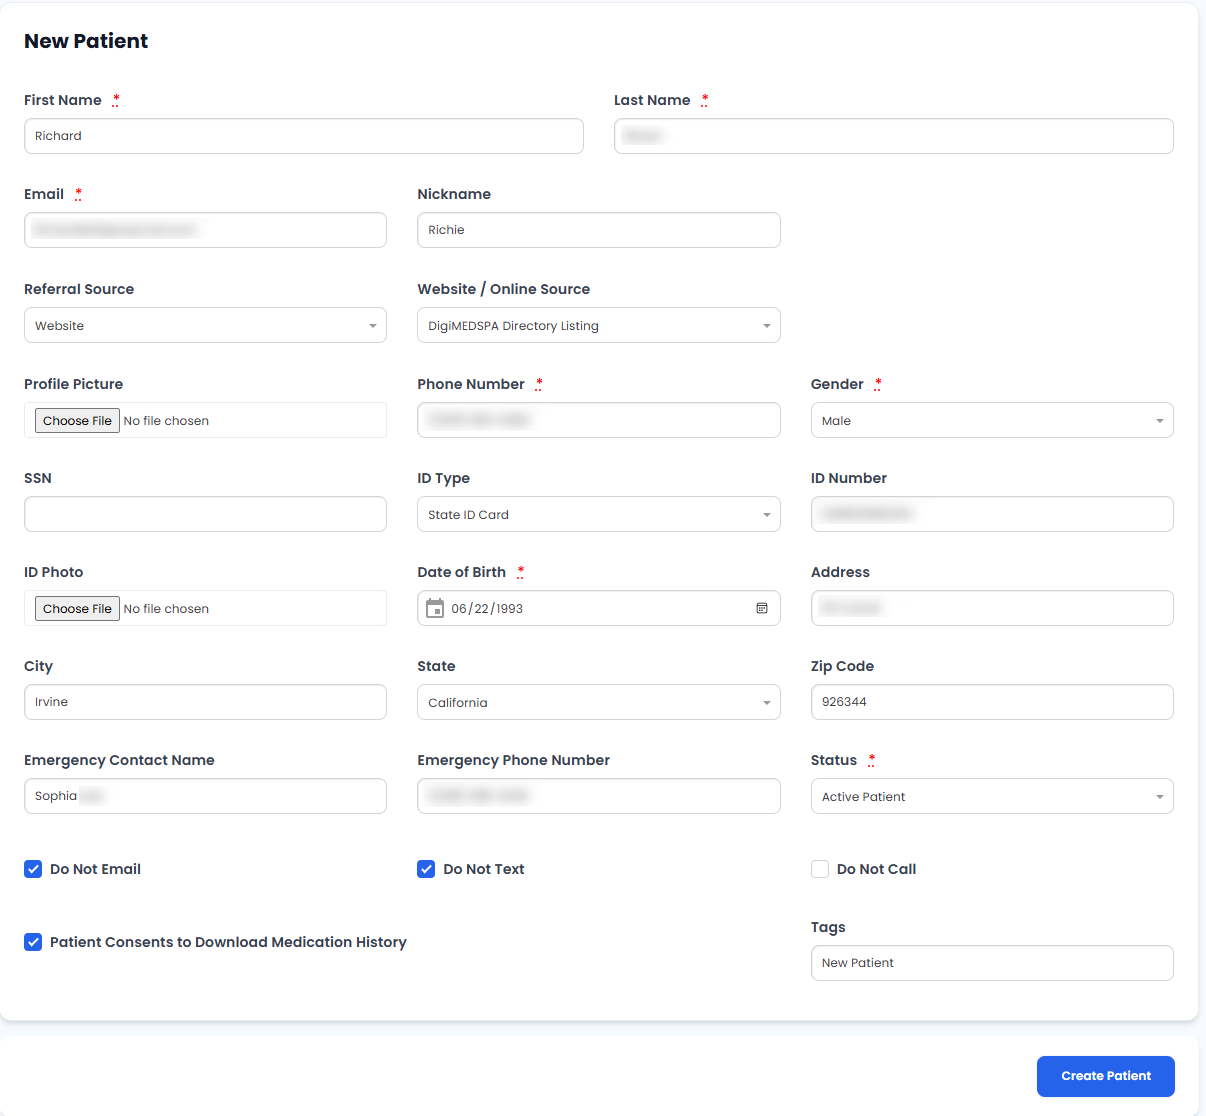 Note: “Do Not Email,” “Do Not Text,” and “Do Not Call” marks the patient as someone who should not be contacted for marketing or follow-ups, ensuring compliance with their preferences. “Tags” are custom labels used to categorize and organize patients based on specific attributes or needs for easy identification in the portal. The “Status” for a patient indicates their current state in the portal to help track and manage patient records effectively.
 - Click “Create Patient”, after filling in all the required information.Note: When a new booking is made online or from the portal for a new patient before adding that patient, our portal automatically generates a profile for them in the patient list. If the profile is created through the booking process from the provider or employee's end, some required fields may remain incomplete, which they can fill in later. The patient has been added successfully!
View Patient Profile
Watch Video
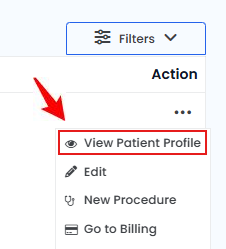
- To view a specific patient from the list, click the three dots under the action column and select "View Patient Profile," or simply click anywhere on the patient’s data.
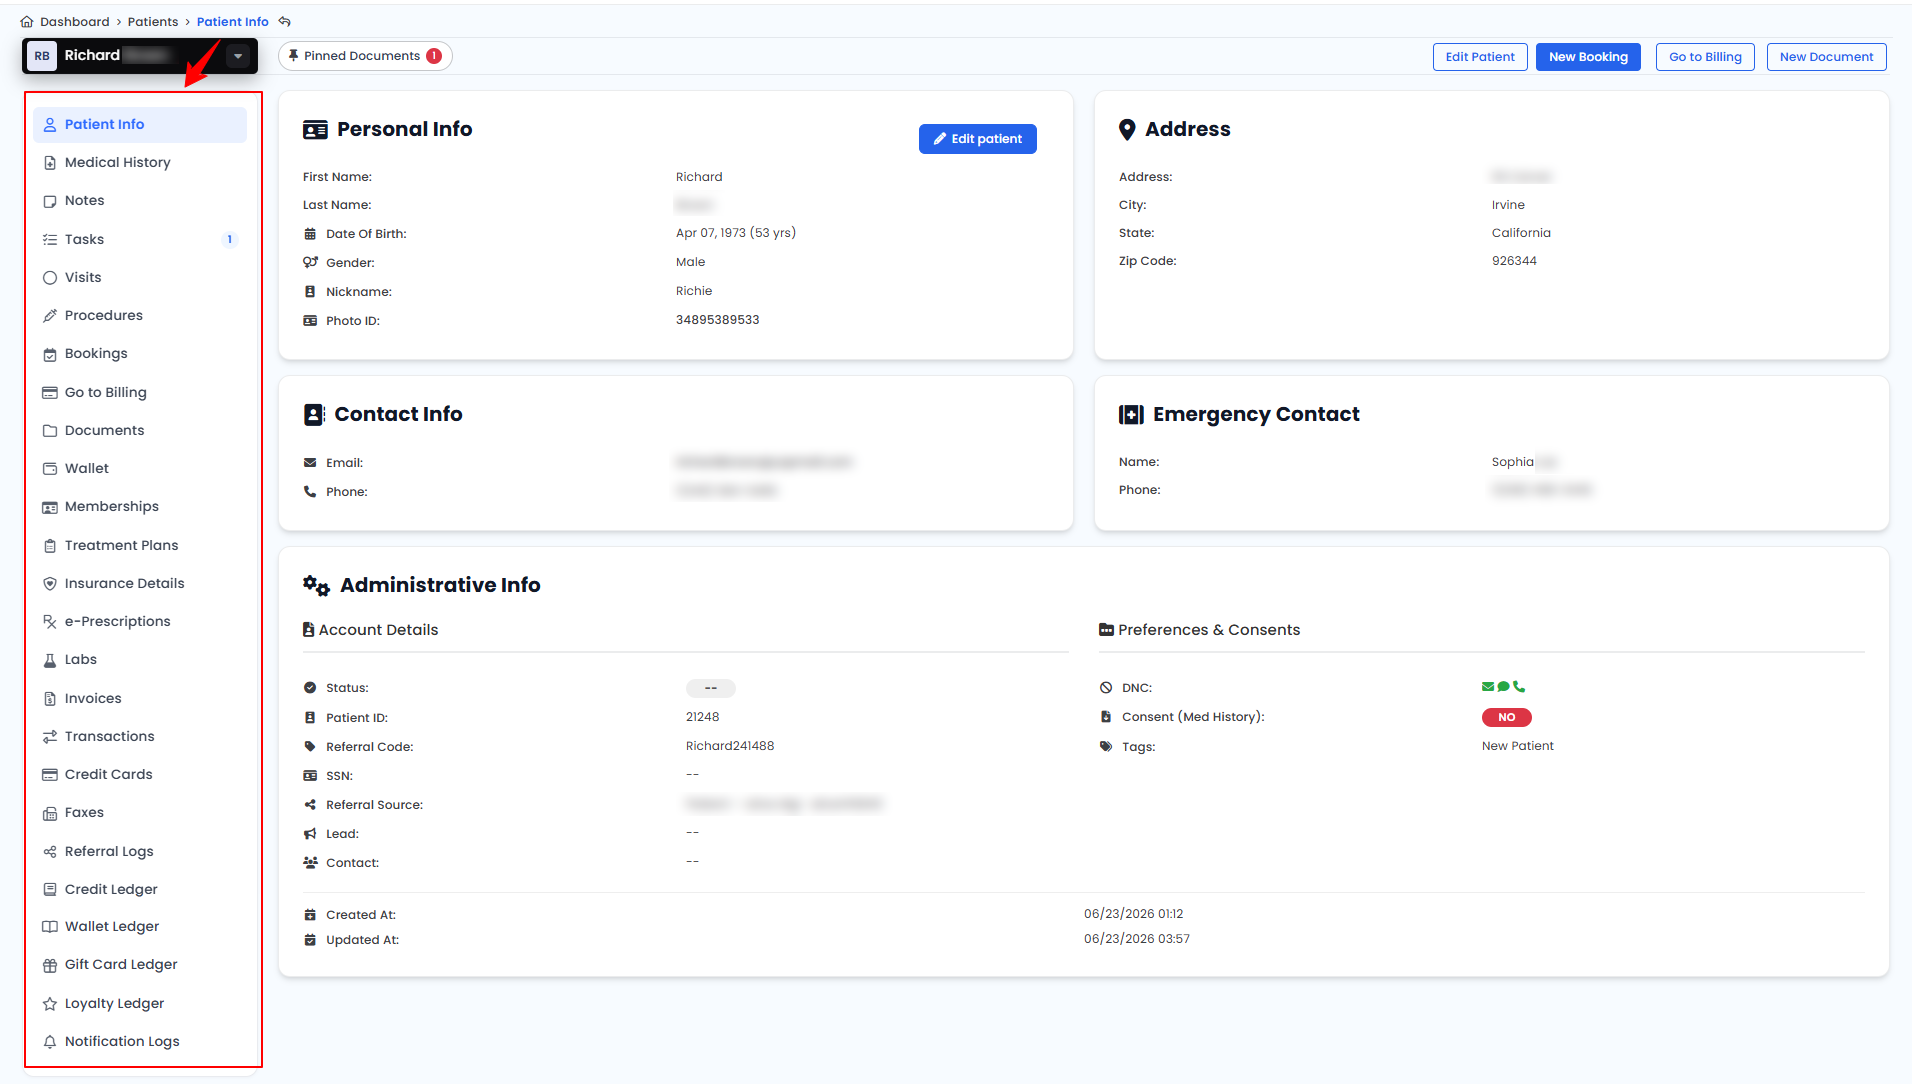
- On the Patient Information Screen, the user will find a detailed overview of the patient’s information.
- The Patient Information Screen offers access to comprehensive patient details, including Patient Info, Medical History, Notes, Tasks, Visits, Procedures, Bookings, Go to Billing, Documents, Wallet, Memberships, Treatment Plans, Insurance Details, e-Prescriptions, Labs, Invoices, Transactions, Credit Cards, Faxes, Referral Logs, Credit Ledgers, Wallet Ledgers, Gift Card Ledger, Loyalty Ledger and Notification Logs.
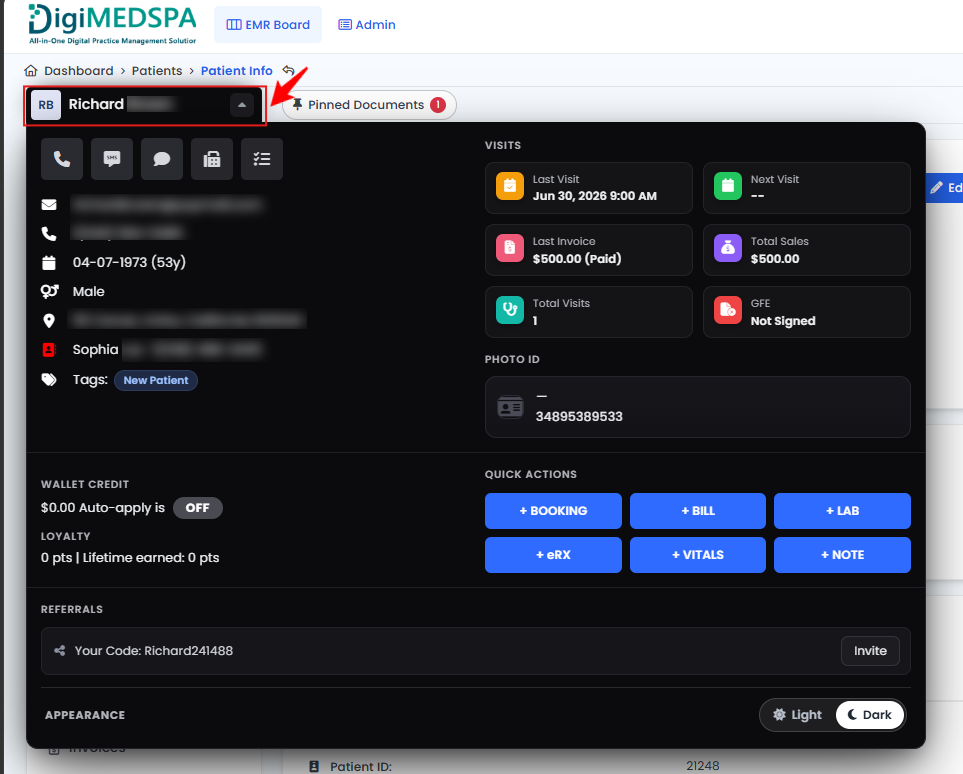
- On the top left corner, hover over the patient’s name to open the Patient Quick View Panel, where you can view key patient information, recent activity, and access quick actions such as Booking, Billing, Lab, eRx, Vitals, and Notes.
Edit a Patient
Watch Video
- There are two ways to edit an existing patient’s information.
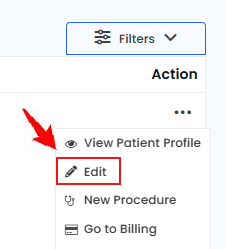
- From the patients list, click on three dots under the action column and select "Edit" for the specific patient.
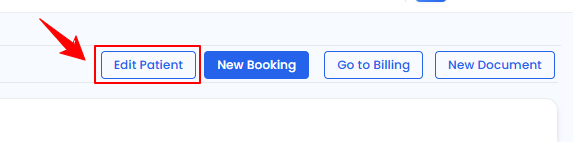
- On the Patient Information Screen, click the "Edit Patient" button in the top right corner of the screen.
 Note: You can access the patient’s information by clicking the three dots under the action column next to the patient and selecting “View Patient Profile,” as demonstrated in the previous steps.
The patient information form will open in edit mode from all these two points.
- From the patients list, click on three dots under the action column and select "Edit" for the specific patient.
- From here, edit the information you would like to change and click "Update Patient."
The patient’s information has been edited successfully!